Tutorial: Dingbat Fonts into Embellishments Using the Silhouette
Here’s the tutorial I promised! (Sorry it’s taken a while, but my July this year has been as busy as any Christmas season.)
For those of you with a Silhouette machine, you probably know you can use any True Type font (.ttf) on your computer to be cut with your machine. That includes dingbat-style fonts (you know, the picture ones). Some of those dingbats are simple shapes that become obvious for cutouts, like this:
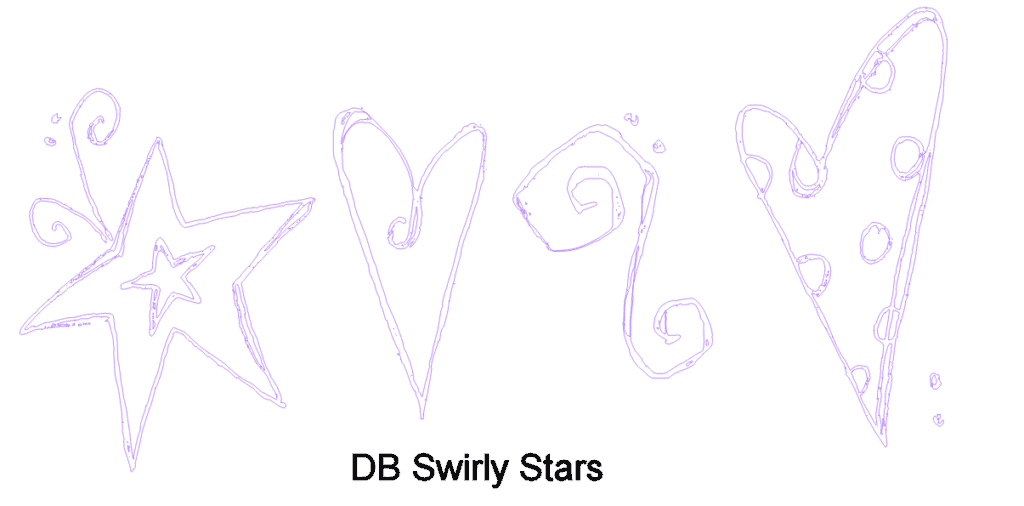
But then some look like doodles and would not cut well. These would be good for using sketch pens as a background on a card or scrapbook page:
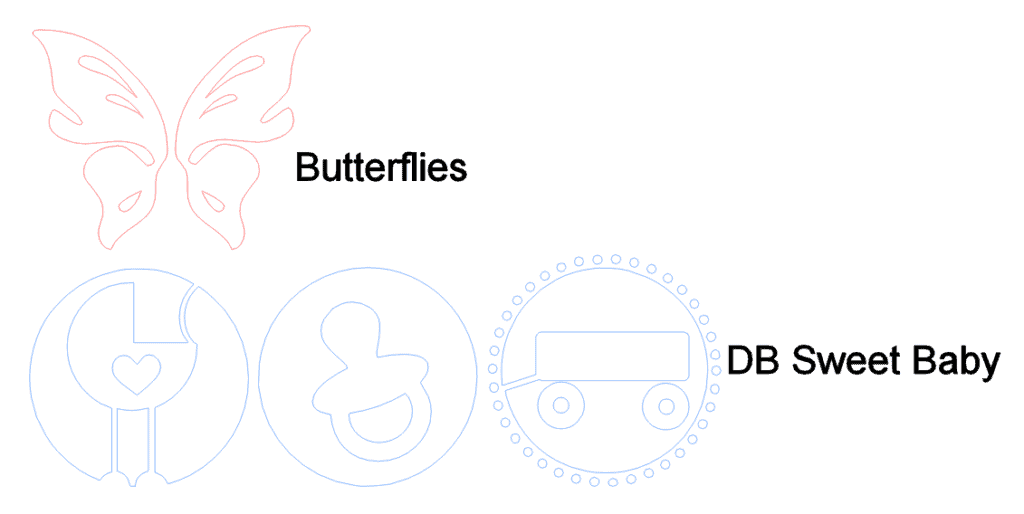
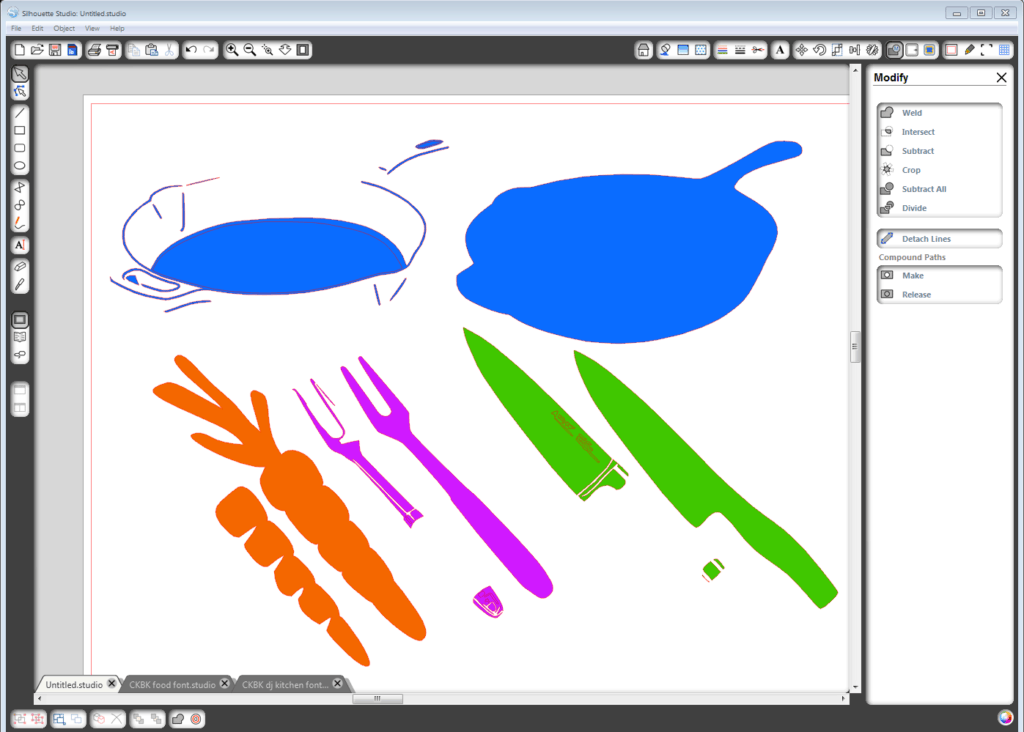
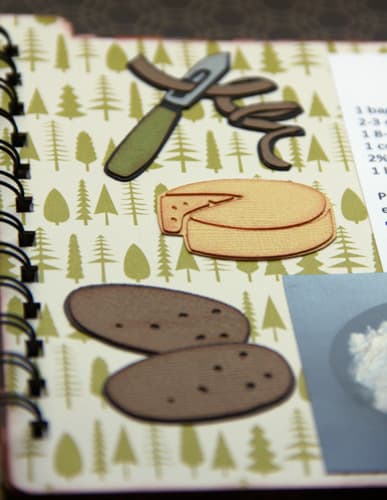
Some would be great cut-out embellishments but have a lot of detail inside that are impractical to cut with the Silhouette:
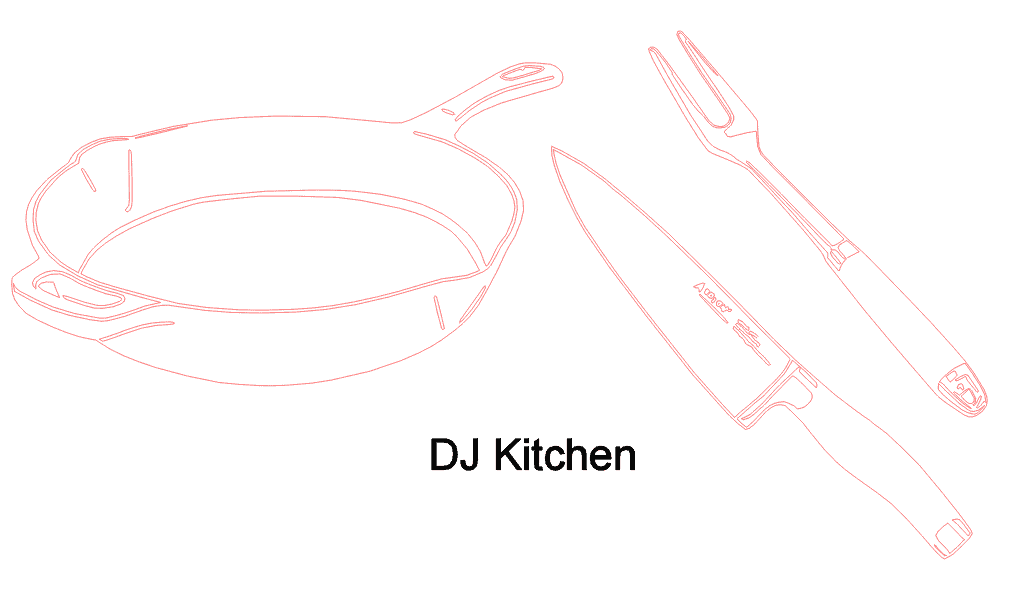
Recognize these from my cookbook mini album?
I’ll show you how to convert these into cuttable shapes using Silhouette Studio, some with sketching for detail.
1- Go through your dingbat fonts and find a shape you’d like to use. (I pick a font, make it big enough to see well, and start typing letters and numbers to see what I want to try.)
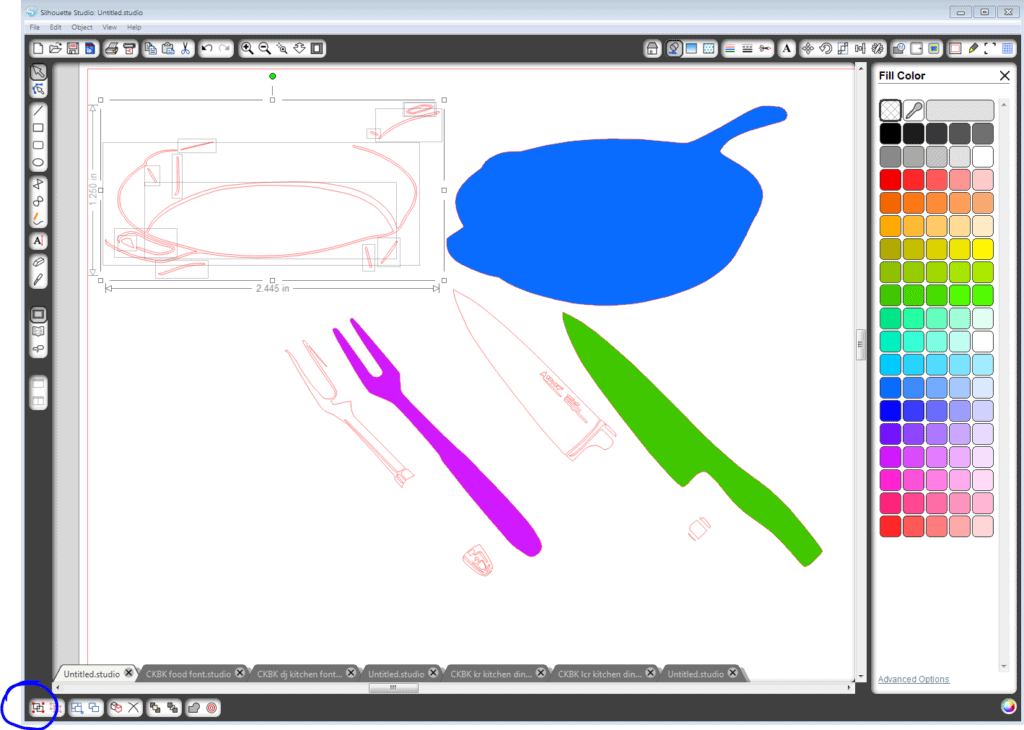
2- Select that shape and fill it with a color to help with the next steps. Most of the complex shapes would not look good or just would not work cut with paper at this point.

3- Go to your Modify tools and select “release compound path.” Your shape has probably filled completely with color. It used to be a compound path, which was a flat shape with holes. Now it’s all in layers for you to manipulate and move pieces.
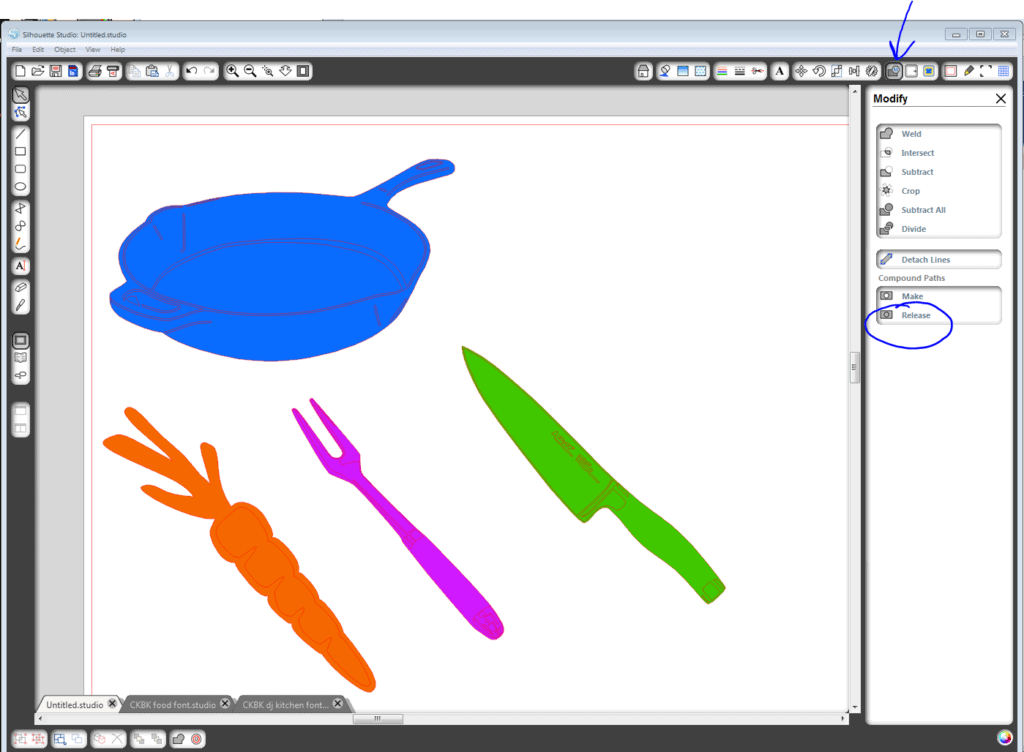
4- Here comes the tricky part. Zoom in and try to grab the big “background” layer and move it aside so it’s not touching the rest of the details you want to keep together. This may take several tries to grab the right layer. The undo button is your friend. 🙂
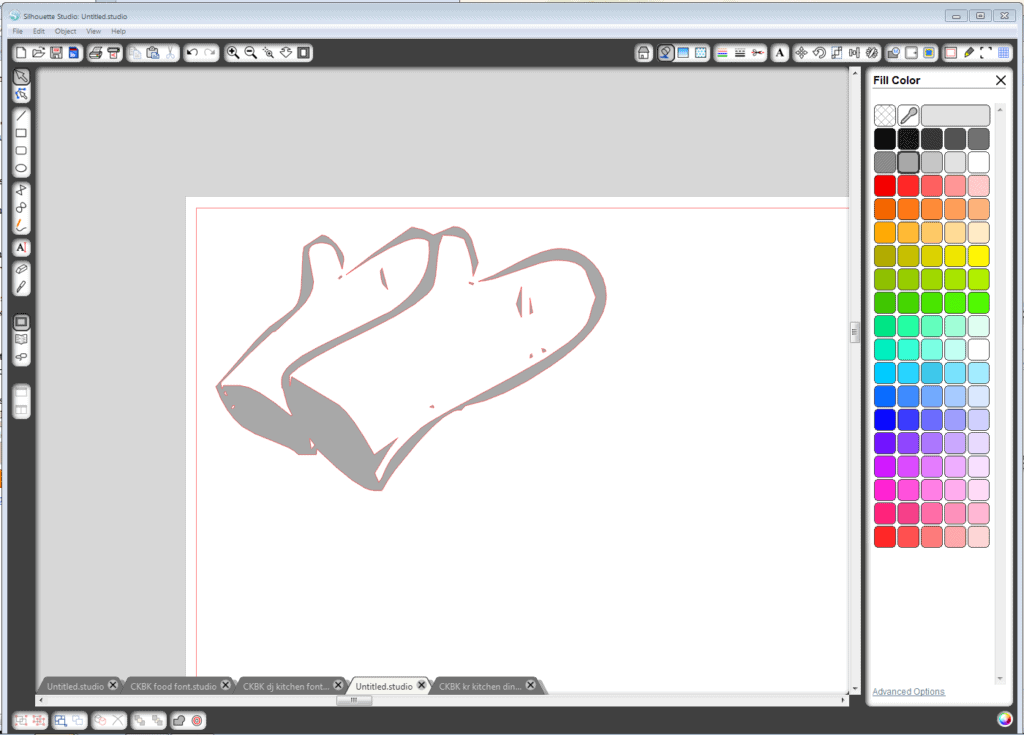
5a- If you have an image like this one that isn’t “closed,” you won’t have a lower layer to grab. Your clue to this is that when you release the compound path, it doesn’t fill with color. Now you’ll have to make your own layer that can be cut. You’ll need to decide if it’s worth it, because there’s some digital tracing involved!

5b- Here are the steps to create your own cutting shape if it doesn’t close all the way. You do not need to have any shape selected. Select a drawing tool like this figure 8 (whichever you choose, you can edit individual nodes or points to make them curved or flat as necessary). Click on a starting point and just click your mouse at points along the design to trace around it. Continue all the way around until you connect your last point to the first you made. If it’s not perfect, you can go back and add or move points with the point-editing feature (the arrow with the dots, below the selection arrow). Move the shape behind the details layer so you’re not hiding anything (Right-click, Send to Back or Send Backward).
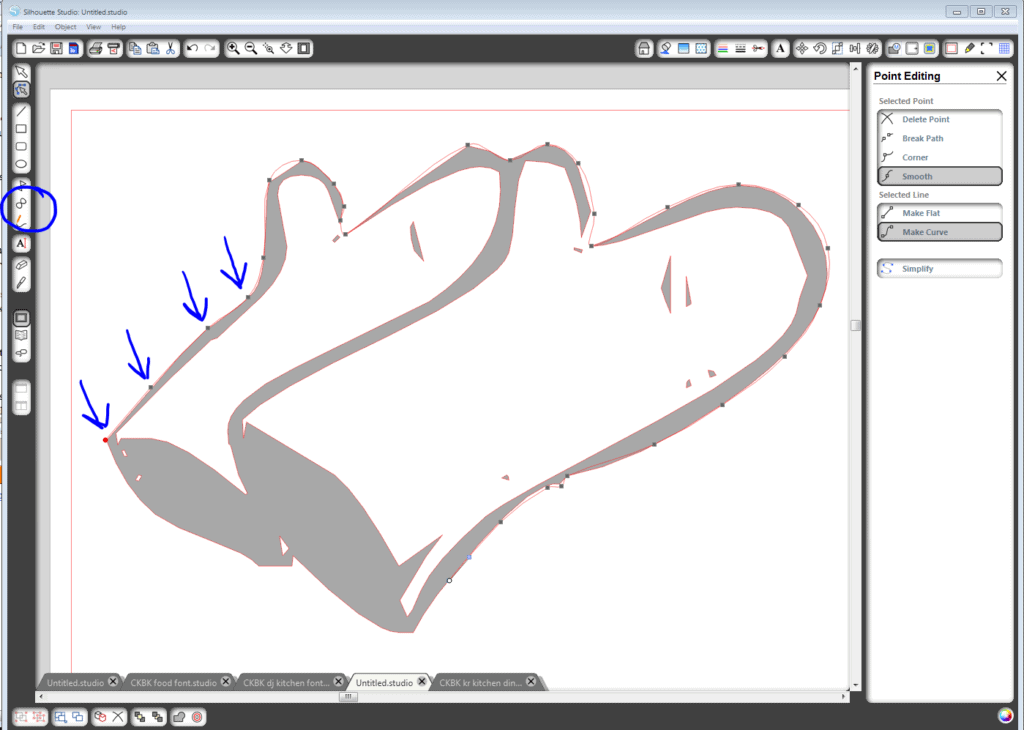

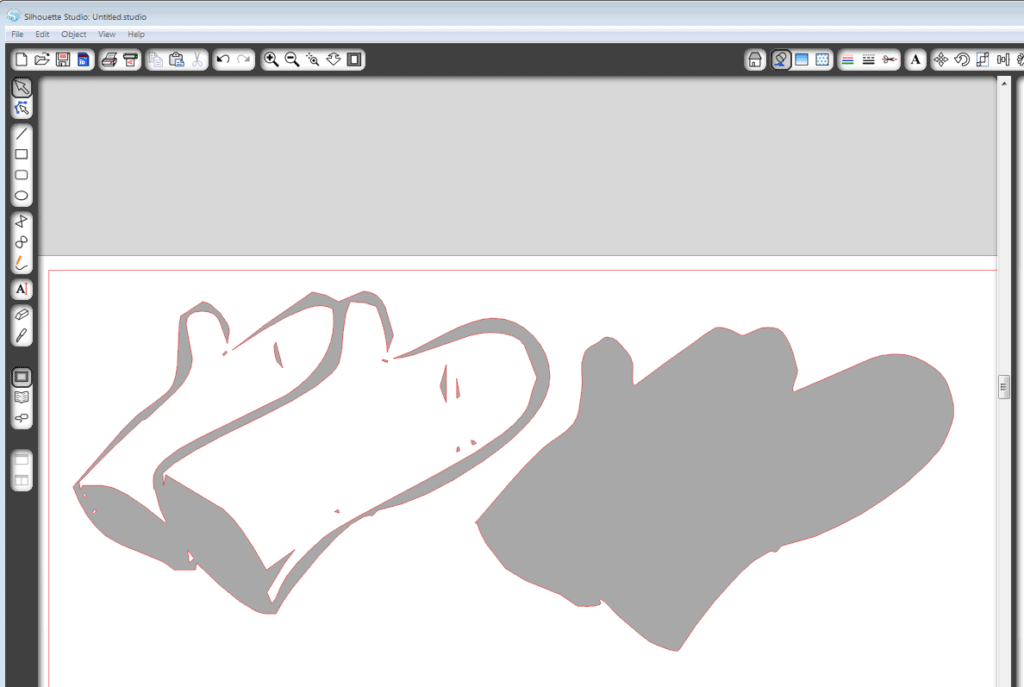
Now you’ve got a closed shape that can be cut and you can drag it away from its details as in Step 4.
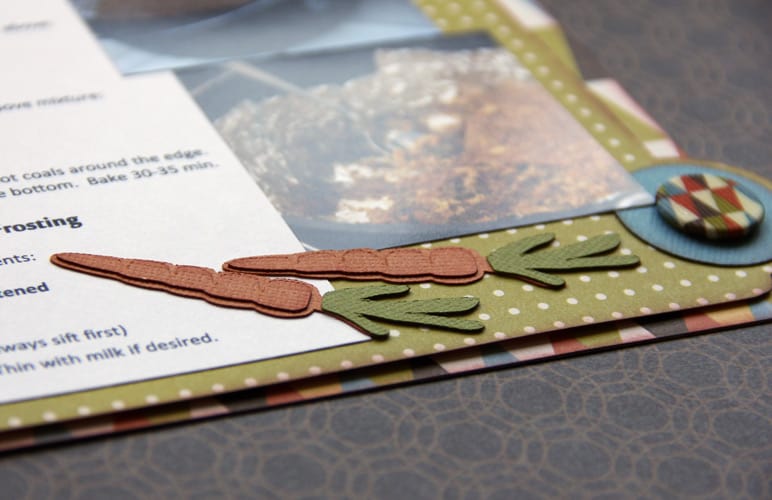
6- Some dingbats are in cuttable layers at this point, like the carrots, mushrooms, and cheese.
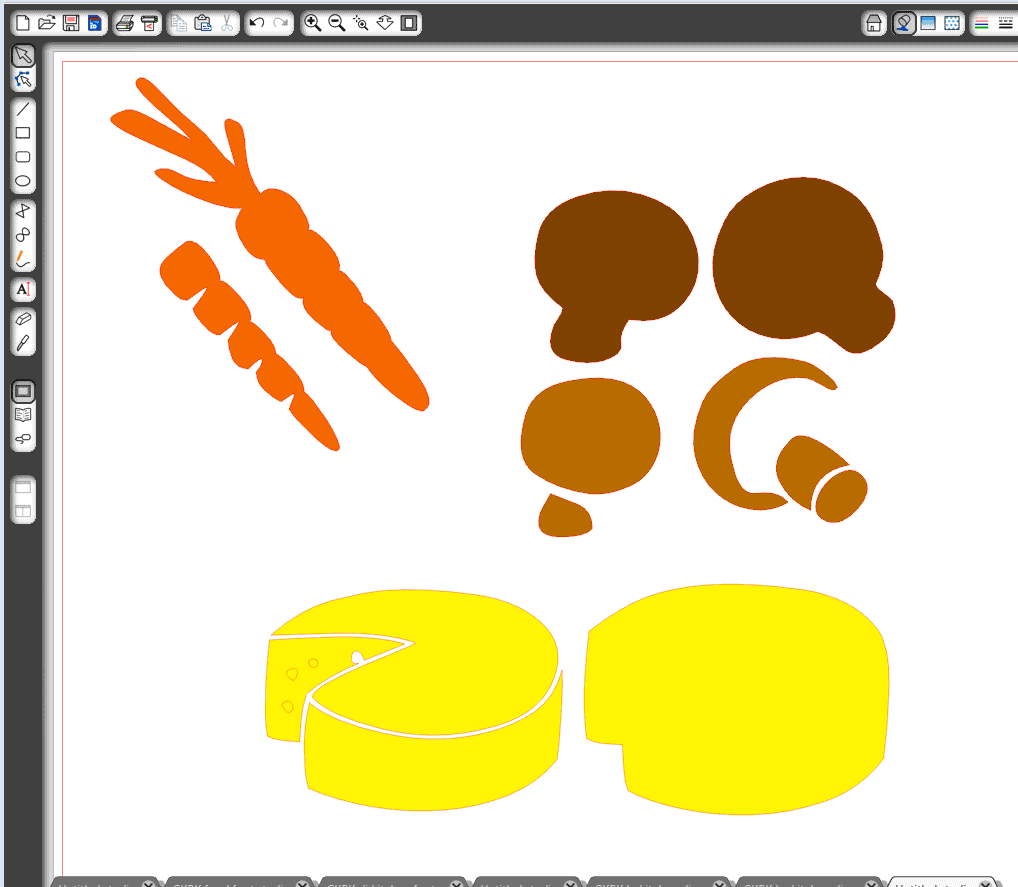
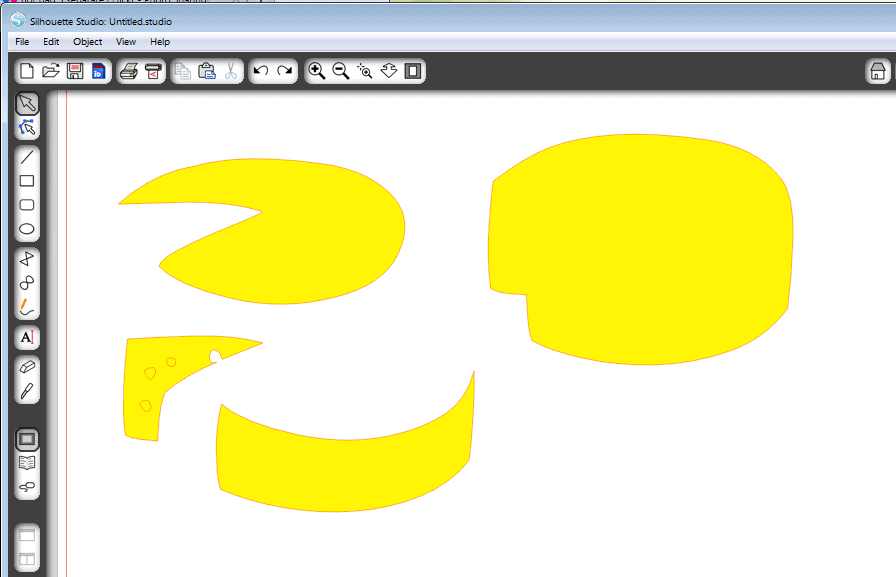
The mushrooms are fine, but the carrots need a green top and the cheese, if cut like this, will still cause a problem with the shapes being so close together. Since you’ll be gluing these pieces back on, you can spread them apart for cutting.
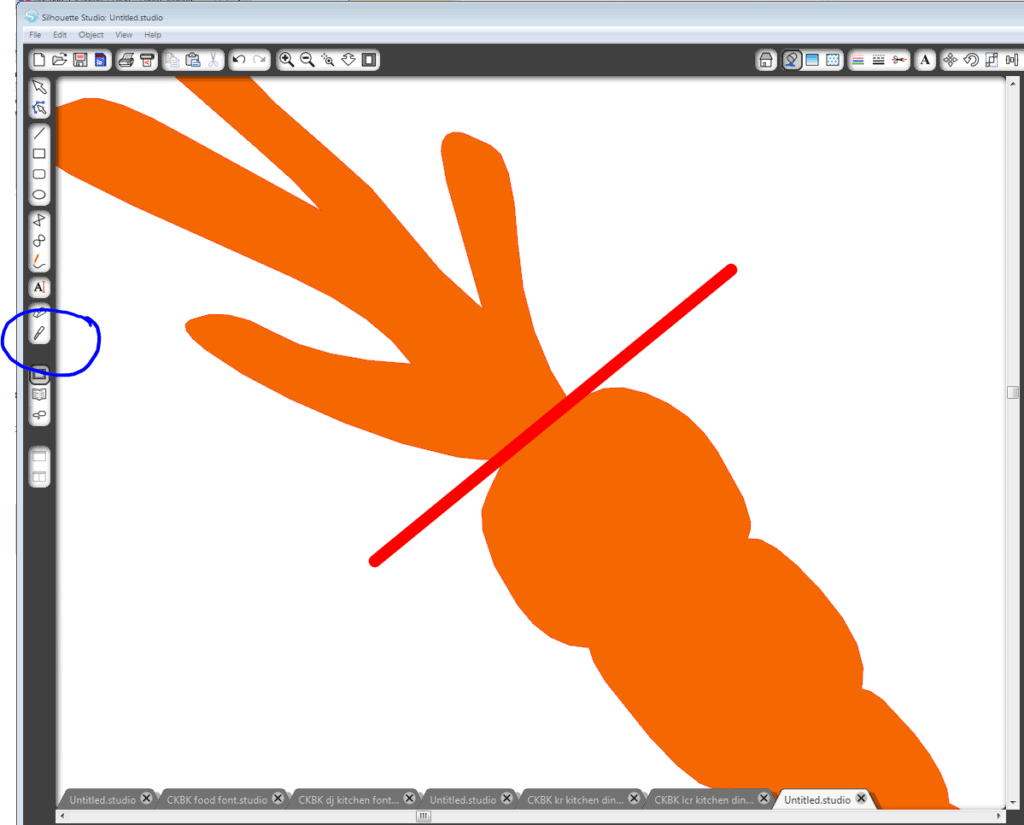
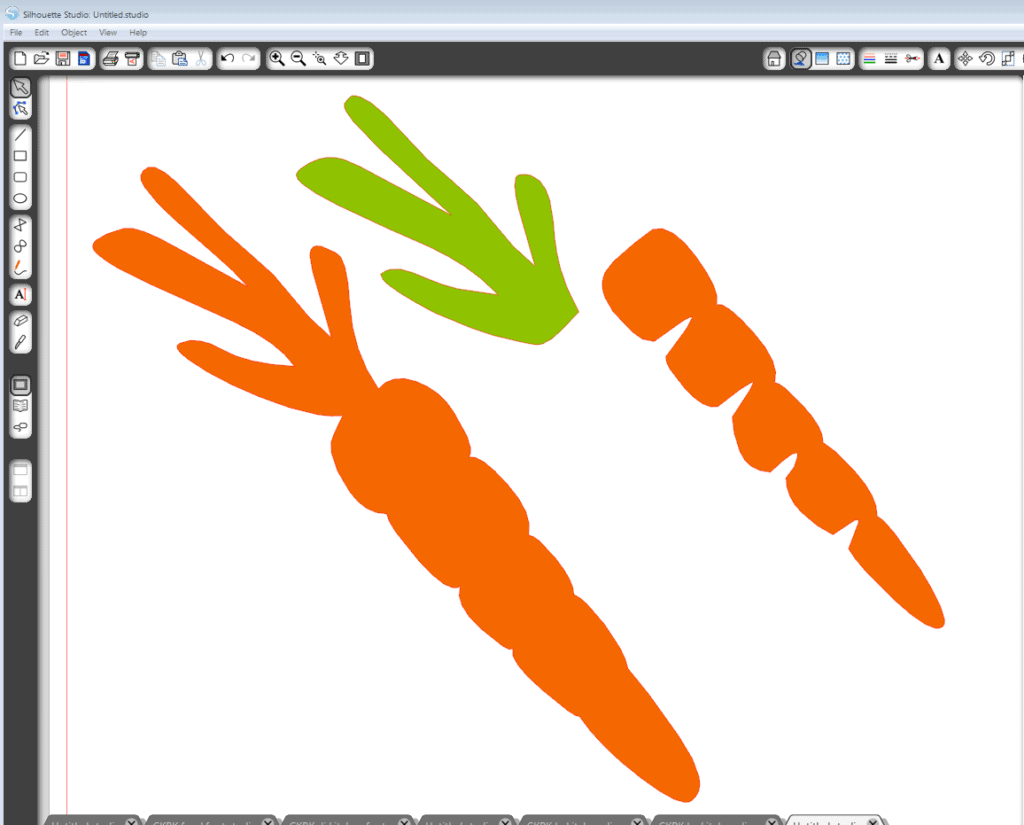
The carrot needs a separate green top, so duplicate the base layer and use the knife tool on one of the duplicates to cut off a top. The extra lower layer can be deleted and your carrot is ready to be cut from orange and green papers.
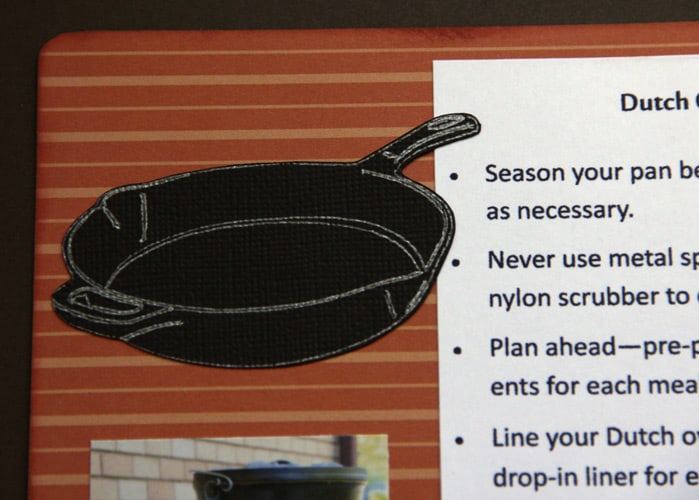
7- For the dingbats that have all that detail inside, I found that using the sketch pens was a fantastic way to keep all the detail and still have the Silhouette cut out the shape to use as an embellishment. With the background cut shape pulled away, select all the detail for that object and group it so you don’t move any of the pieces by accident. I also put back a blank fill color so it’s less confusing. You can delete specific details you don’t want sketched, like I removed the writing from the knife blade on my cookbook’s version.
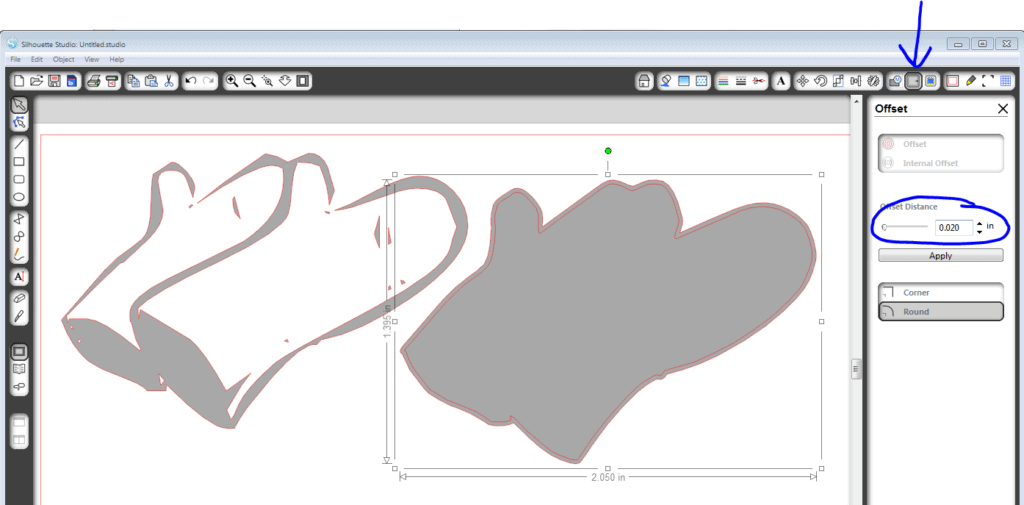
8- The pieces can be moved back together and sketched, then cut, but there’s one more step I found helpful for my machine. I made the cut shape larger by using the offset tool. Select your background layer, go to the Offset tool, and choose 0.02 inches. Use more or less to suit your design. You can delete the original smaller background layer. This helps the machine not cut off the sketching it does if it’s like mine and doesn’t match the cut exactly to its sketch even though you don’t remove the paper between steps.
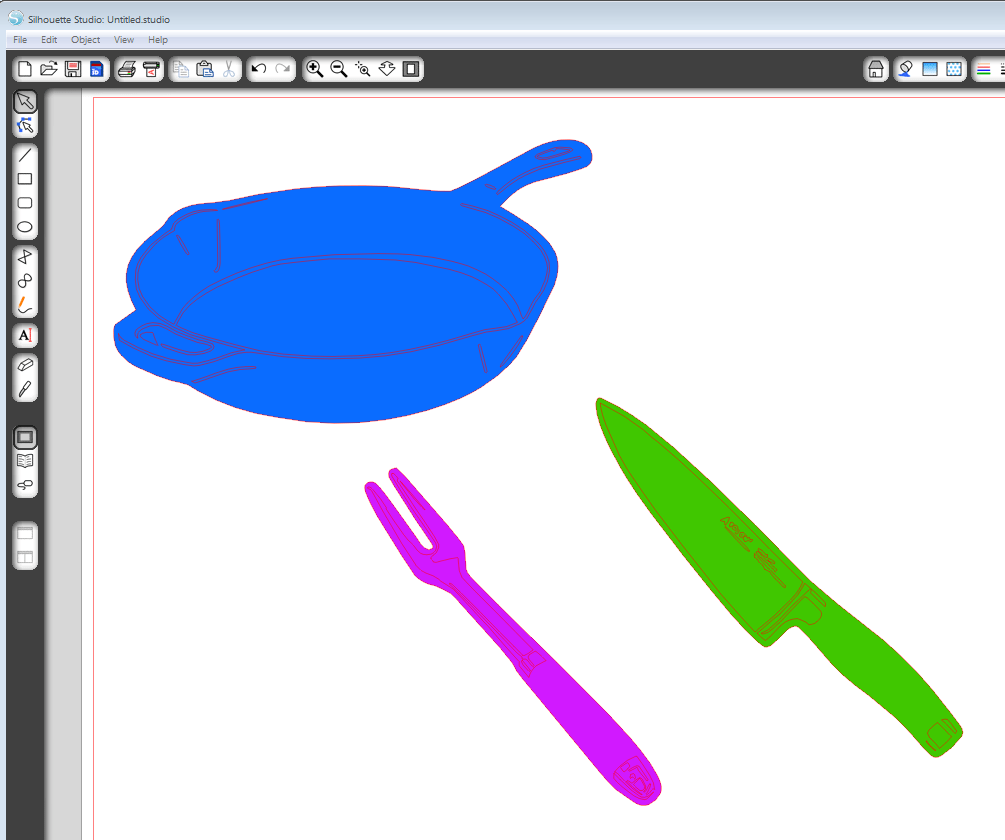
9- Pull your background shape back to the details layer and line it up for sketching and cutting. Remember to “send backward” with a right click if necessary so you can see your sketch lines.
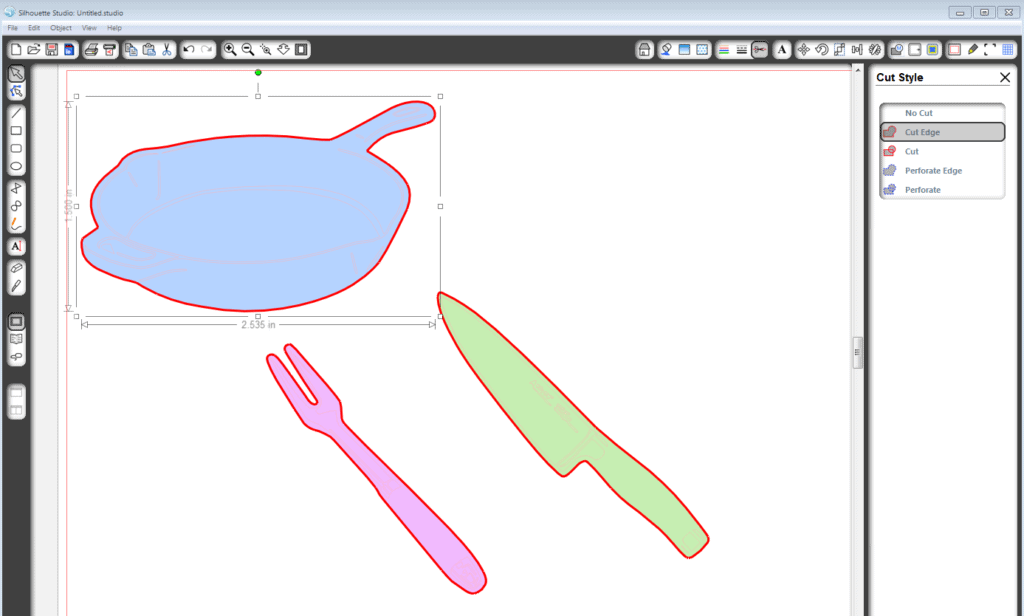
When it’s all lined up, go to your Cut Style window. You will be sketching the detail lines first, so you want to select only the background layer and choose “no cut.” The bold outer line will disappear. The Silhouette doesn’t care whether it’s drawing with a pen or cutting with a blade, so the bold cut lines are where it will do its thing.

10- Now you’re ready to send it to the Silhouette. On the Cut Settings window, set your speed to a medium speed (3-5), thickness to 5-10, and choose “Sketch Pen” instead of a blade cap color. When your paper is loaded and your sketch pen is in the blade holder, choose “Send to Silhouette” and “Cut Page.” I love watching it draw!
11- When it’s done sketching, DO NOT REMOVE THE PAPER. Only take out the pen and replace it with the appropriate blade for your paper. Go back to the Cut Style window. Now you need to reverse what you did before. Change the inner details to “no cut” and the background shape to “cut edge” or “cut,” depending on your design.
Back at the Cut Settings, choose your blade, speed, and thickness appropriate for your paper, then cut it (without moving your paper since it finished sketching).
As you play with cutting and sketching your dingbat fonts, you’ll get a feel for which will do better glued in layers and which will be best for sketching. As a final tip, I suggest inking the edges of any that you cut in layers of the same color paper before gluing so they stand out.
(I won’t show you the rejects as I taught myself these techniques, and as my machine stopped cutting accurately.)
Obviously, you may need to adjust your methods depending on the dingbat fonts you are working with. Many of my dingbat fonts come from Lettering Delights (they call theirs doodlebats and the font names start with DB), and from Google searches for “free dingbat fonts.”
If you haven’t tried sketch pens yet, you’re missing out! Projects like these are where the sketch pens can do what your printer can’t.
If you get stuck or if you make something cool, let me know!

Awesome tutorial Kelly. Thank you for doing all of this. It sure will help a lot of Silhouetters.
GREAT tutorial! Thank you so much!
Nice toot Kelly…
There are some really cute dingbats out there…
I also like to sketch the ones from Kevin and Amanda / Peas for fonts, or whatever it is called. I never can remember…
I'm going to try a couple of your recipes I saw in your cook book. That was very cool. Kudos to you for being able to get that done with little ones needing some Mama lovin too!!! Sorry to hear your sil is still not cutting properly… I'm sure you have contacted sil about it. I just turned mine off and gently pushed the housing back and forth a couple times and it is fine now. Good luck.
Thank you Kelly, your cookbook is fantastic and so filled with love it shines through. Thank you for taking the time to put this amazing tutorial together. Hugs, Lori m
What a great idea, thanks!
Sheila of DBS DigiScraps
Thanks, everyone!
Sheila–what a fun blog you have! I love all your free digital overlays. 🙂