Easy Baby Boy DIY Mobile
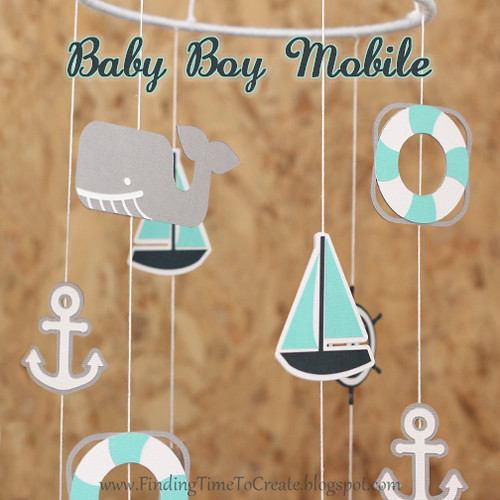
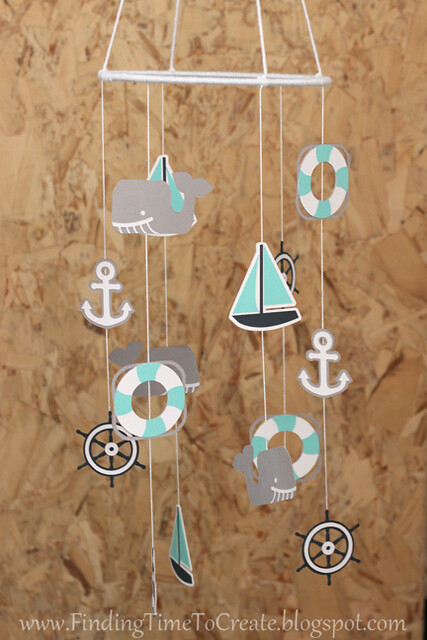
I made this mobile as a baby gift in less than a day. I had the concept in my mind for a while, but I actually chose all the designs and cut and assembled the whole project the day of the baby shower. I may have been a little ambitious, but I knew I was going to make it all with adhesive-backed cardstock, and that was the key to making this ultra fast to put together.
I’m going to share a tutorial that will help you make your own paper mobile for a boy or a girl—you can choose your own shapes and colors to customize it however you want.
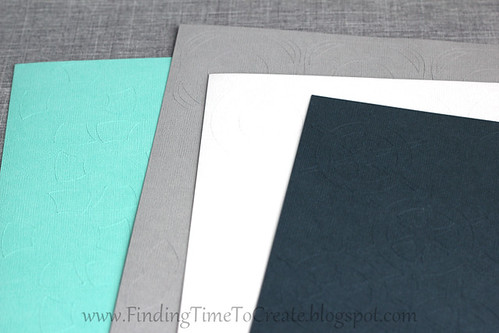
I chose five designs in Silhouette Studio that would work for the nautical theme and stuck with four colors (white, cool grey, navy, and mint). The designs came from nautical set (do you recognize the anchor from the baby shower invitation I made?), whale with waves, and the sailboat from lace up cards (this is a print and cut file but you can ungroup and separate the pieces to be cut in layers like I did).
By keeping the number of shapes and colors simple, it made the process much faster than a complex mobile would have been. I resized all the shapes to be fairly similar in size, about 2.5” to 3” for the longest side.
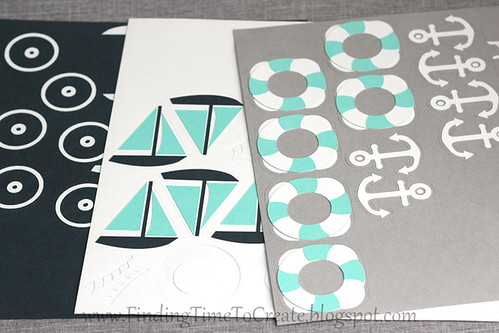
On my work page in Studio, I colored all of the pieces to coincide with the cardstock color I intended to cut them with. Then I made copies to cut enough pieces. For each design (like the sailboat or the ship’s wheel) you need to cut three regular and three mirrored copies out of adhesive cardstock. Each design will be cut six times. For example, in my navy color I needed to cut 3 regular and 3 mirror images of the boat/mast piece. I also needed to cut 3 regular and 3 mirror images of the ship’s wheel. This is what my navy pieces looked like on my work space before cutting them:

With the adhesive cardstock it was so easy to cut everything, then layer the pieces and have them ready to place on the string.
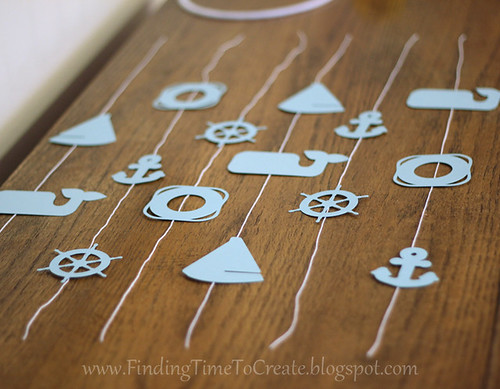
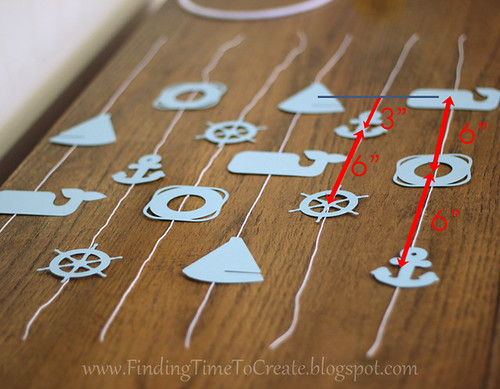
Before sticking them to the string haphazardly, it’s a good idea to cut out a sample of all the shapes and lay them out on a large work area as a guide. I cut three of each design (just the largest piece) from scrap paper so I could make sure I wasn’t putting duplicate designs next to each other, and I worked out the spacing as well.
For my mobile that uses a 7” metal ring, I had 6 strands of string and cut each to 24” (I trimmed some off each end once it was assembled). I alternated the designs so three of the strands had two designs and three of the strands had three designs. (This is five designs, three of each—and each of those has a front and a back.) See how I laid the sample out below.
I wrapped my 7” metal ring (purchased at Michael’s) with white yarn. Then I tied the 24″ strands of twine in six equally-spaced spots around the ring. Once all of that was secure, I began to pull the adhesive-cardstock cutouts off their backing and stick them on to the strings as follows:
For the strands that would hold three designs, I placed the center point of the top shape at 3.5” down from the ring. Then the next shape’s center point was 6” down from the above shape. The third shape’s center point was 6” down from the shape above it.
For the strands with two designs, I made the center point of the top shape 6.5” down from the ring. I placed the center point of the shape below it 6” down from that. So basically the shapes hang 3” apart overall, but shapes on individual strands are 6” apart. Make sense? Here’s this photo again.
This is where I LOVE adhesive-backed cardstock! I had already assembled the designs in their layers, which looks cool but took very little effort. Now I could take the reverse side of the design, stick its center point where it belonged on the string, then stick the front side on top, sandwiching the string in between. I trimmed off the extra string at the bottom. I used more of the white yarn that covers the metal ring to hang the whole thing.
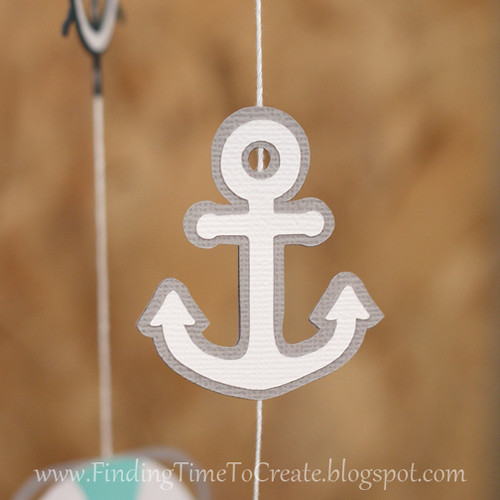
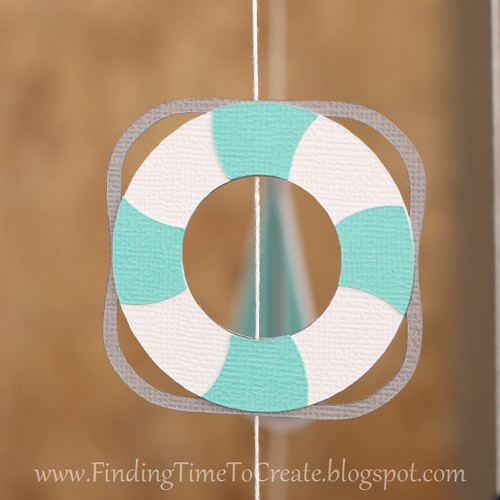
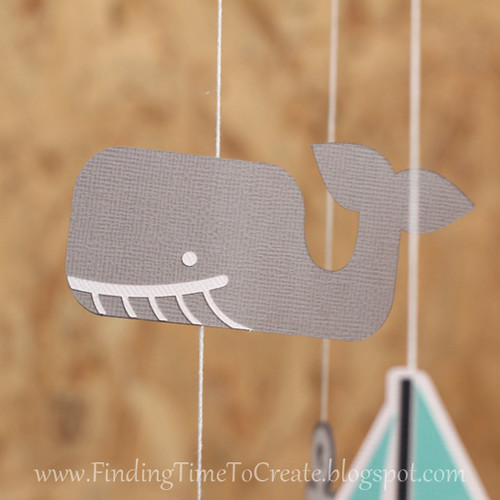
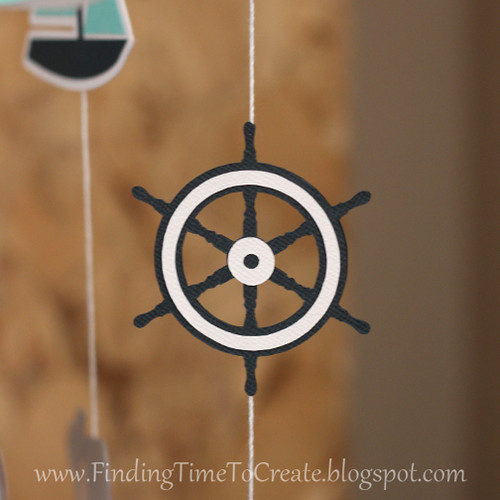
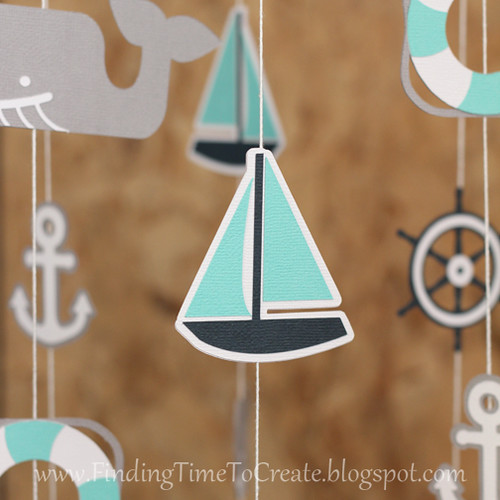
Here are detail shots of the cute shapes on this mobile:
If you have any questions, please let me know. And if you make a mobile using this tutorial, send me an email with a photo and I’ll share it on my blog!
Shapes used:
nautical set
whale with waves
lace up cards
Supplies used:
Silhouette adhesive cardstock in white, mint, navy, and cool grey
7” metal ring
White yarn
White string

Kelly, I love you nautical mobile. It is a great idea for a little guy. hugs, Patty
Thank you, Patty!
Wow! This is gorgeous – such a great centerpiece for a nursery.
And so much attention to detail. This is well beyond the scope of any project I've taken on, but you have inspired me so much.
Pinning and sharing on Facebook.
Thank you, Kim!
Kelly
Just read your blog today in the Silhouette newsletter and ran to your site because I loved your card! Then I found this mobile and love love it. My niece is having a baby next month and I can't wait to show her this!
Thank you so much! This is definitely one of my favorite recent projects.