Multi Layer Stencil Owl Shirt
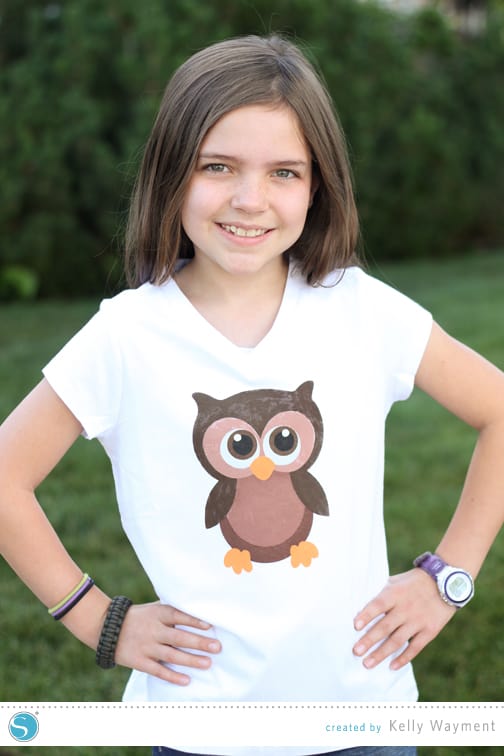
My daughter loves owls lately, and she was thrilled when I told her she could pick an owl from the Silhouette design store so we could put it on a T-shirt. There are so many owls! She settled on this cute owl, which meant we would do this in layers with fabric ink and stencil vinyl. This was a great kid’s craft for her.
Here’s a tutorial for creating and using a multi layer stencil with fabric inks.
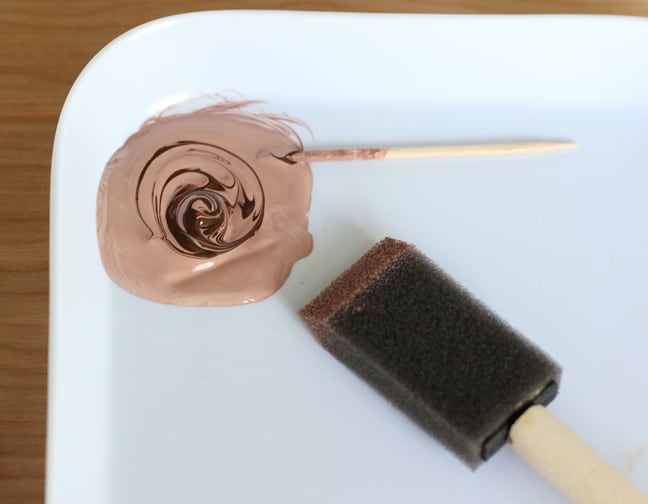
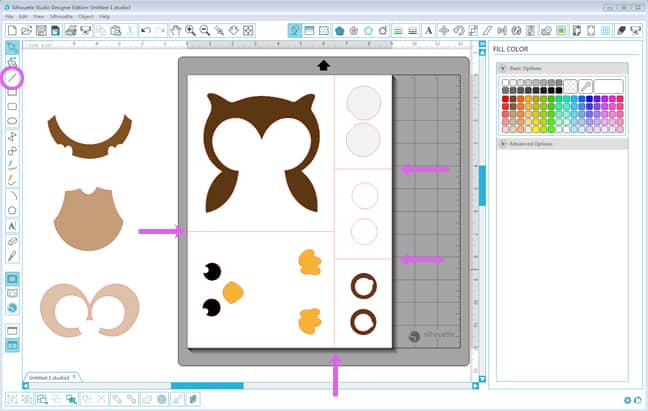
1- Open the owl file (or whichever design you like), color the individual pieces in the Fill Color Window, and position the pieces on the screen as you want them to look. Zoom in very close to make sure the pieces fit tightly (like a puzzle) in preparation for Step 3. This is also where you’ll make sure you have every piece you need and can decide what fabric-ink colors to use. (You can blend ink colors for custom colors.)
2- Resize the entire owl by selecting all the pieces and dragging a corner handle so it will fit nicely on the shirt (my design is about 7” tall and 5+” wide).
3- Group the pieces to be stenciled together (black eye parts together, brown eye parts together, white eye parts together, etc.)
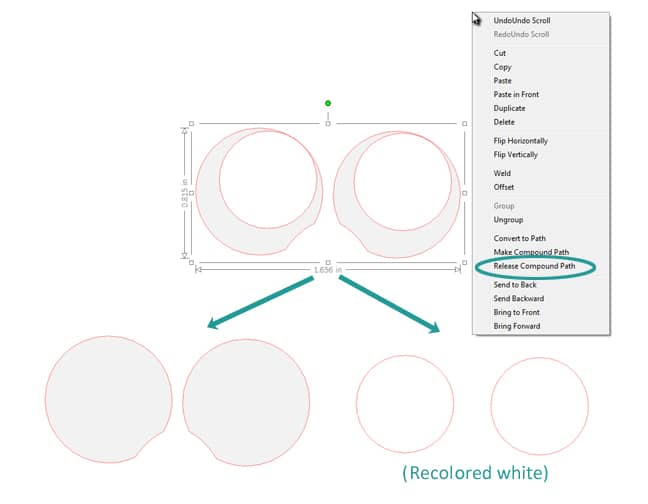
4- Make sure all of the pieces will cut appropriately from the stencil vinyl. For this particular owl, I separated the holes in the grey eye pieces by releasing the compound path (right click: release compound path), so I could have a set of grey circles and a set of white circles—just because part of the area for stenciling on this piece would have been very skinny and delicate.
5- Draw lines with the Line Drawing Tool on your workspace to divide where your machine should cut. You need enough space around the cutout pieces so stray paint will be protected with the stencil. (The younger the child, the more surrounding stencil material you should use.) I use these cut lines as a guide to trim my full sheet apart with scissors after cutting with the Silhouette, but you can set them to cut deeper in your advanced Cut Settings options.
6- Cut and weed your shapes with stencil vinyl. (Remember you will discard the pieces to be filled with color; leave the outer areas on the backing to be used as a mask when painting.) TIP: The Silhouette stencil vinyl comes with transfer tape, whether you purchase the fabric ink starter kit or purchase the stencil vinyl separately. The stencil vinyl is either clear on a white backing or is sheer grey on a white backing. The transfer tape is textured clear on a brown backing. You may or may not need the transfer tape for the various stencils of your design; most of mine for the owl did not need transfer tape.
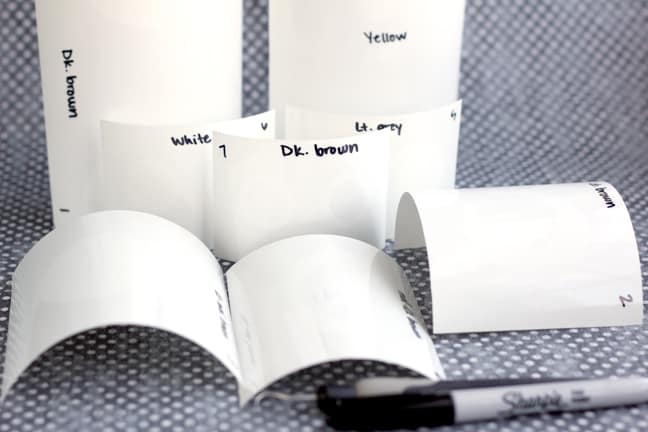
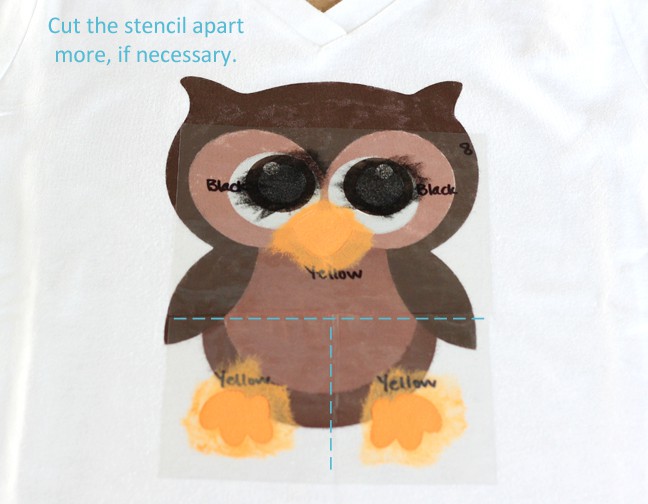
7- Cut apart each section of stencil and label each piece with its color and an order number for painting (1 for the first stencil to lay down and paint, 2 for the next layer, etc.) I just used a black permanent marker to write on the stencil vinyl because these will be discarded after painting. This step is very helpful to keep everything organized when working with so many colors and pieces.
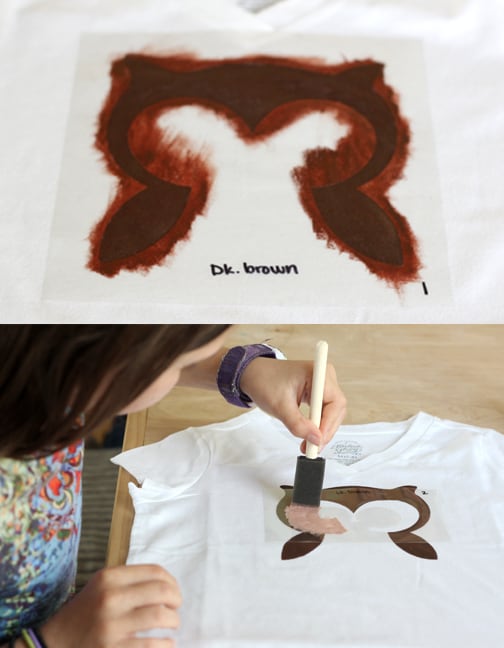
8- Now start laying down the stencils, one layer at a time (in your pre-selected order), paint with fabric ink, and let dry before peeling away the stencil and applying the next layer. My daughter was able to do all of the painting; I laid down the stencils and mixed the colors for her. She painted a layer, then we let it dry with the stencil still in place. I used a hair blow dryer to speed up the drying process so there wasn’t a lot of down time. (She had a friend over to play, and I just called her over every few minutes when the next stencil layer was prepped for painting.)
Paint. Dry. Peel away stencil. Lay down next stencil. Repeat.
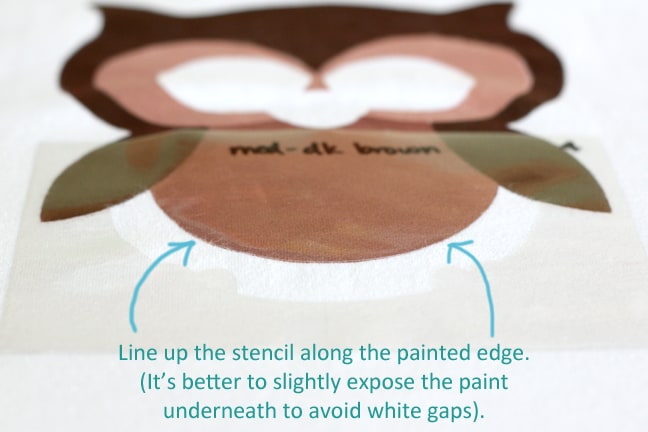
9- Line up the stencil along the painted edge as closely as possible. TIP: If you can’t get it exactly along the line, I think it’s a little better to have a fraction of the ink exposed to paint on top of it, rather than mask more of the shirt which will leave a gap in white. If you do end up with white gaps, just use a toothpick or small paint brush to dab a little more paint on the missed area once the stencil is removed.
10- Continue to Paint, Dry, Peel away the stencil, Lay down the next stencil, Repeat.
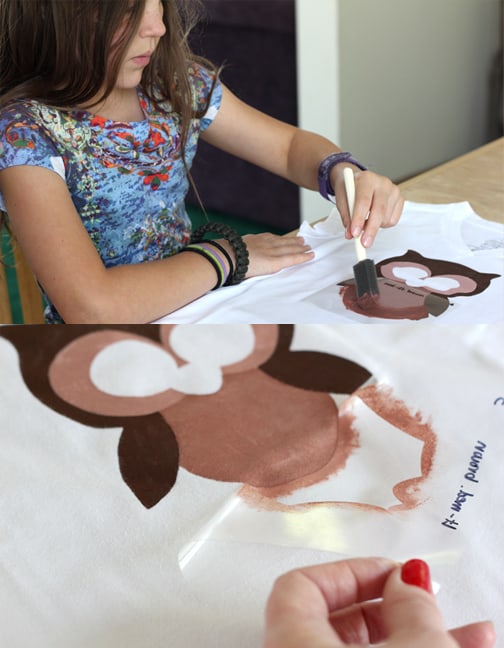
11- By the time you get to the uppermost layers, your design may be harder to match up to the layers already painted on. Although I cut this piece (see below) as one stencil, I simply cut the sections of stencil apart with scissors so I could line up the different pieces more exactly to their lower layers already painted on. The stencil vinyl on fabric is pretty forgiving, so it’s easy to reposition if you lay it down wrong the first time.
Now my daughter proudly wears her owl shirt and tells everyone she painted it herself!

Shape Used:
This post may contain affiliate links. Your price is the same, but I may get a small commission when you use my links. Thanks for your support!

How cute is that! Your daughter did a fabulous paint job!!!
Thank you, Shawna!