Springtime Branches
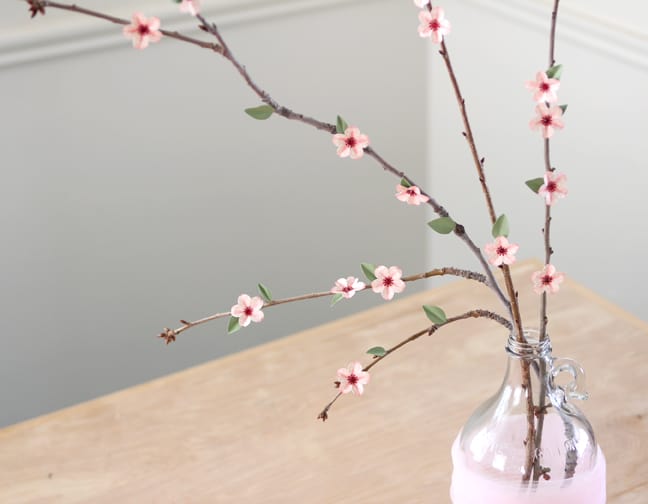
Here’s a fun project to bring springtime into your home. A few simple paper blossoms added to real branches are a nice eye-catching display for springtime branches. My family all did a double-take and had to check this out more closely to see if they were real!
Here’s the full tutorial for these springtime branches as it originally appeared on the Silhouette Blog:
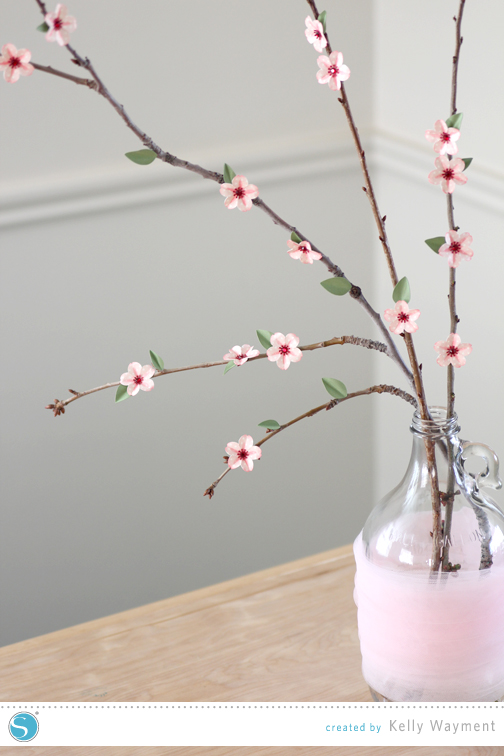
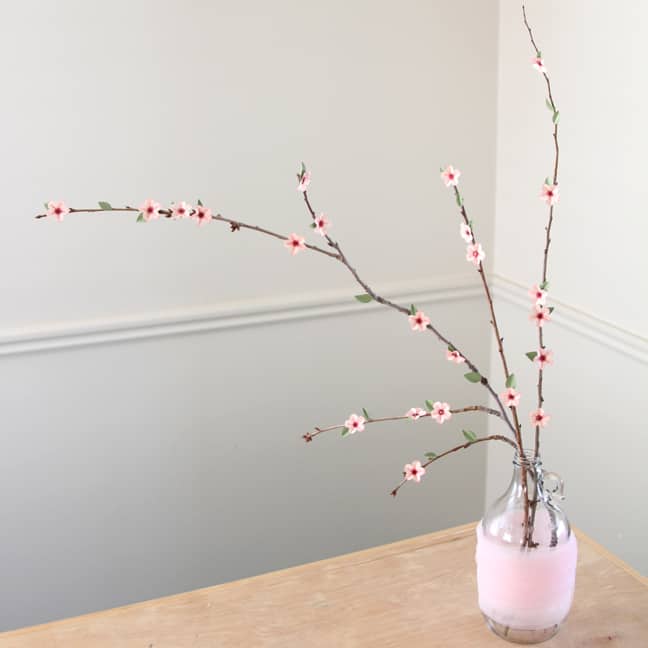
Whether it feels like springtime where you are or not, here is a simple way to make it look like spring has arrived in your home. These simple, paper cherry blossoms added to some bare branches in a bottle are sure to add a little springtime cheer.
Let me share how to make this project. Here are the materials I used:
- Substantial bottle or vase (mine is a half-gallon rootbeer jug that had the company’s logo etched all over, so I covered it with some pink tulle)
- A few skinny branches
- Light-colored paper for the blossoms
- Dark-colored paper for the centers
- Green paper for the leaves
- Red rhinestones (20ss)
- Rhinestone setter
- Stencil material
- Hot glue gun
- Pink ink pad and applicator (mine is a makeup sponge)
- Water bottle with fine-spray nozzle
- 3D cherry blossom design
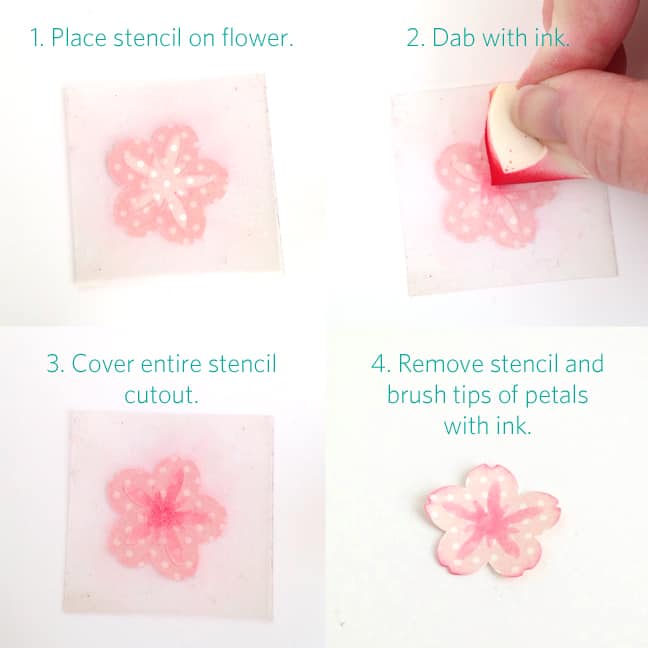
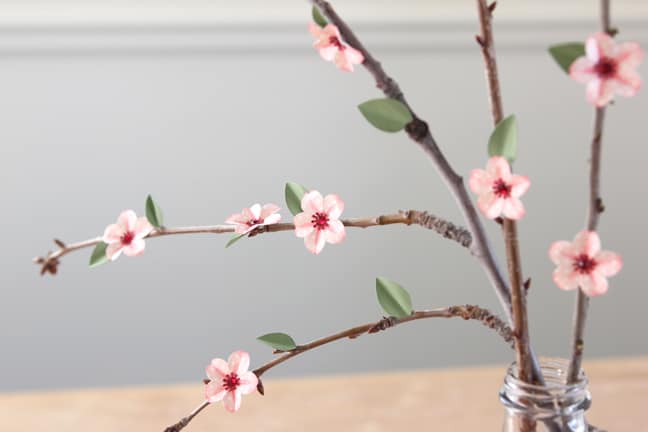
To make my cherry blossoms look realistic, I used an ink pad to add bits of color. This cutting file comes with three parts to the flower, but I chose to add the center portion as shading with an inkpad instead of a separate cut piece.
To do this, I centered the star-shaped portion of the blossom design inside a 2” square in Studio and cut the square and flower center out of Silhouette stencil material. Then it was easy to use that single stencil for all 20+ blossoms.
Next comes shaping the flowers. My secret weapon is a water bottle with a fine-mist spray. (You can find these bottles in craft stores or in the travel-section bins of other stores.) I lightly mist my flower and leaf shapes, which makes the paper soft and easy to manipulate. When the paper dries it will be back to its normal stiffness, but will hold the shape in which you place it.
Spray the inked blossoms, then shape them as follows:

The leaves are folded in half and then the edges curled outward. While the blossoms and leaves dry, you can use the rhinestone setter to add a rhinestone to the middle of each mini center. Then use a hot glue gun (I like low-temp for paper flowers) to add the centers to the blossoms.
At this point, place your branches in your vase or bottle and use a hot glue gun to glue the leaves and blossoms along the branches. Try not to space them too evenly.
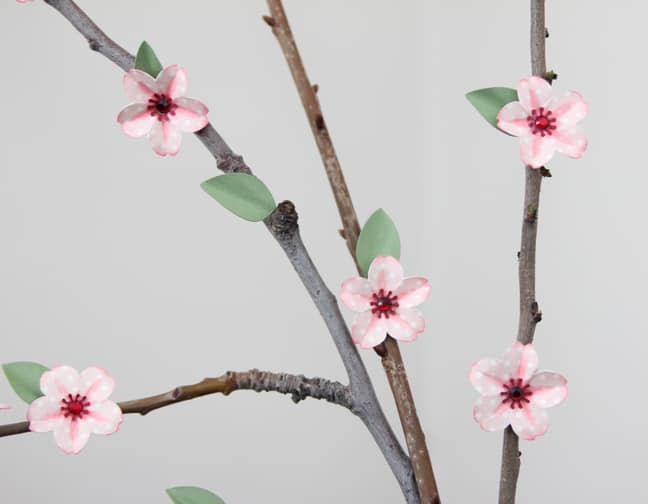
The polka-dot paper gives it away when you look up close, but when you see the arrangement as a whole, it’s a pretty good imitation of the real thing, don’t you think?
If you’ve never tried making paper flowers before, this is a fun and simple way to start! Let’s bring on spring!
This post contains affiliate links. Your price is the same, but I get a small commission when you use my links. Thanks for your support!

I love that!!!!! I done a double take too!!! That is a great idea. Many years ago, I made a dogwood tree using the same technique, kinda, with artificial dogwood blossoms and a real tree I cut from the ditch. I poured quickrete in a coffee can and stuck my tree in that and let it set up and covered the quickrete with florist moss and then hot glued the blossoms to the tree. It was beautiful. I can actually see the same with this idea. hugs, patty
Thank you, Patty! Yours sounds very pretty!