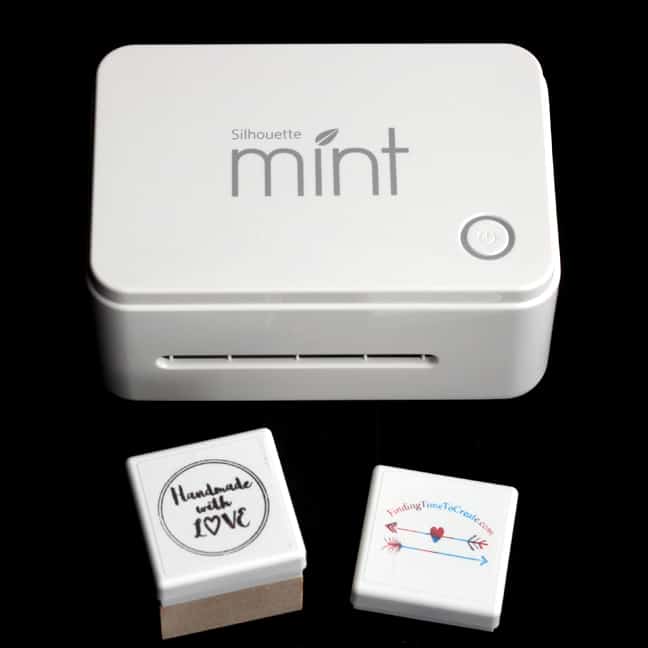
Silhouette Mint
I first used the Silhouette Mint in September 2015 when I was invited to the launch party in Provo, Utah. Each of the attendees got to make their own stamp and take it home. I loved the Mint right from that first moment! As soon as it was available to purchase, I bought one of my own.
It is a pretty cute machine, I must say. Maybe you’ve read all the reviews and descriptions about the Silhouette Mint out there, maybe not. These are my thoughts and tips based on my own experience.
What is the Silhouette Mint?
The Mint is Silhouette’s newest machine. It makes custom stamps. They call this process “thermal printing”, which leads me to believe heat is involved. 😉 You design your stamp in Mint Studio, which is an easy software to use. Much like Silhouette Studio, but even simpler. (Hint: if you are missing some of your favorite tools you’re used to in Silhouette Studio, try right-clicking to see what’s available, and also check out your Object menu in the top menu bar.)
How to Make a Mint Stamp
Design the stamp in Mint Studio, go to the Send to Mint Window (leaf icon), click on Start Mint, load the stamp sheet in the back, and it will pull it through as it “prints” on the stamp material. Follow the instructions to release the stamp itself from the cardboard and plastic covering, and apply it to the stamp block.
Add Ink
The black stamp material is ink resistant, until the design is processed through the Mint. You add Mint ink to the design, let it sit and absorb for a few minutes (the longer the better), then stamp off the excess until it stamps cleanly with no residue. Only the part that was “printed” will absorb the ink, and you can stamp it over and over for 20, 50, or even 100 times before it needs more ink added to freshen it up.
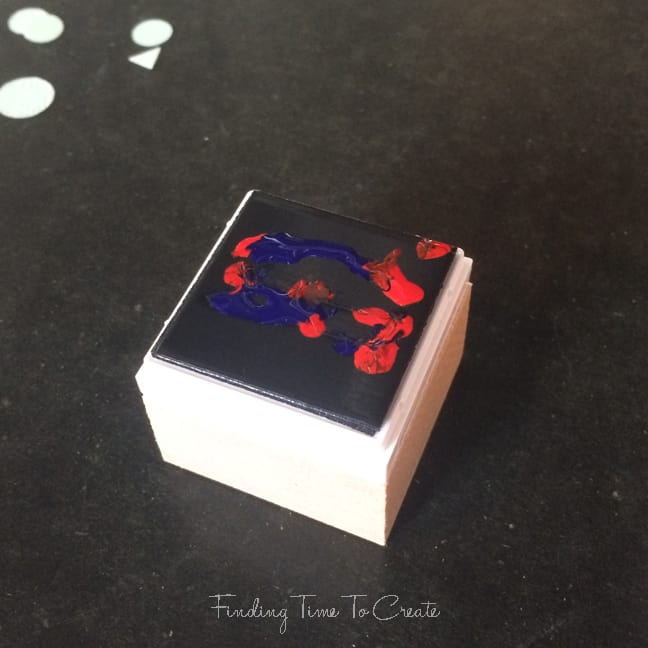 I added two colors of ink here. Don’t let the ink nozzle’s tip touch another color, and be aware the inks may “creep” into each other. I liked it for this design. (This is the 30mm x 30mm square that comes with the machine.)
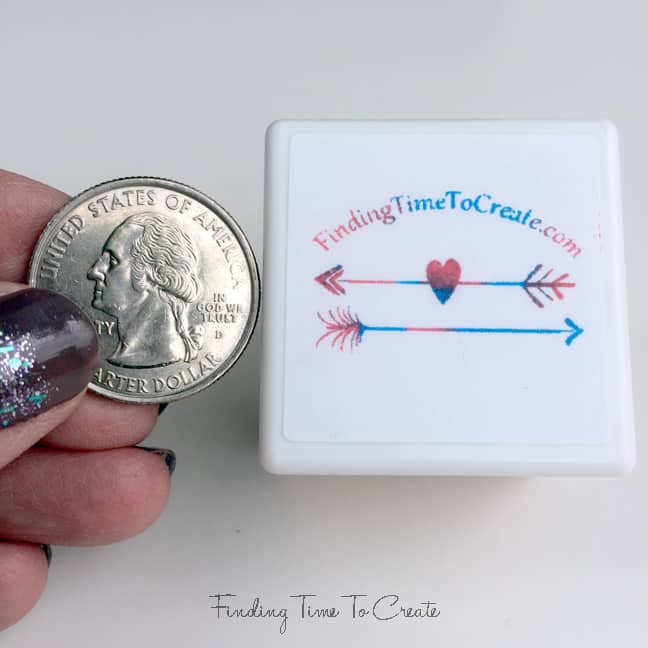
Below you can see a closeup shot of this stamp once I blotted off the extra ink. It is not raised up very far; it isn’t meant to be used as a traditional stamp that you press against an ink pad. Look at those tiny words and details it can make!

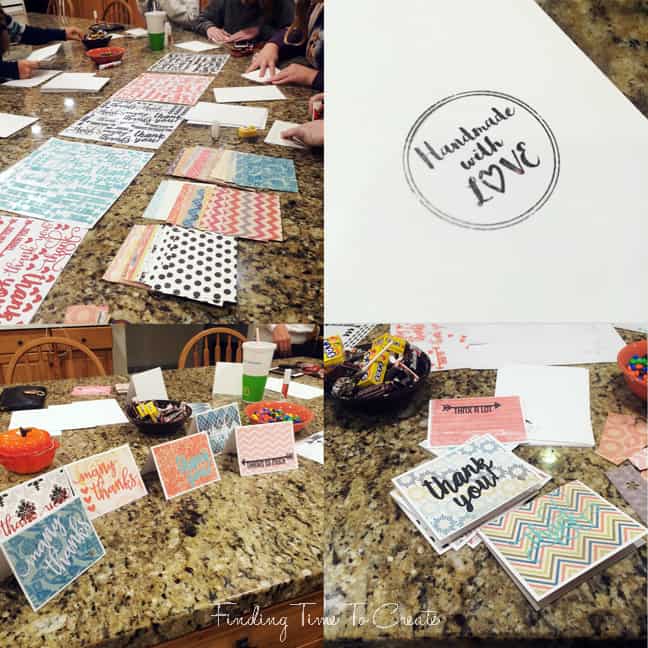
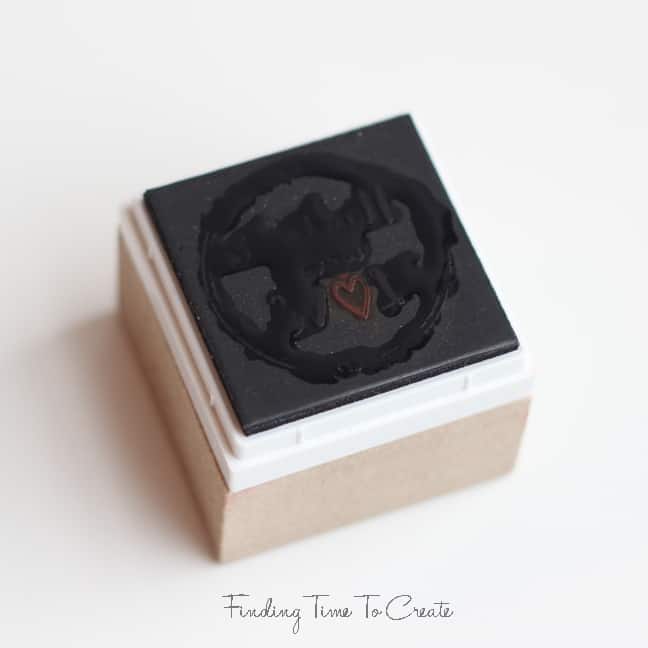
For my next stamp, I used a favorite font (Sophia) and used some elements from the 50 designs that come with the machine, like the circle and the heart “O” to make a “Handmade with Love” stamp.
On my first attempt I added red to just the heart and then black on everything else. The ink came out too quickly that time, and the black migrated and took over everything. That was OK (I knew I would get a second chance later), so I took my little custom stamp to a card-making activity with a bunch of 16-17 year old girls. They made over 60 cards and stamped the back of each one, and the stamp gave dark and crisp images the whole time.
 I stamped this one another 20-40 times, then the next time I was a little more careful with my red ink application. I added red only to the heart, let it absorb, and stamped off most of the excess. Then I added black to the rest of the design and was very careful not to let it touch the heart. You can see the ink start to absorb into the design as it sits.
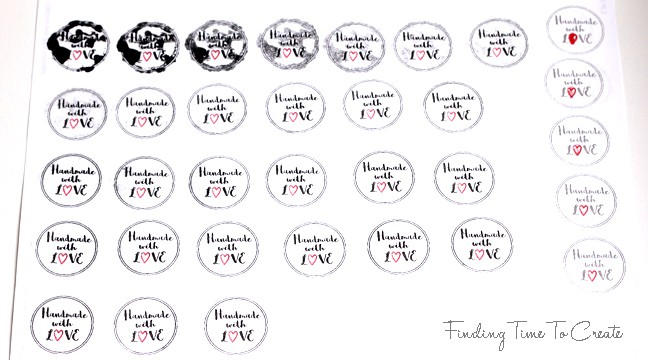
Below is the page I stamped all over to get rid of the extra ink. The column on the right is where I stamped after adding only the red (you can see the residual black from its original inking after about 100 stampings).
Mint Stamp Kit vs. Stamp Sheet Refills
There’s one more clever thing Silhouette thought of with the Mint. You can use a single mounting block for several different stamps of the same size. You only need one base of each size you want (stamp kit) and then you just purchase stamp sheet refills of that size.
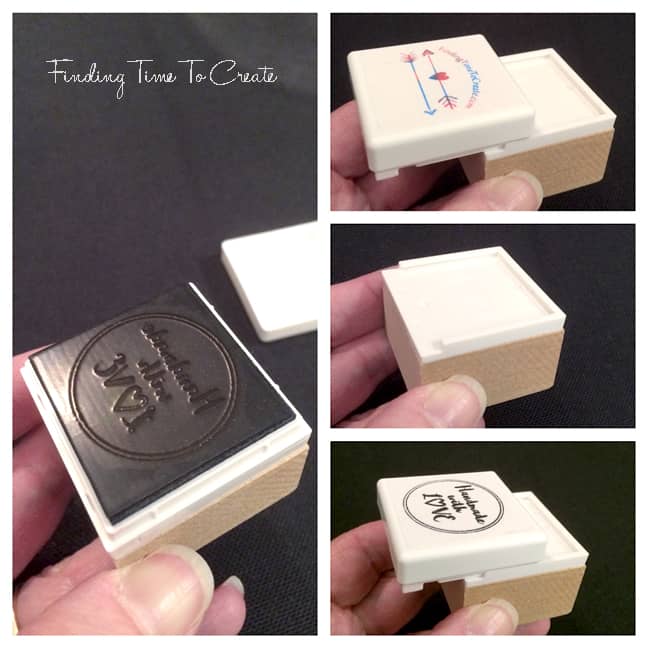 A stamp kit gets you the mounting block and one stamp (with a lid) in a single size. When you buy a stamp sheet refill for that size, you get material to make two more stamps with lids for that size (no mounting block). They come with stickers to stamp on and place on the lid to identify your stamp. They just slide on and off the mounting base.
Q&A
Have I answered your questions about the Mint? Here are a few more questions I’ve heard that I did not address above.
Q: My image looks pixelated on the screen. Will it print that way?
A: With the stamps I’ve made, I do not see any roughness in the stamped image. The images are clean and crisp. I think part of the reason it may look pixelated on the screen is because you’re looking at an enlarged image. If you zoom out so the stamp area on the screen is actual size, you don’t see much pixelation.
Q: Can you use non-Silhouette ink?
A: Sorry, but I haven’t tried it yet. The Silhouette ink is quite thick. I’ll update this answer once I try it. I do not think using a Mint stamp on a traditional ink pad will be very successful.
Q: Don’t you think the stamps are too expensive?
A: In my opinion, stamping has never been a cheap hobby. I once purchased a custom rubber stamp for about $20 that was limited to three lines, had very limited font options, and was allowed one of about five different images that were available. The size was comparable to the 30×60 mm stamp (currently $12.99), making a Mint stamp both cheaper and way more customize-able.
I also recently ordered a small re-inking stamp (before the Mint was released) that cost $10 and is comparable to the 15×60 mm stamp (currently $8.99). Again, it was extremely limited in fonts, and adding any kind of image would have cost more.
And if cost still has you concerned, watch for sales! The Silhouette America website has Mint supplies on sale quite frequently.
Also please realize the stamp prices were all permanently dropped from their initial release, so if you only checked prices when they first came out, check again!
Q: Where can I find more information about the Silhouette Mint?
A: See my other posts:
Step-by-Step: Make a Mint Stamp
How to Make a Multi-Color Mint Stamp

Kelly great review and tips, it really helped hugs, Sandi
Thanks, Sandi! Glad you found it helpful. 🙂
After several hours of going through webpages about the Mint, yours was the only site that answered my question about how the stamp base worked! Thank you for having the image of how you can change the stamp mount from the block. None of the information regarding the Stamp Kit vs Sheet Refills is even available on the Silhouette site. I’m so glad I came across this information you provided otherwise I would have bought too many stamp kits with my newly ordered Mint!
You just made my day, Kandice! I try my best to put helpful information up, so I’m very happy I was able to provide the information you need (and thank you for saying so). Enjoy your new Mint!
Have you ever tried stamping t-shirts?
I haven’t, but I’ve seen a friend stamp dish towels with her Mint stamps. She said it didn’t wash out, but that would be my biggest concern with a T-shirt. I would think it would wash out after not too long.