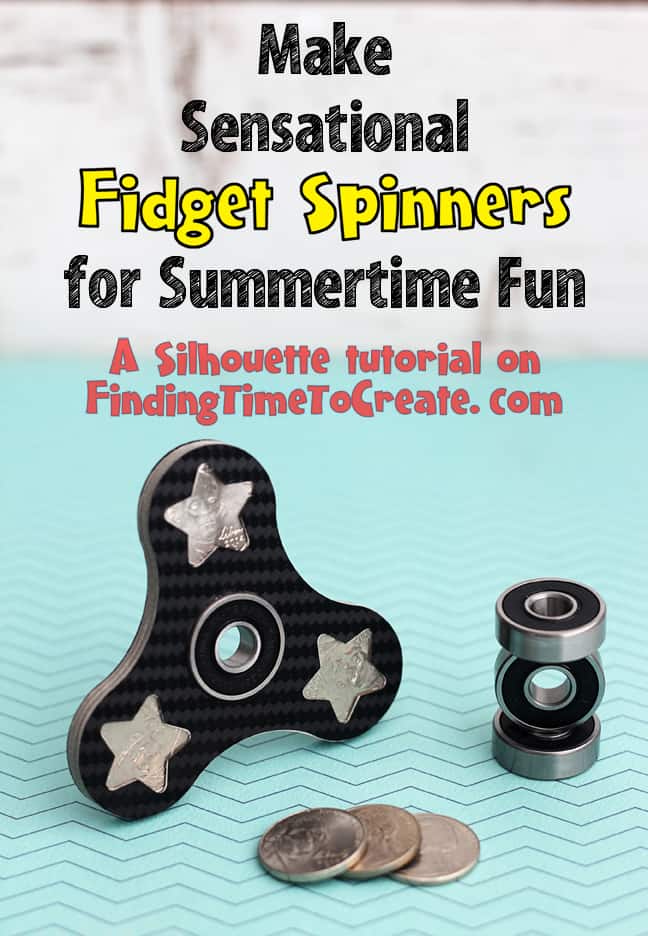
Make Sensational Fidget Spinners for Summertime Fun
How would you like to use your Silhouette machine and some loose change to make custom fidget spinners for summertime fun?
Is anyone else running out of ideas to keep the kids busy this summer? My husband has been trying to come up with golden ideas for my Silhouette machine to share on my blog for quite a while, and he’s thrilled I actually followed through on this fidget spinner idea! It’s a great summer project!
What you’ll need for each fidget spinner:
- Fidget Spinner Silhouette Studio file (download adhesive version HERE, 12 x 12” CAMEO version HERE, or SVG version HERE)
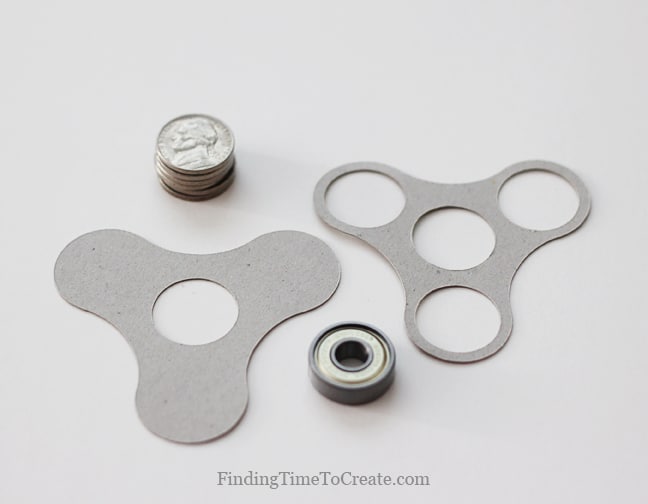
- Silhouette chipboard (1 sheet)
- Double-sided adhesive (1 sheet) OR glue
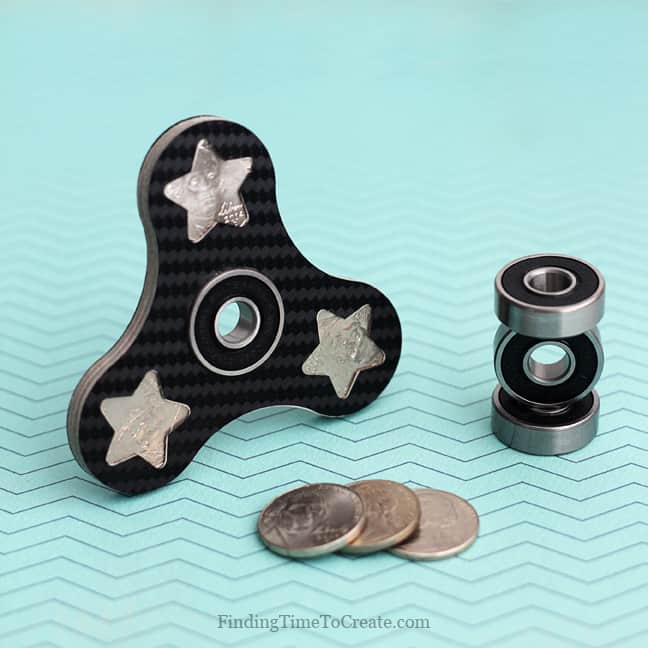
- One 608 bearing
- Six nickels
- Silhouette CAMEO, Portrait, or Curio (with large base)
- Optional materials for outer decorative layers:
- Metallic vinyl
- Printable vinyl
- Sticker paper
- Get creative with other materials!
How to cut:
I tried a couple of variations in assembling these fidget spinners, so here’s what I decided I like best.
- Trim a piece of Silhouette chipboard down to 8.5” x 11”.
Tip: You can use a different chipboard or paper material, but it turns out that four layers of this particular chipboard is exactly perfect to house a nickel so it sits flush with the top layer. And it cuts nicely with my Silhouette CAMEO, which I have not found to be the case with some other chipboards.
- Peel away an inch or two of one layer of backing from a piece of letter-size double sided adhesive. I peeled away the thicker white layer and left the adhesive attached to the thinner yellow layer in order to keep it as thin as possible.
Carefully press a crease into that fold so you have a strip of adhesive exposed at the top of the sheet. (See image below.)
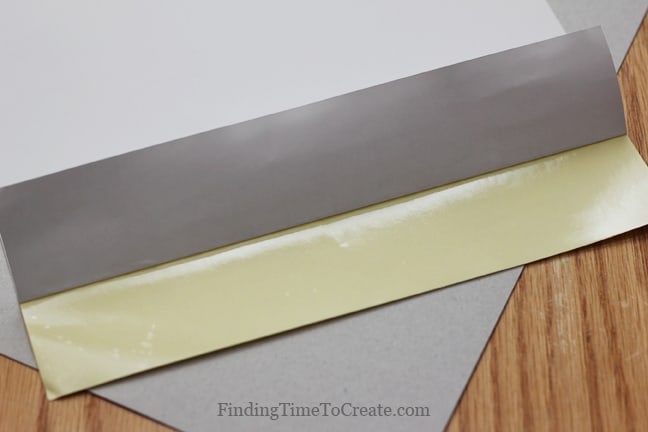
- Line the adhesive sheet up with the chipboard and press that exposed adhesive edge on to the top of the chipboard.
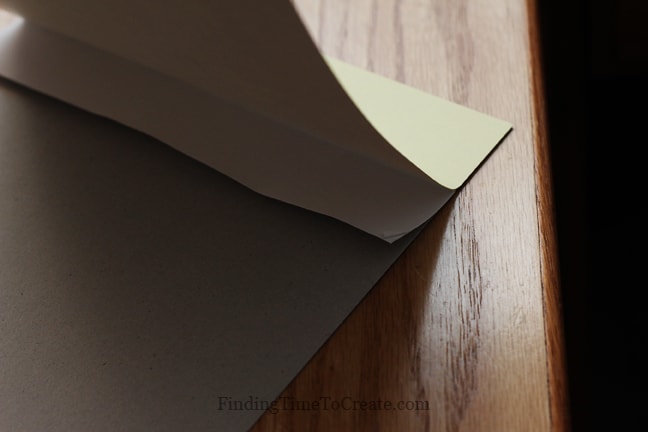
- Once the top is attached, gently peel away the rest of the backing while smoothing the adhesive down against the chipboard. The goal is to have the full sheet of adhesive stick to the full sheet of chipboard, leaving the yellow backing in place on top.
- Press the chipboard on to your cutting mat (use a sticky mat, not one that’s nearly worn out) leaving the yellow backing facing up.
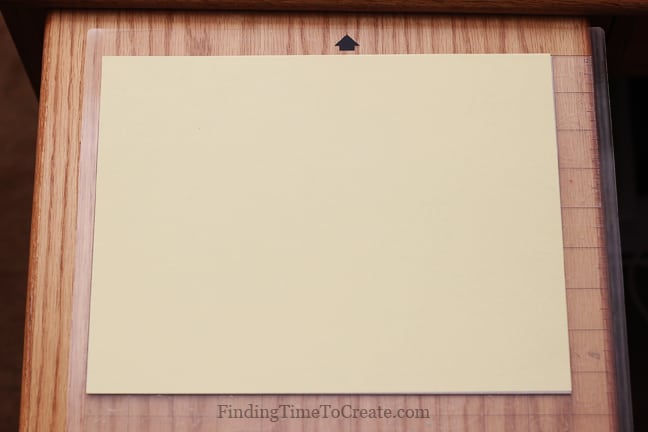
- Make sure the virtual cutting mat and page size matches your actual mat and 8.5 x 11” chipboard, adjust the blade if necessary, then send it to cut.
Note: I have noticed when I cut a lot of chipboard (like making 5+ fidget spinners or making a lot of photo props), my blade does dull faster than normal. I started cutting this chipboard with a sharp blade on 5, speed 1, thickness 33, single pass…but several chipboard sheets later I was up to blade 6, speed 1, thickness 33, double pass. It also cut better on the stickier areas of my mat. Just something to keep in mind.
Depending on how many spinners you make, you may need to adjust your blade settings higher as you go, or try to rearrange the design so you’re not cutting in the same spot on your mat each time. It’s important to use a slow speed (1-2) with thick materials like this.
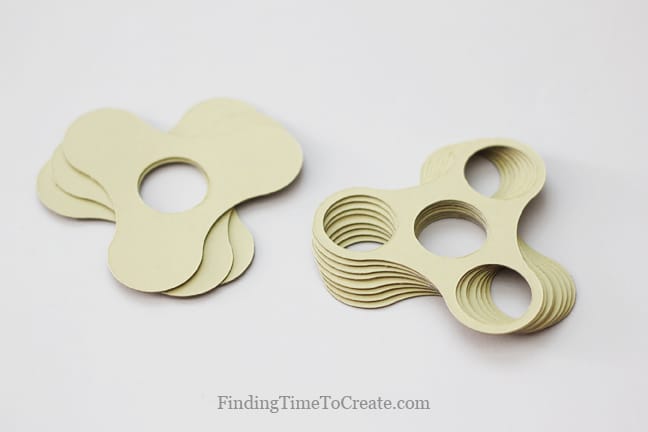
- You’ll end up with three “A” pieces and eight “B pieces” that have the adhesive ready to go. If you want windows to see the nickels, use two “C” pieces in lieu of two of the “A” pieces.
Assembly:
Because we already applied adhesive to the chipboard, assembly is pretty quick.
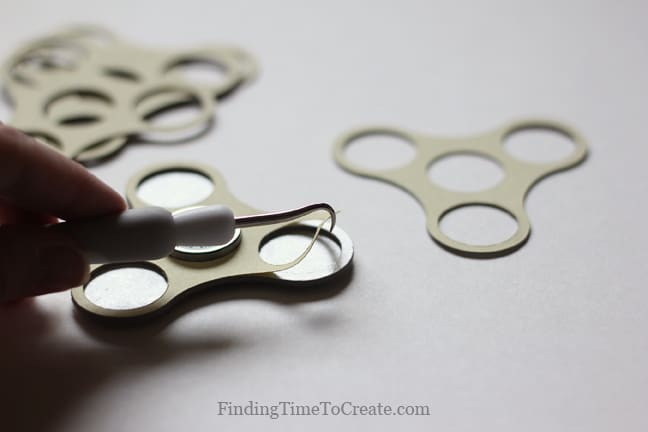
Note: the adhesive sheets in steps 2-4 above are optional. I also made a couple of fidget spinners with liquid glue in this fine-tip glue applicator and it worked fine. The final spinner is more stiff with glue compared to adhesive sheets, but gluing each layer takes a little longer than the peel-and-stick method below.
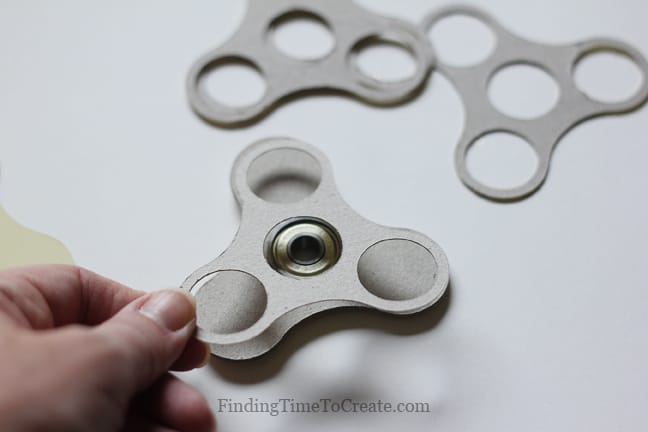
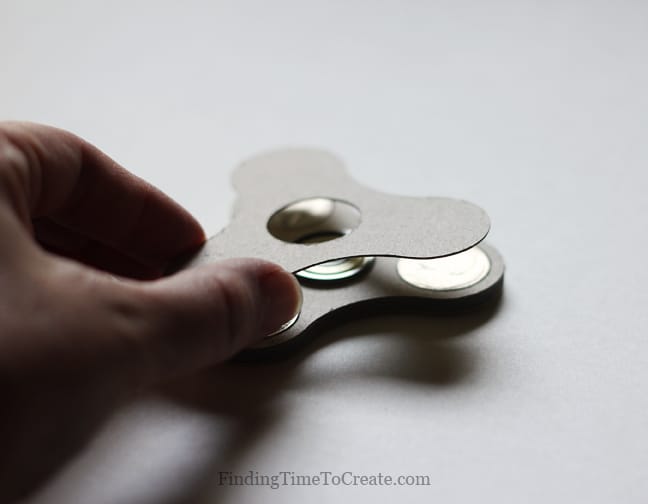
- Start with piece “A” (only a center hole) and insert the bearing into the hole. It will be lightly snug and get tighter as we add more layers. (See image below.)
Tip: Keep this bearing in the center hole as you add layers. It will assist as a guide in placing the layers exactly on top of each other.

- I suggest making two piles of four “B” pieces because four will go on one side of piece “A” around the bearing, and four will go on the other side of piece “A”.
- Peel away the yellow backing to expose the adhesive and press down the next layer of chipboard, being careful to line up the edges before pressing the pieces together.

As I mentioned, you will have four “B” layers on top of the center “A” piece.
- Once the four layers are on the one side of the center “A” piece, flip it over and apply one layer at a time of the four remaining “B” pieces to the back side. This time you’ll peel the backing off the loose piece before pressing it down onto the stack.
I love the precision and consistency with which these Silhouette machines cut! I was almost surprised at how easy it was to line up the pieces and keep the edges fairly uniform with a total of 11 layers. (But not completely surprised, because that’s definitely something I’ve always loved about my CAMEO and earlier models.)
- With four “B” layers on the front and four “B” layers on the back, you’re ready to put a nickel in each hole and seal them in.
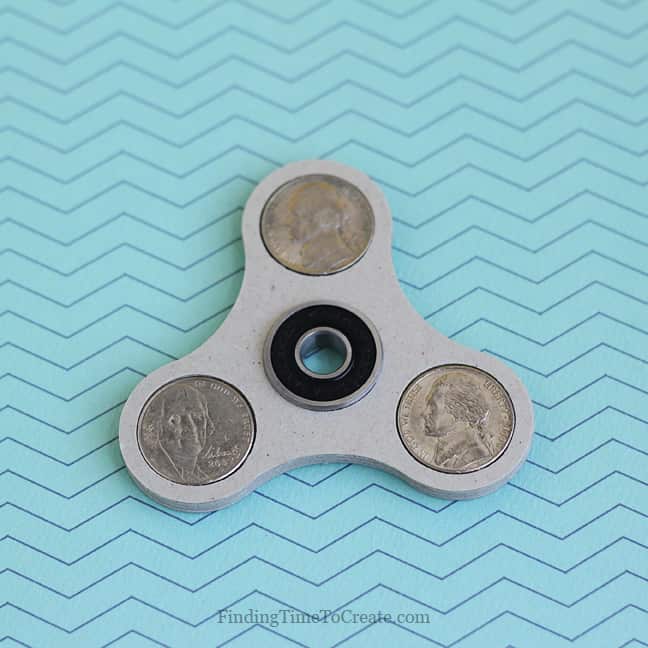
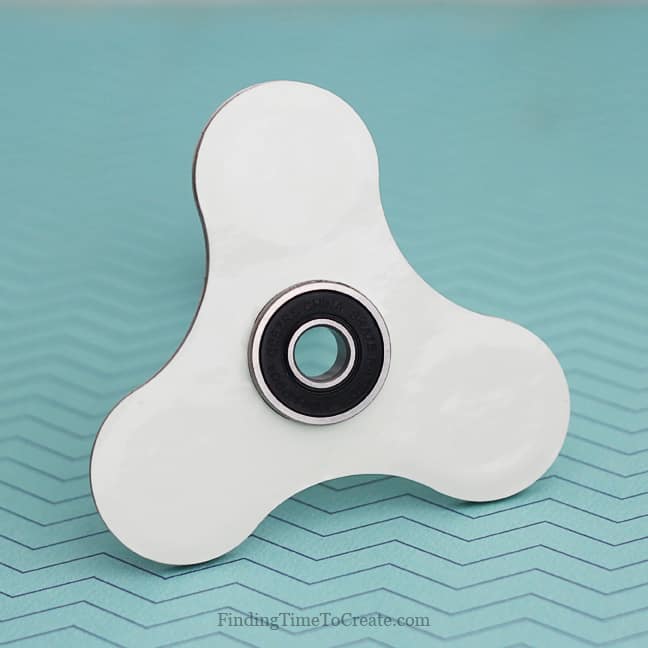
The image below shows an “A” piece to completely hide the nickels, but if you want to show off how clever you are by using nickels as your custom fidget spinner weights, then use a “C” piece as the outer layer on each side.
Note: Your chipboard pieces can face up or down; they are symmetrical enough for our use here. So don’t worry if you forget what direction you have been applying them or wonder about duplicating pieces in Silhouette Studio.
These only cost about $1.70 – $2.50 to make, depending on sale prices and whether you use the adhesive sheets or not:
$0.40 chipboard + $1 bearing + $0.87 adhesive sheet + $0.30 nickels = $2.57
Apply Decorative Outer Layer:
Here’s where you get creative and put your own “spin” (get it?) on your custom fidget spinner! Part of the fun is spinning these little doo-dads, but part of the joy is the texture so you (or your kids/grandkids) enjoy holding and touching the spinner.
I tried a lot of different finishes, so here they are:
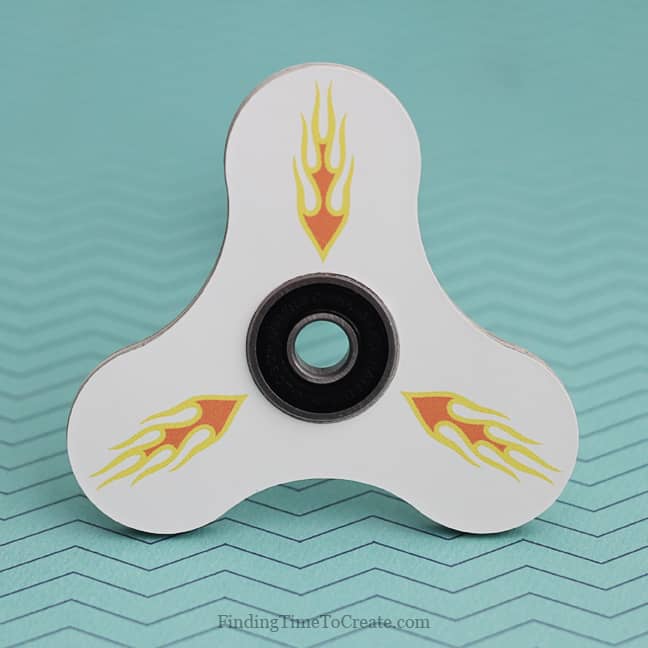
Print & Cut:
These four spinners I made into print & cut designs by filling an “A” piece with patterns from the Silhouette Design Store and/or from images I found online. I printed them on printable vinyl, but you could also use sticker paper or regular paper for printing.
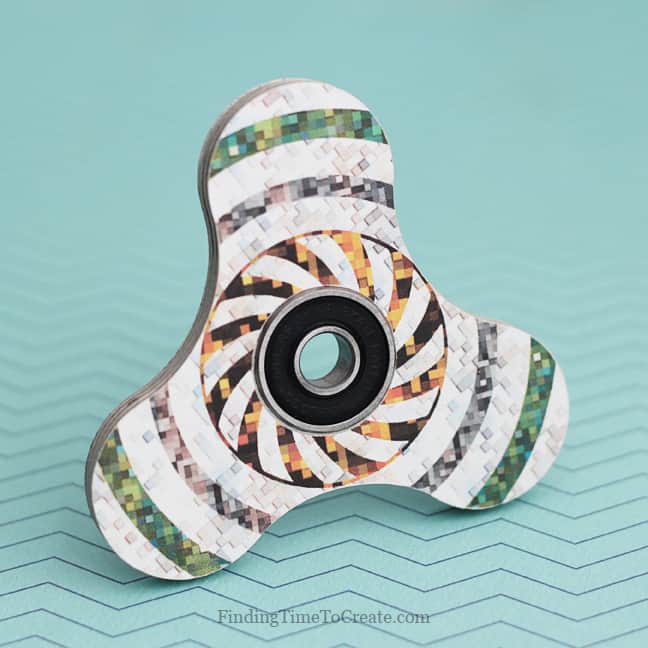
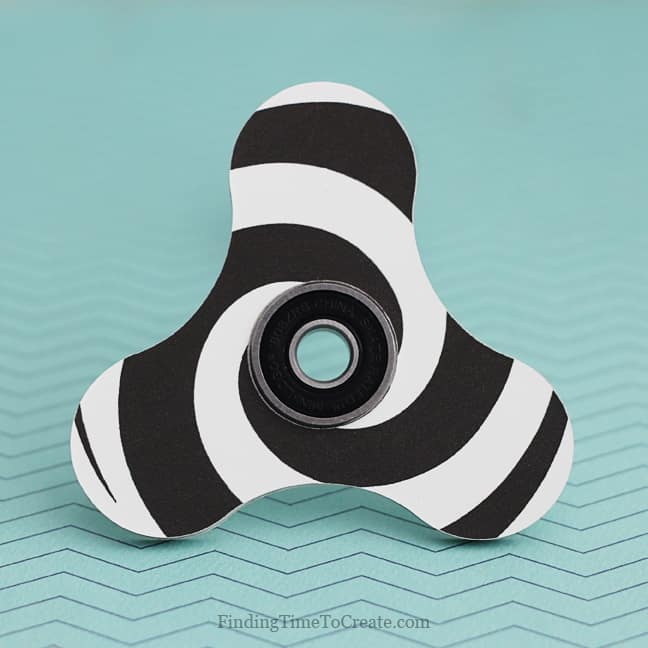
I’ve included this printable spiral design with the Silhouette Studio cut files provided with the supplies at the top. It’s quite mesmerizing to watch this one spin. 🙂
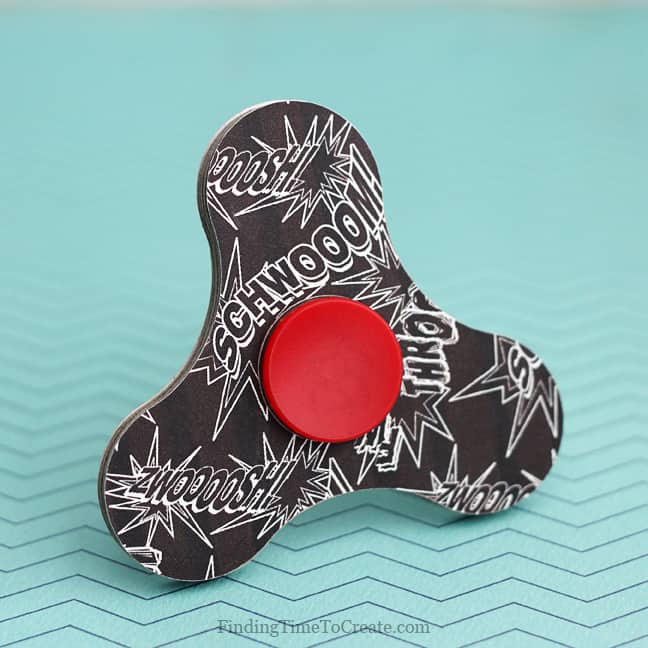
I just borrowed the red spinner cap here from one of my kids’ plastic fidget spinners, and it really improves the spin. I ordered some more caps for my other spinners (no longer available), and they work great!
Texture:
Here are a couple of spinners that have a fun texture for a nice tactile experience.
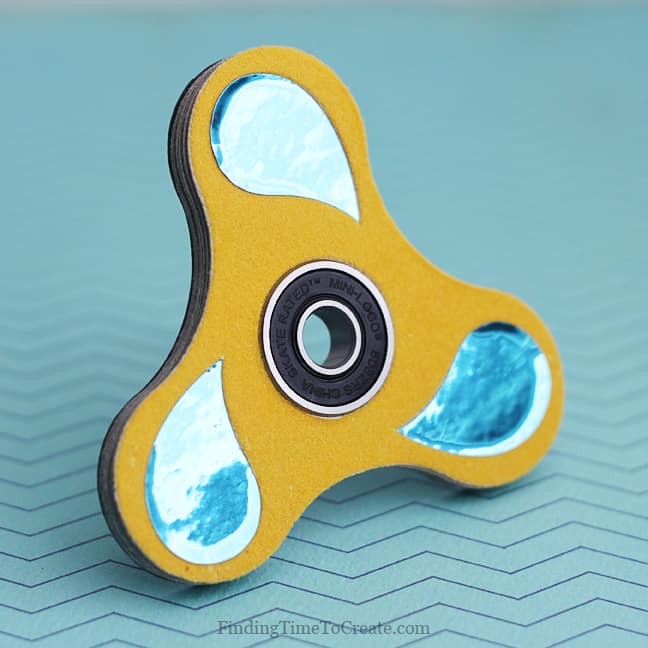
The yellow is flocked heat transfer material (I used an iron to apply it to my “A” piece before adding it to the fidget spinner). The blue portion is a new color of metallic vinyl from Silhouette.
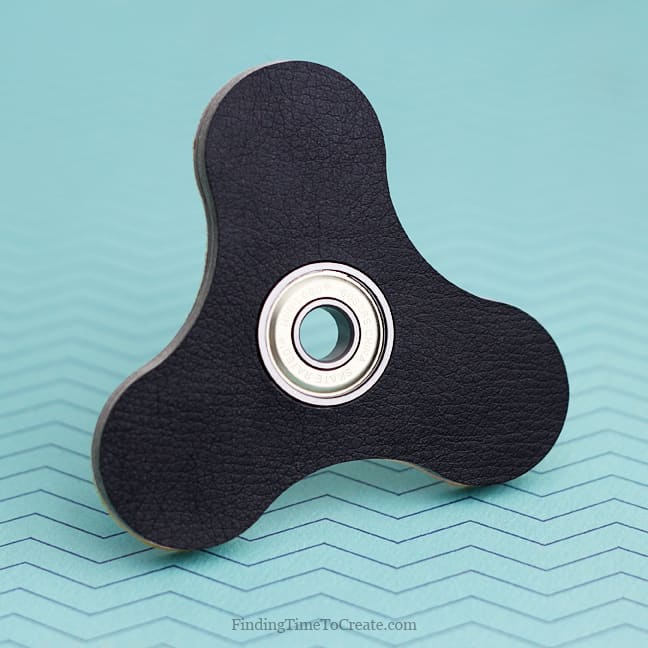
And this one below is a layer of Silhouette leatherette, because I like how it feels, too.
Visual interest:
I love the look of these, although they feel nice, too.
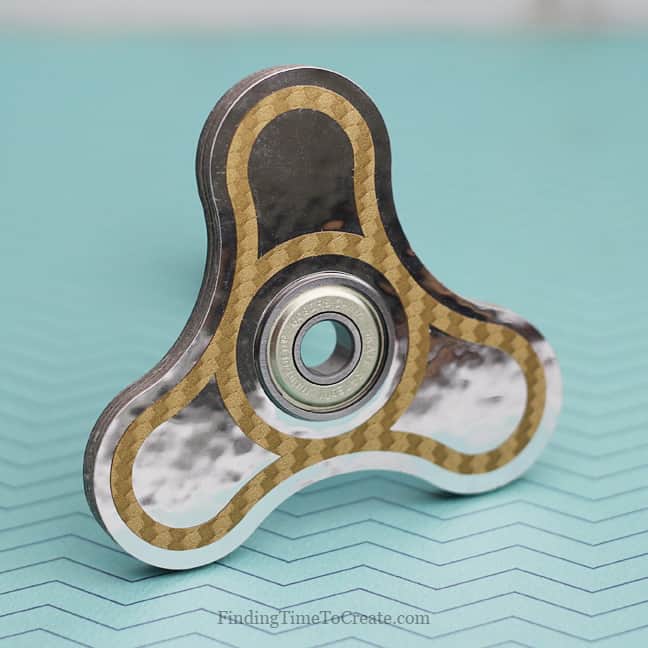
This one above has a thin decorative layer of gold carbon fiber vinyl, another newly-released product by Silhouette. Because it’s vinyl, the adhesive is already there and it’s really easy to cut in this delicate design. The lower silver layer is Silhouette metallic adhesive vinyl.
I’ve included the skinny border as part of your download.
This one may not look that exciting, but it’s actually glow-in-the-dark vinyl, so it looks super cool when you take it to a dark room and spin it. Watch!
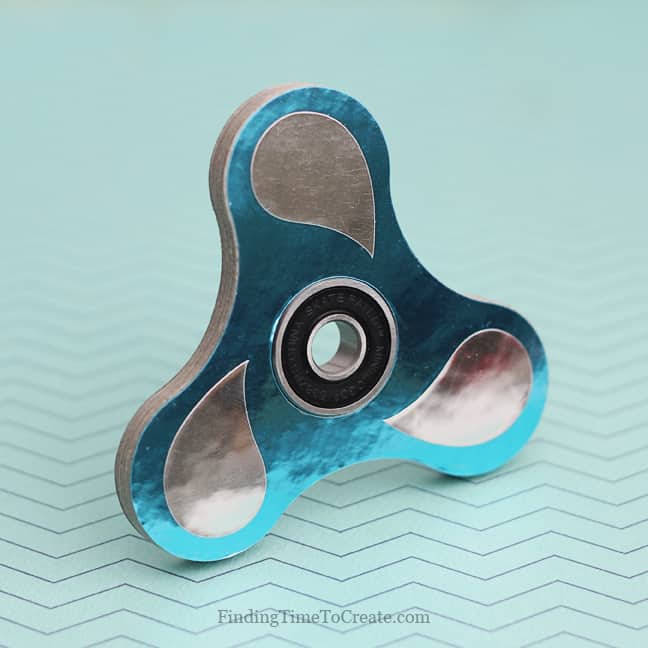
This example uses a layer of blue metallic vinyl underneath, with decorative spots of silver metallic vinyl. I’ve included these shapes in the download, too.
And finally, my favorite is this window fidget spinner covered in a layer of black carbon fiber vinyl, where you can see the nickels through the windows. I cut the two outermost layers of chipboard and the decorative vinyl layers with piece “C” instead of “A”.
So what do you think? Do you want to try making your own fidget spinners? This can be a great way to use any of those adhesive-backed materials (and scraps) you may not know what else to do with!
My husband and I would love to see what you make with this design, so please tag me on Instagram (@kraftingkelly) or on my Facebook page (Finding Time To Create), or even send me an email! I would love to include pictures of these fidget spinners from my readers in a follow-up post!
Happy Crafting!
This post contains affiliate links. It won’t change your price, but it helps you by getting exactly the product I used, and it helps me by giving me a little income to help support this blog. Win-win. 🙂

Very Clever!
Thank you, Diane!
Thank you Kelly! Great tutorial and files!
You’re welcome, Whitney! Glad you like it! 🙂
How fun. My kids love playing with fidget spinners. I would love for you to stop by diyhshp.blogspot.com and link this up to my More the Merrier link party.