Baby Girl Onesies | Heat Transfer Tutorial
I have just fallen in love with heat transfer material all over again!
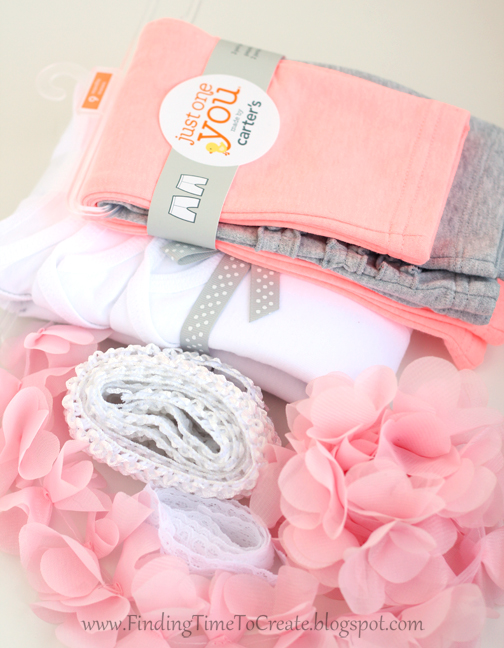
Not because I was procrastinating, but because I have been so busy (ahem)…I waited until the day of a baby shower to start on my gift. I got up early and went out shopping for onesies, pants, and embellishing materials.
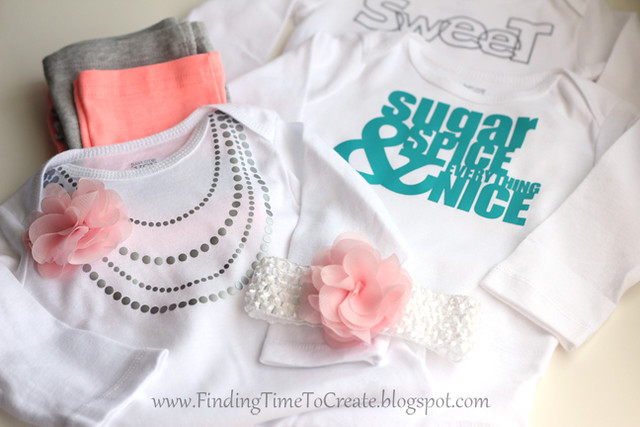
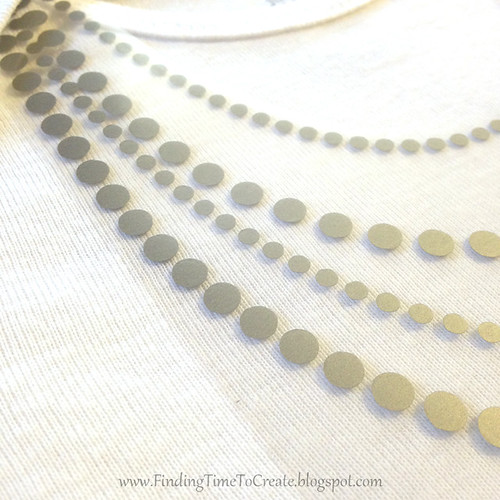
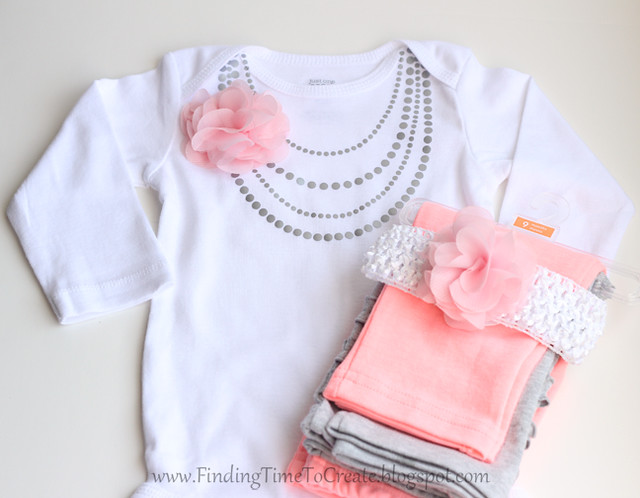
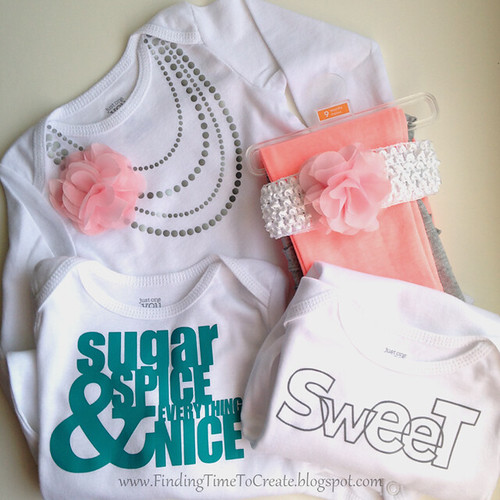
Then I came home and started making things up. I had done a little research (á la Pinterest) and decided I wanted to make a cute necklace onesie, so that’s where I started. Out of the heat transfer colors I had on hand, I decided silver would be the color for my necklace “beads.” That way it would go with both the pants in the set I had purchased, which were grey and bright peach.
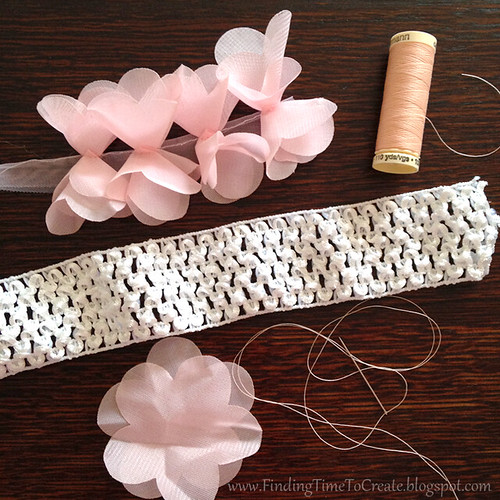
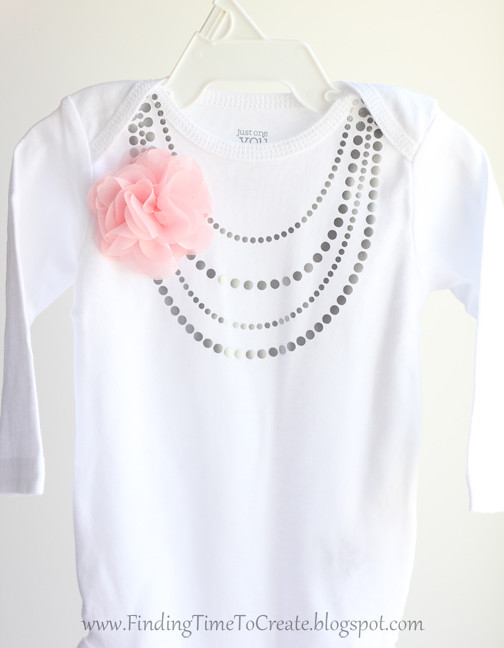
I picked up some pre-made sheer flower-petal trim out of a softer shade of peach (from Jo-Ann Fabrics) so I could make some feminine flowers quickly. (I can make flowers like these with my CAMEO, but this saved a lot of time.) For the fabric flowers, I layered the flower trim and hand-stitched it with needle and thread. I added one to a baby headband I made and saved another for the onesie.
Now for the heat transfer. It is so easy to cut and use. You just have to remember to flip your design to a mirror image, because you’ll be cutting the back side of the material.
I designed a necklace in Silhouette Studio with some partial ovals and my Rhinestone Tool (in Studio Designer Edition). Here is the necklace cut file (for Silhouette Studio). You’re welcome. 🙂
When your design is ready to cut, be sure to set your Cut Settings to the correct heat transfer material. The smooth setting is best for smooth (regular) heat transfer. The flocked setting is best for flocked or glitter heat transfer. All three are wonderful. ♥
You can use a cutting mat to load the heat transfer into your Silhouette machine, or you can just load it straight from the roll or the sheet. The blade settings remain the same either way. If you load it without a mat, make sure to adjust your rollers so the material is securely between both white roller wheels.
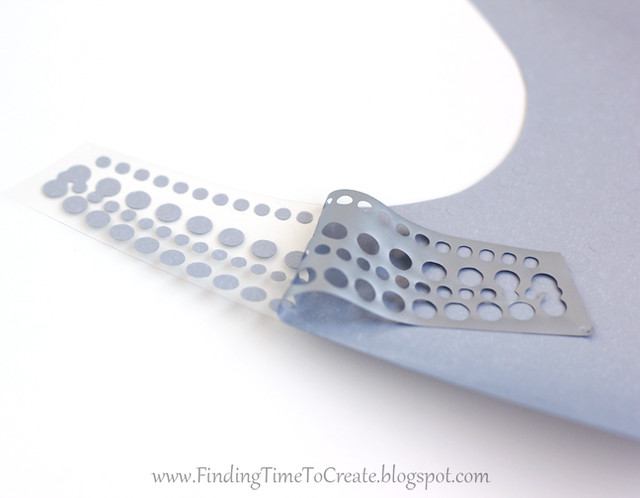
The clear side goes down, the dull side faces up. The clear side will become your transfer tape once you’ve weeded away the excess material. The clear backing is sticky so it holds on to the heat transfer, which is not sticky on its own. The heat transfer has to be activated by heat to get it to stick to anything.
Once you’ve cut the design, use a hook tool to weed away the excess material. I actually like weeding heat transfer more than adhesive vinyl, because it isn’t sticky and won’t attach itself to unwanted parts of your design by accident. …Not that that’s ever happened to me. 😉
If you’ve got text, it will still be in reverse until you flip it over to apply it to your fabric.
To apply it to your fabric, you just put it shiny-side up, sticky side against the fabric. Then iron.
Some tips for ironing:
- I usually iron straight onto the clear backing, but it’s a good idea to start out with something between your heat transfer and your iron like a thin cloth, a piece of paper, parchment paper (not waxed paper or freezer paper).
- Flocked heat transfer takes longer to adhere than smooth because it’s thicker.
- Press and hold, then lift, to move your iron around; rubbing back and forth can cause your design to move out of place by accident.
Note: It’s also a good idea to wash and dry any clothing first to remove any fabric softeners, and do not add any fabric softeners or dryer sheets when washing/drying. This can prevent the transfer material from adhering to the fabric.
Once the design is stuck to your fabric, peel away and discard the clear transfer backing. For the necklace design, I stitched the flower to the onesie with needle and thread to give it that extra fancy element. Fancy Nancy would be so proud of me! And don’t forget the matching headband!
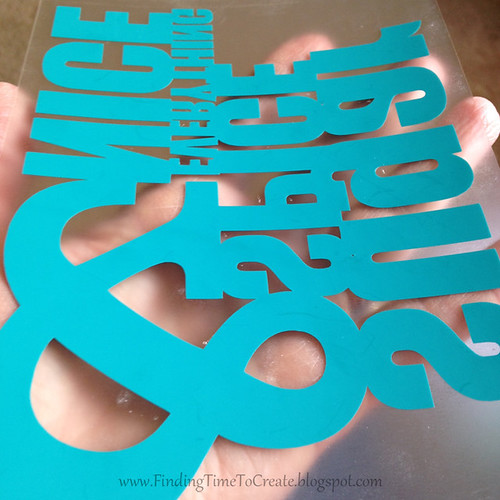
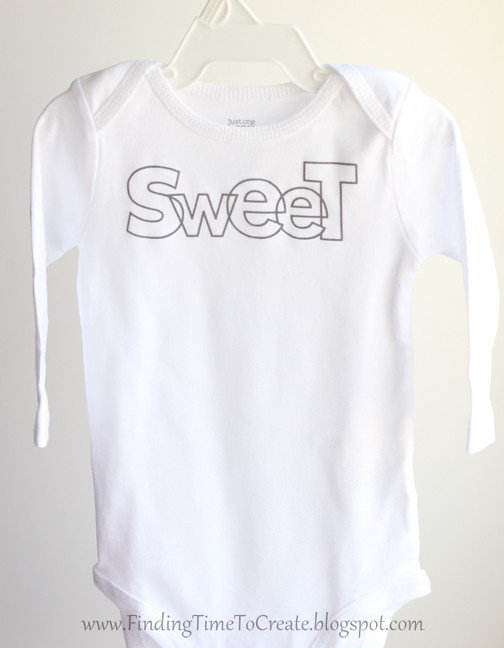
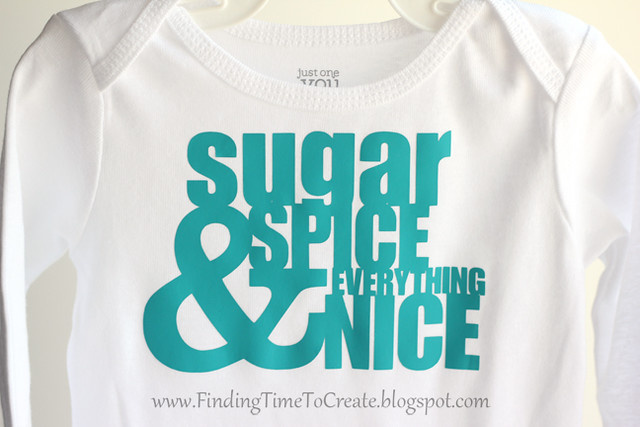
Time was almost up at this point, but the heat transfer is so fast that I just picked two adorable designs in the Silhouette design store and cut them with my CAMEO to apply to my remaining two white onesies. The teal color is smooth, and the grey is flocked.
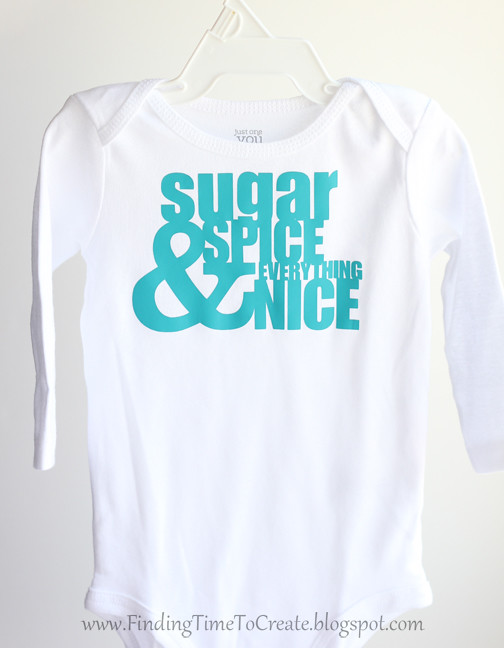
Ooh, baby, she’s going to be adorable wearing these! (I had to tell the mom-to-be that I made these, because I don’t think she could tell. They turned out too well. 😉 )
So are you ready to try heat transfer material yet? If you have questions about using it, please ask! I don’t use it as often as I work with paper, but I pretty much love it every single time.
Designs Used:
Phrase: little girls (Silhouette Design ID #4801)
“Sweet” outline word (Silhouette Design ID #15550)
Necklace for onesie (my design)

can I buy these from you, lol. They are so cute! My little girl is coming in May!
I wish I could say yes, Alexa, but I'm afraid I don't have the time. That's why I give the DIY instructions. 😉
Great gift ideas, Kelly. Very clear instructions – thanks for that. Hilary
Thanks, Hilary! I hope they are helpful. 🙂
What an adorable gift! You are so brave, I could not wait until the day of, that's when I would do everything wrong! LOL! Thank you for the step by step directions and the free file!
Yes, not the best idea to wait until the day of. I had plans for even more with the flowers but ran out of time. 🙂
I've tried to post 3xs time now, so excuse my bluntness. I suck at proportions and measurements, I just wing it taking an educated guess. How can I get better at this?
I do a lot of trial and error with disposable materials. To make sure the necklace was going to look nice on the onesie, I actually filled the design with grey in Silhouette Studio and printed it on plain printer paper. Then I held it up to the shirt to see if it looked right. You can do that with any design before committing to the cut (assuming you can fit it on printer paper).
I also use a ruler a lot. I hope that helps. 🙂
Thanks for sharing, Kelly!
You're welcome, Linda!
it wont let me open up the file :9 can you email to meby anychance?the necklace 🙂
Sorry about that, Christine. I just emailed it to you. Enjoy! 🙂
Thank you Kelly!!! I am so excited to try this. I can’t even tell you how much I appreciate the file (I know that must have been a lot of work to create). I am a total last minute gifter, but I always like to have the best gift and this fits the bill.
Thanks so much for the comment, Kelli, and I hope you enjoy making this! 🙂
THANKS so much for the necklace file and tutorial! making this for a friend. super cute onesies.
You’re welcome, Aileen! I hope your friend likes them. 🙂
i Love this!!! i would love to make this for my niece but the tile isn’t working. could you please send it to me?
TIA
I received your email and will send the file ASAP, Marissa! 🙂
I love it. Would you mind emailing it to me? I can’t get it to open.
Done! 🙂
Hi Kelli,
I tried emailing you but didn’t get a reply and thought I’d try leaving a message here. I know this post is from many years ago but I just came across the necklace svg file but can’t seem to open it when I try to download it, even after installing all that it tells me to. I just love the baby necklace onesie and would love to try to make one. I am hoping you can email me the svg file.
Thanks!!!
Perhaps the problem is that it’s a Silhouette Studio file and not actually an SVG file. I’ll make an SVG version and email it to you so you can use it outside of Silhouette Studio. Sorry I didn’t see your email sooner.
I was wondering if there was a way to print out the design for ironing on with out using a circuit? I would love to purchase a copy of this design?
Robin, I sent you an email with a printable PDF attached.