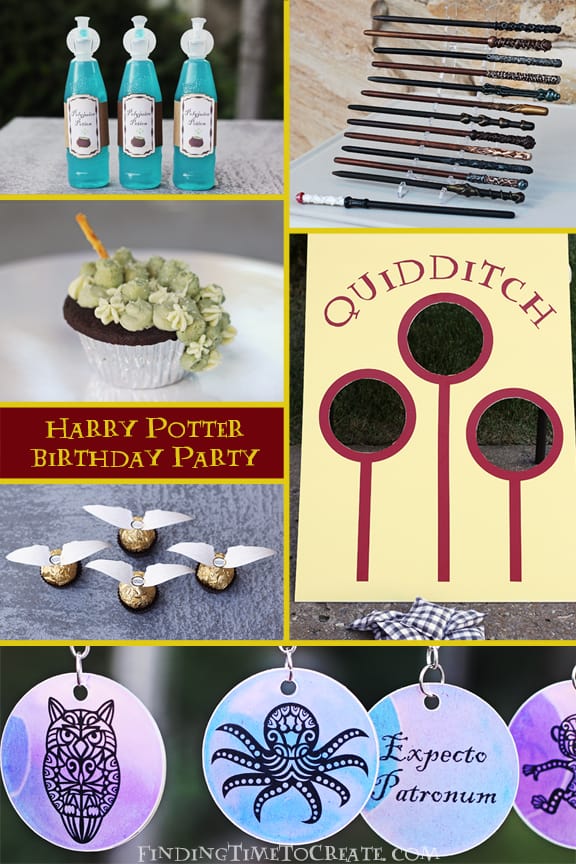
Harry Potter Birthday Party
Welcome to my version of a Harry Potter birthday party, pandemic style. There is no shortage of Harry Potter birthday party ideas out there, so most of the ideas I got from other sources. A few things are uniquely mine.
Pandemic Alterations
In the middle of a worldwide pandemic, this is not the year I would have chosen to have birthday parties for my kids. I don’t do it most years. However, my teen daughter has been planning a Harry Potter party for her younger brother’s 11th birthday (which falls in July, just like Harry Potter) for years, apparently. This has been a rough time the past several months with my kids being cut off from their friends, so I decided we could do this so I could say yes to some of their social needs.
I let my son choose four friends, and each friend could bring a younger sibling. That meant only four families, and we split the seven kids into two 30-minute groups. We asked them to wear face masks (we did, as well), we held it outside on the large front lawn, and I enforced 6-ft social distancing as much as possible.
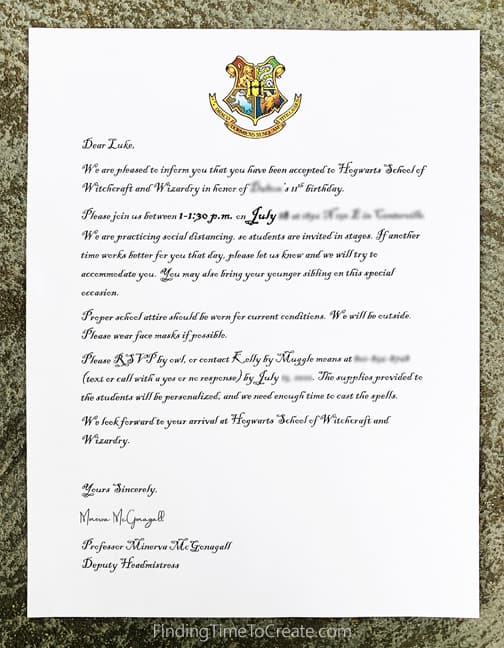
Invitations
I created these invitations from a variety of online examples, and adjusted the wording so we could be pandemic-friendly and practice social distancing. I found the emblem online and used a Microsoft computer font, Blackadder ITC.
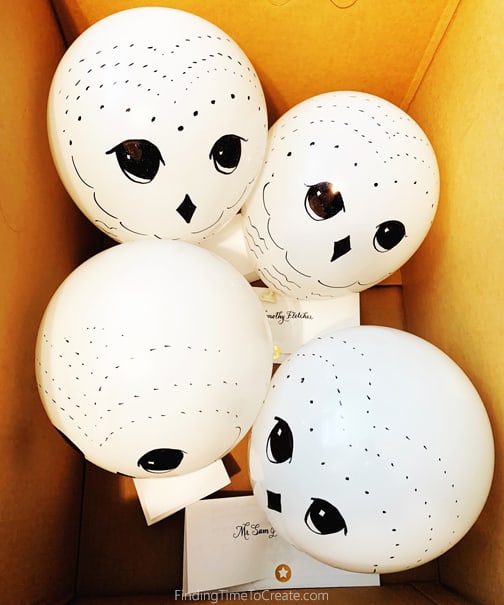
Then I used 12″ white balloons (about $3 for a 10-pack at Walmart) and a Sharpie marker to create Hedwig. Google “Harry Potter balloon invitation” for ideas on owl designs. I wrote their names on the folded invitations with my rough calligraphy skills and a small-tip brush marker.
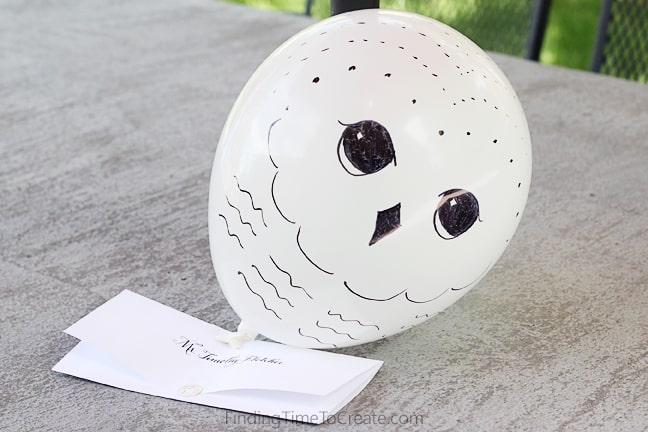
We hand-delivered these so they wouldn’t blow away in the wind.
Here is a fancier way to deliver a letter by owl. (Not a part of this birthday party.) This was to one boy as an invitation to a formal girls’ choice dance several months ago. We found this plush owl here. You could even use it as part of your Harry Potter decor!

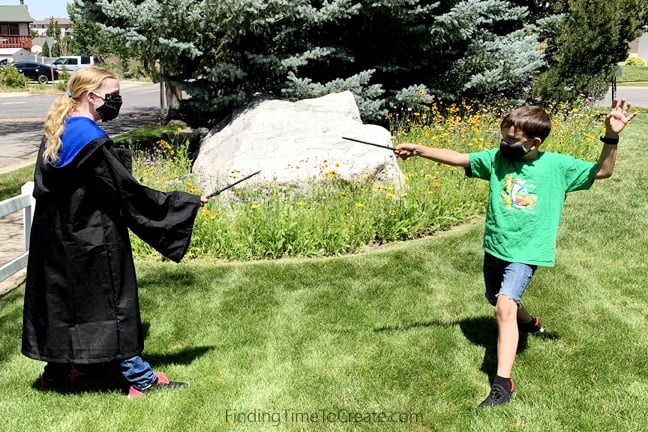
Games
We had the kids play two games. It was outside and really hot that day, and we needed to keep the kids spread apart, so the following games worked well.
Quidditch Bean Bag Toss
This was another idea I saw from multiple sources online. I drew up my own design in Silhouette Studio and had my Silhouette Cameo cut the hoops and lettering out of dark red vinyl. It used a lot of vinyl, but the scraps were used to cut out the treat bag names/decorations and the other game’s title. I applied the vinyl to a large poster (20″ x 30″) that I had spray painted yellow.
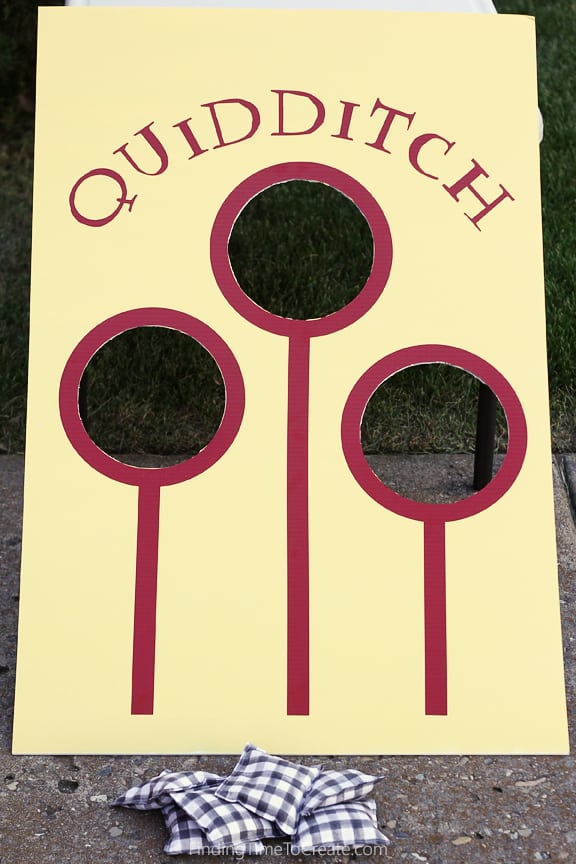
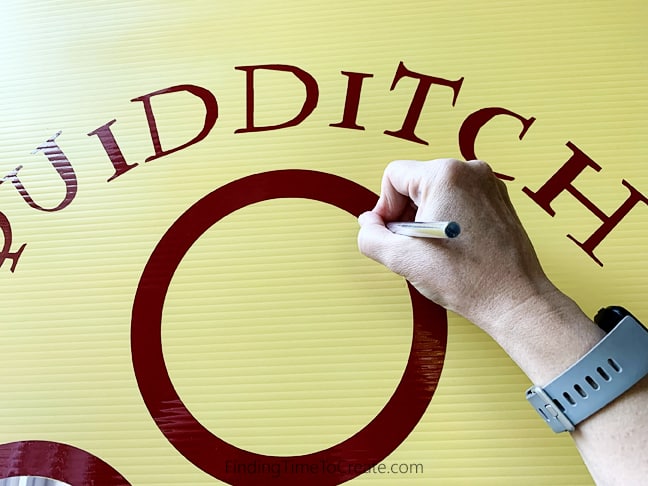
Once the vinyl was in place, I used a craft knife to cut out the inside holes with the vinyl as a guide. This font is LD Parry Hotter, in case you want to purchase it.
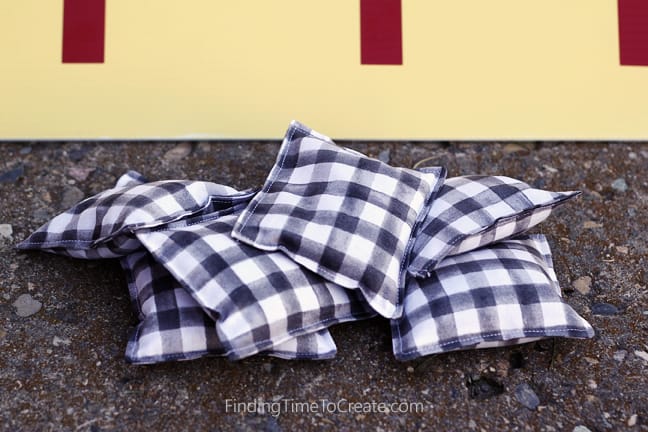
I even sewed my own bean bags for this! Again, there are a ton of tutorials online for bean bags or corn hole bags. I used one fat quarter to make six bean bags (about 4″ finished size).
Pin the Scar on Harry
The next game I made was “Pin the Scar on Harry”. White foam board, a little tracing magic in Silhouette Studio, and black and red vinyl was all it took to put this one together. I cut out lightning pieces from some old adhesive-backed cardstock, so they were basically stiff stickers and ready to go. Easy.
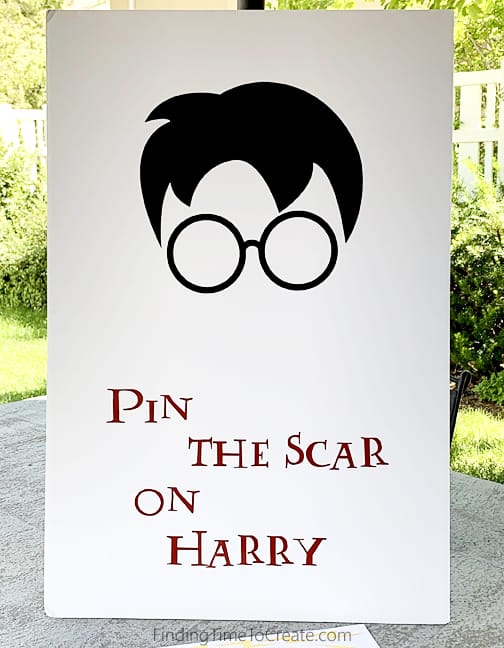
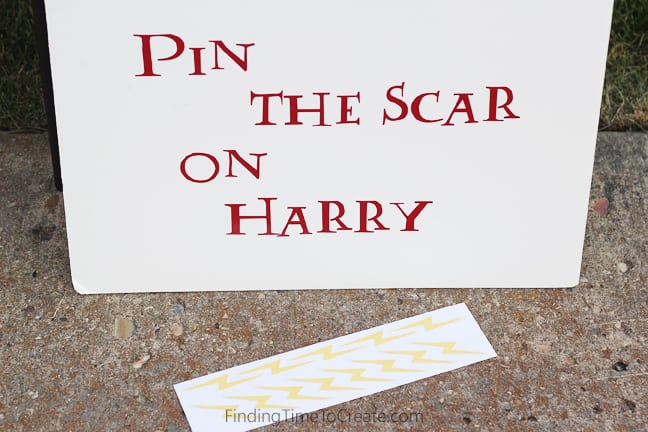
Want a tip on applying vinyl to foam core board so it doesn’t tear the paper layer you are applying it to? Use the weakest adhesive vinyl you can find. I used clear Con-Tact paper, which you can usually find in the kitchen/storage section at Walmart. Test it first, but it rarely tears the paper surface I apply the vinyl to.
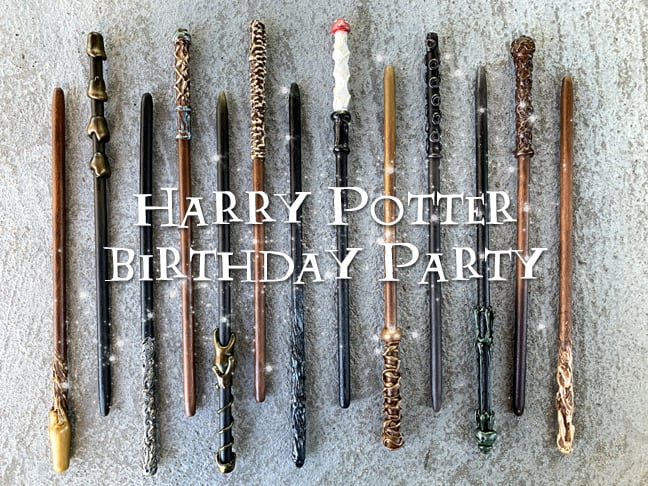
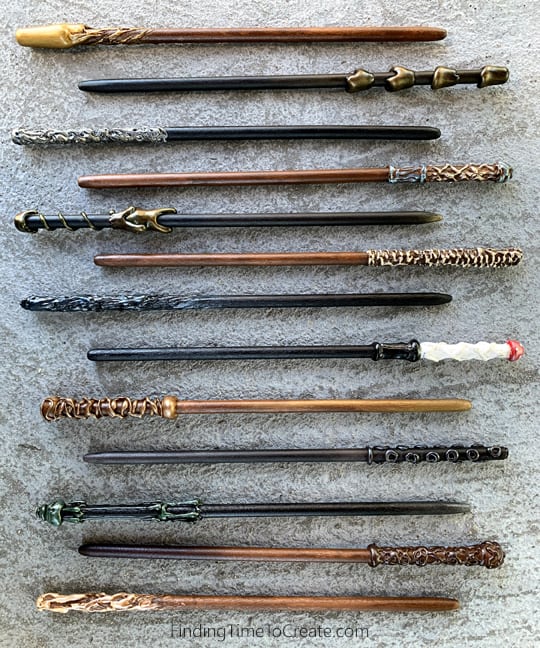
Wands
The wands were the favorite party prep for my daughter and me.
Supplies:
- Wooden dowels (3/8″ x 12″)
- Sandpaper
- Hot glue
- Acrylic paint
- Paint brushes — foam and/or bristle
- Metallic rub-on paint
- Clear gloss spray sealer
- Wand stand
How-to:
- I used a knife to whittle down the tips on the wands. I kept some tips fairly blunt, and some were more pointy. It all adds to the variety. Once the tips had some initial material taken off, I sanded them smooth with sandpaper.
- You can paint your wands with acrylic paint either before or after you apply hot glue. We did it both ways, and I preferred painting first so I didn’t have to use a tiny paint brush to paint all the tiny crevices created by the glue. The advantage to painting after gluing is you can remove the glue from the bare wood before it sits too long if you’re unhappy with the results.
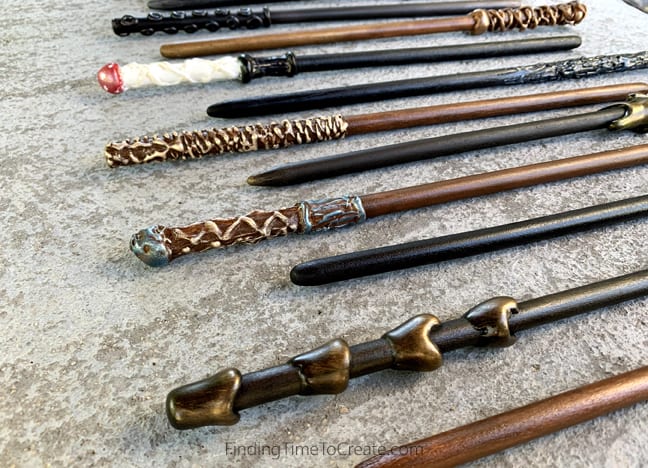
- We applied hot glue (low-temp) for the handles. This is where you can really get creative. Just remember that the thicker the glue, the longer it takes to cool. I prefer using a glue roll for jobs like this, where I use a lot of hot glue in a short period of time.
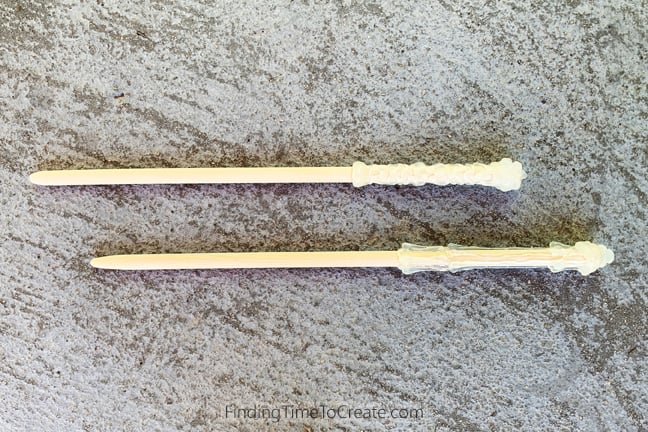
- Once the handles are complete, paint or finish painting with acrylic paints. We used a mix of brown and black.
- To add some shimmer and a variety of color, we added metallic rub-on embellishments. These aren’t super cheap, but there’s a big shimmery variety of colors that really makes the handle designs pop! I highly recommend this set. A little goes a long ways.
- Use a clear gloss sealer spray to lock in the colors. The rub-on paints don’t really dry completely and can transfer colors if you don’t seal them. If you look at the top wand picture above, you can see where I used the rub-on paint on some of the wand tips, as well. The glossy spray adds a pretty sheen to the wands, no matter what paints you use to color them.
- Finally, I bought a pen display stand to use as a wand stand for “Olivander” to show off the wands. I’ve seen some people paint this stand to look like wood, but for a kids’ party I figured they wouldn’t appreciate the little details like that. Each child was so excited to pick his or her own wand and keep it! We made a few extras so even the last child to pick felt like they had a choice.

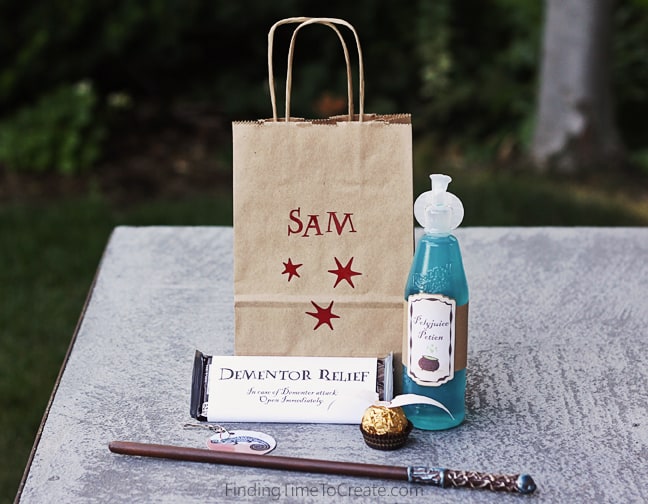
Treats & Prizes
I decorated a bag for each child, into which I put a bottle of Polyjuice Potion, a bar of Dementor Relief, and a Patronus Keychain.
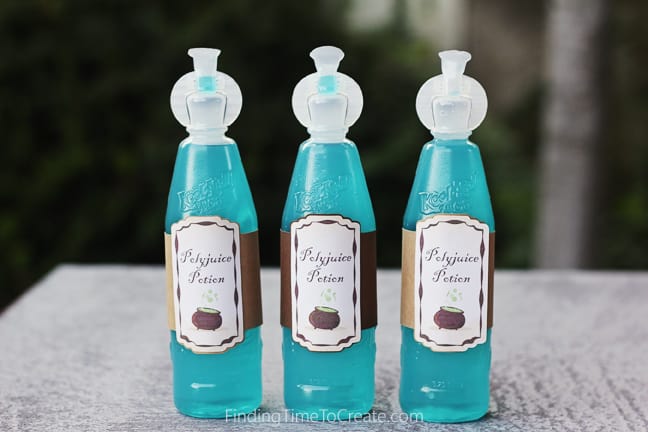
Polyjuice Potion
I created my own labels for the Polyjuice Potion with the drawing tools in Silhouette Studio and Design ID #305850 for the Witch’s Cauldron. The font is the same as I used on the invitation. This was an easy Print & Cut job for my Silhouette machine. The labels are wrapped around Kool-Aid Burst drinks, which is a clever idea I found online.
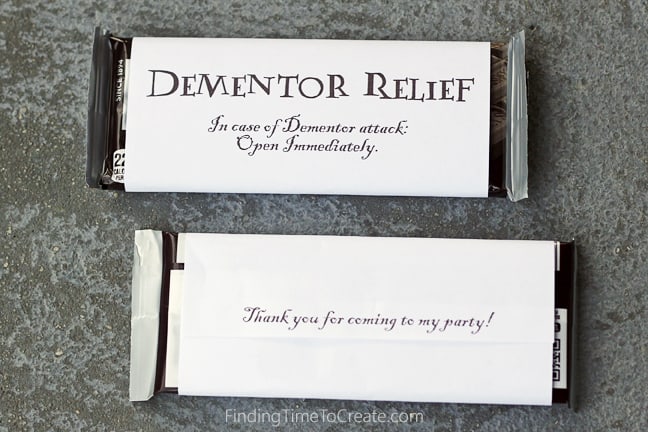
Dementor Relief
My Dementor Relief label is a 5″ w x 5.5″ h wrap with the same two fonts I used elsewhere throughout these projects. Again, I created it as a Print & Cut project for my Silhouette machine. It’s wrapped around a standard Hershey’s chocolate bar. This was another idea I saw many places online.
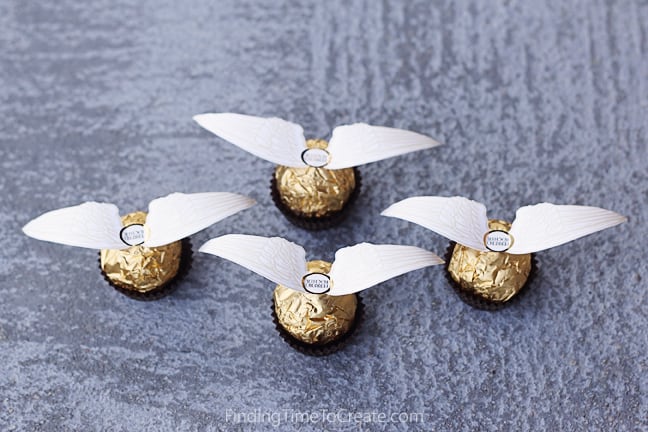
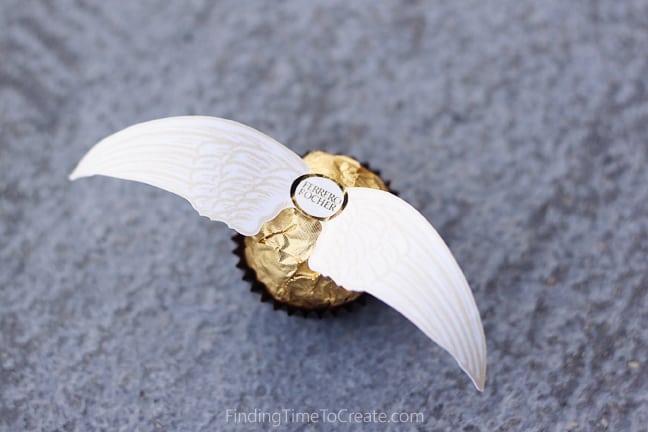
Golden Snitch
This Golden Snitch made out of a Ferrero Rocher chocolate candy is all over the internet. I liked these printable wings I found here (and traced to have my Silhouette do a Print & Cut). The kids received a Golden Snitch after they played Quidditch.
Patronus Keychain
Now back to an original idea. I wanted to create some kind of Patronus object for each party-goer. I debated long and hard about what to do, and most of the ideas I didn’t have enough time to complete or there weren’t enough coordinating objects that would look good together. In the end, I went with a cheaper and less-robust option. I think that was a good choice. I have to remember these are kids that don’t usually get excited about the fine details. (And by the end of the party some of the boys were whacking them with their wands and seeing how far they could launch them.)
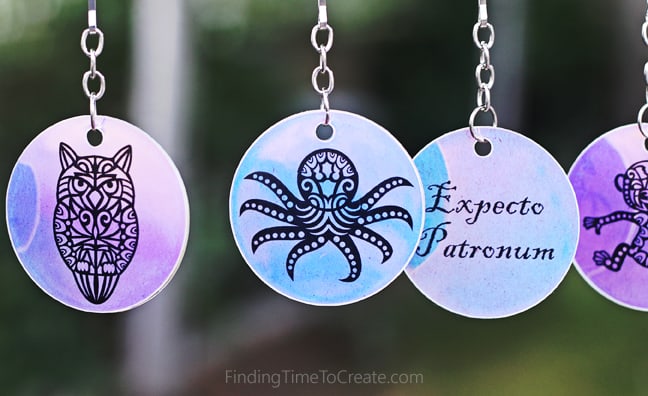
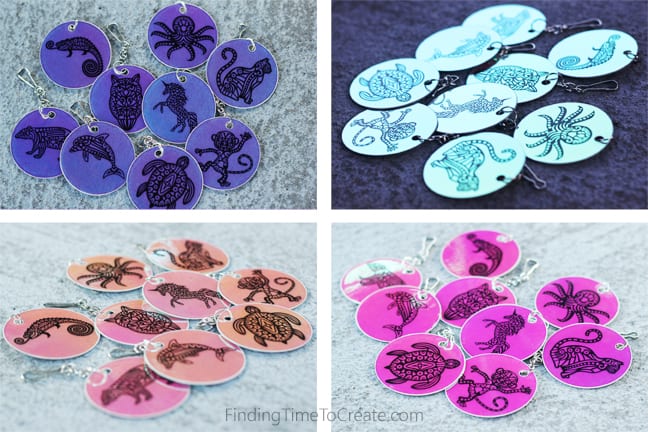
I used a bunch of tribal designs from Studio Ilustrado on the Design Store as the Patronus figures. (My son chose which animal went with each friend.) I created them as Print & Cut circle tags and used Silhouette’s iridescent sticker sheets to print each side. Then I sandwiched a piece of thin chipboard between the sticker paper.
I really love the iridescent color. At the right angle you can see yellow, peach, green, and various shades of pink, purple, and blue. (In the picture below, this is the same cluster of keychains, unmoved. I only moved the camera to capture the various colors.)
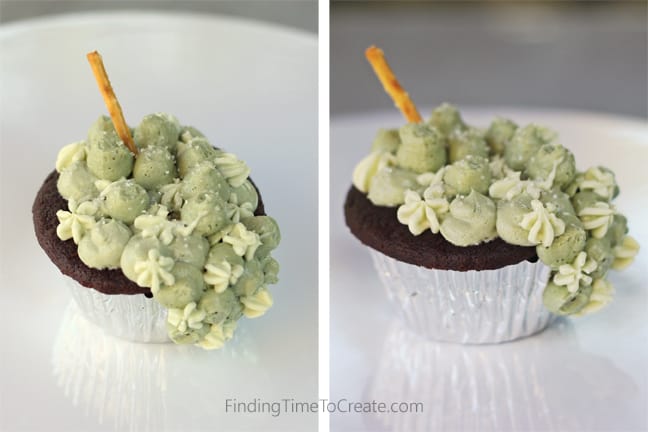
Cauldron Cupcakes
My daughter made salted-caramel filled chocolate cupcakes and I decorated them “bubbling over” with buttercream frosting.
All in all, I felt like this was a pretty successful Harry Potter birthday party without going over the top. The kids had fun, and it was simple enough that I was able to include all the elements I wanted in the time frame I had available. I do think I want to make more wands, though. That was the best part!

Don’t forget to Pin this post if you like these ideas! Thanks for stopping by. 🙂
This post may contain affiliate links. Your price is the same, but I may get a small commission when you use my links. Thanks for your support!

So adorable and creative! I want a Harry Potter-themed party!!!
You should do it!! You would make some awesome wands, I’m sure!
What a fabulous party theme – well done!
Thank you!
What GREAT ideas!!! Our granddaughter LOVES Harry Potter and everything that goes with it. It would be fun just to make some of these things and give them to her when she visits. She’s not big into having a party but they would be great to share with friends too.
I have the “other” machine too but Silhouette can’t be beat with turning things into “print and cut”. Silhouette is a great machine for making ideas come “alive”. I get so many compliments on ideas that are different from the normal craft things.
I completely agree, Donna. And I’ll bet your granddaughter would love various Harry Potter goodies when she visits! Thanks for commenting! 🙂