Fabric Interfacing: Print and Cut
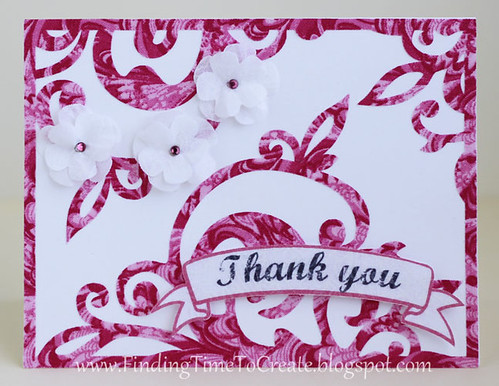
All of the elements on this card are cut from fabric. Yup, you heard me. I made a fabric card! (Mounted on a white cardstock base.) Last week I taught a class on Silhouette fabric interfacing, and boy did I have fun getting ready for that class! My two girls are now the happy owners of several flower headbands and clips, but that will be on another post coming soon.
This post is about using Silhouette’s clean cut interfacing for fabric card elements. The clean cut interfacing is thick and has a pretty substantial heat-activated glue so it’s good for the following:
-Fabric projects not intended to be sewn with a sewing machine or washed
-Cut into more intricate designs than other interfacing allows
-Iron on to paper or other display, or for print & cut
-Stiff fabric flowers that need no edge treatment (clean cut won’t fray easily)
Here’s how I print and cut on my fabric.
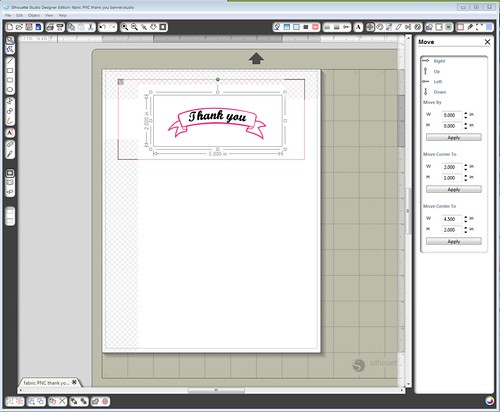
1. Create a design that will show up on the fabric you choose. Surround it with a rectangle the same size as your fabric (leave room on each side of the design in case you don’t iron it down in exactly the right place). Turn off the cut lines for the rectangle in the Cut Style window.
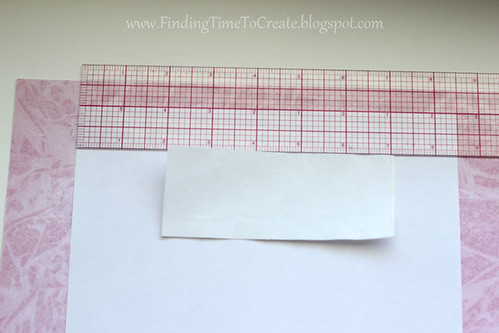
2. My rectangle was 2″x5″, so I cut my interfacing to 2″x5″ and my fabric to 2″x5″. Iron the interfacing to the fabric according to the instructions (rough side against the fabric, two seconds).
3. Make sure your print and cut is set up correctly so the registration marks are turned on, you’ve checked the Cut Style window to verify it will cut exactly what you want, and nothing is in the cross-hatch areas.
4. Position the rectangle on your screen (and the cuttable print design in its center) to a place you can measure for exact placement of the fabric onto the paper. (I put the upper left corner 2″ in from the left side of my page and 1″ down from the top of my page.
5. Iron your fabric down to your paper in that same spot (remove the paper backing from the interfacing). If you left enough room around your design, you’ve got a margin of error here. I used plain white printer paper to keep it thin.
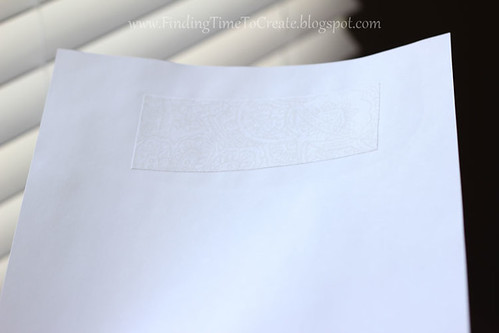
6. Print your page onto the paper with the fabric piece.

7. Now it’s ready to read the registration marks and cut. I set my blade to 3, speed 3, thickness 33 (the same as heavy cardstock).
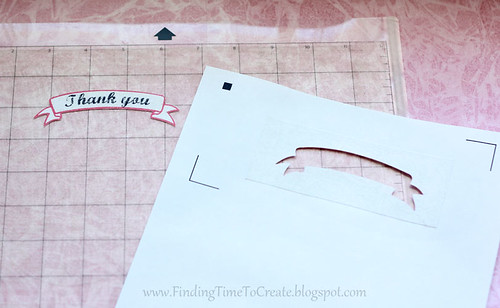
8. Isn’t that so cool?! Now it has a paper backing so you can use your favorite adhesive to apply it to your card (I used 3D foam adhesive to raise it off the page).

The pink flourish background was cut with fabric on clean cut interfacing and ironed directly to the white cardstock paper base. The white flowers were cut with fabric on sewable interfacing so they would be thinner and easier to pucker in the center with an “X” shaped stitch. I added pink 10ss Silhouette rhinestones to the center of each flower with an i-Rock heat setter tool.
Font: Marcelle Script
Silhouette Shapes: Bookend Flourish (modified, of course), Banner 2 from original 51 designs, 5-petal flower (my design)

This is so neat! Ive printed on fabric before but never thought that something this complex would work! Nice job!
Hi Kelly,
Ahh – I really REALLY want to try and play with fabric now. Thanks so much for your tutorials, they make me courageous haha! Can't wait to see your tuts on the headbands etc.
Blessings,
Barb
Beautiful card. Thanks for sharing it.
I love to do printing on fabric and also love to create new designs. I really like your blog. You posted very helpful information. Thanks for sharing this!!
Wonderful post! Keep up the good writing. Thanks for sharing with us!
Nice article! Thanks for sharing this useful information.