Cutting Delicate Fabrics with Your Silhouette
Here’s a quick trick I found today. I can cut tulle with my Silhouette and have no backing ironed on!
1. Place fabric on your cutting mat.
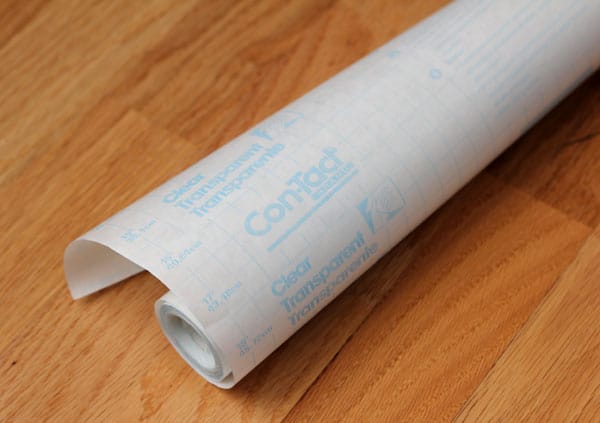
2. Lay clear transfer tape (contact paper or even vinyl may work, but clear will let you position it well) on top of the fabric. I had the edges overlap the fabric so it stuck to the cutting mat below and used masking tape where my transfer tape was too short.
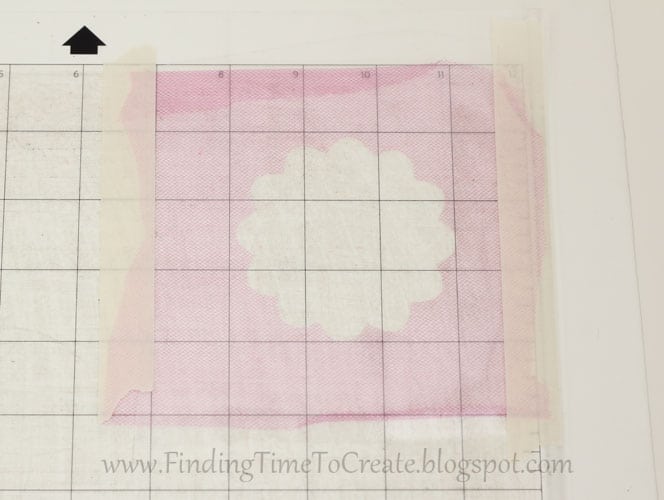
3. I used the following settings with a nice sharp blade: Blade 3 (pink cap for older style), Speed 5, Thickness 25. This will probably depend on the thickness of your fabric and the thickness of your plastic layer.
4. Cut.
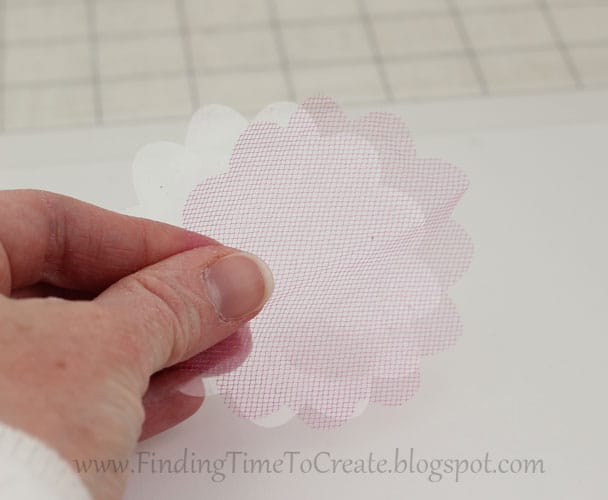
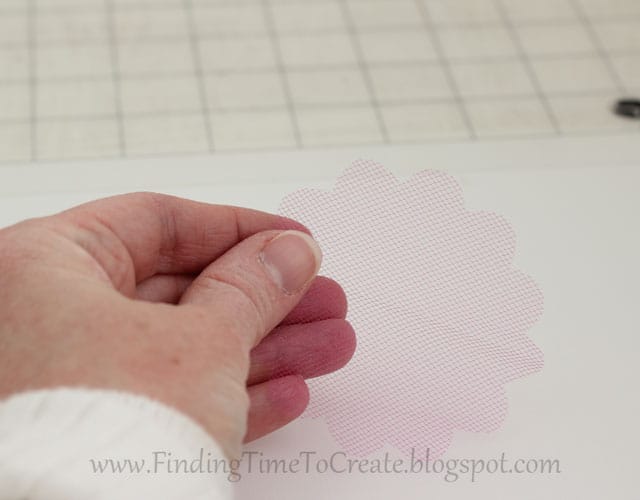
5. Remove the shape and peel off the transfer tape layer. Now you have a perfectly cut piece with no trace of any backing.
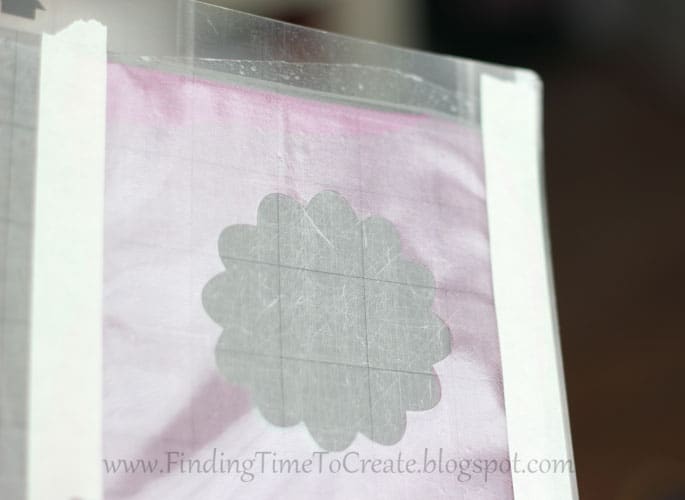
Here’s one more view where you can see the shiny layer on top of the fabric:
I’ll try some more fabric types later, but this was so cool I just had to share! I hope it works for you.
Here’s my post on making fabric peonies with this method.

Awesome!! I've just ordered a SC and am impatiently waiting for it to arrive. Will absolutely be trying this trick!
Wow! I can't wait to try it. Thanks for the tip.
Thanks for the tutorial Kelly! Can't wait to make some flowers!
great tip – ty!
Brilliant! I've been wondering if freezer paper would work as a fabric stabilizer. Will have to try your method too 🙂
Freezer paper would be worth trying, that's for sure. The nice thing about the transfer tape is it holds the fabric down against the cutting mat, but you can still tape freezer paper down with masking tape or painter's tape if it doesn't stick enough to the mat on its own.
This is great to know Kellie! I am going to have to try this. Thanks for posting it.
This is such a great idea! I haven't cut fabric yet with the Silhouette, in part because I didn't want to use interfacing all the time.
Oh woooow! What a smart girl!!!!Thanks for sharing this. Im going to try it right now, I´ll do a beautiful headband with a fabric flower for my little princess.
I'd love to hear how it works out for you, Dalhai.
Brilliant blog for Silhouette Cameo tutorials. Please hop over to my blog to get the award I have for you. xx
Thank you Jeanette! I'll do that. 🙂
Brilliant. I just love all your ideas for the Silhouette. I've been making fabric flowers with various delicate fabrics and this idea will cut down on my that cutting I've doing by hand.
Oh, good! I started making some delicate flowers last year and never got back to it because I didn't have time to spend cutting them all by hand. Now I can do them again and save time. 🙂
Brilliant. Brilliant Brilliant on chiffon, I ended up using shelving contact paper as my usual stash of school book stash was finished, easy to peal off without any damage to cut out peony petals (your feebie thank you. My only distaster was when I went to singe the petal, definately lots of practice for me in that aspect.
Love your site and tuts, thanks so much for your time.
Meg
South Africa
I'm so happy it worked for you, Meg! Yes, the petal melting takes just a bit of practice. A reader on my next post suggested using a heat gun, so I'll try that next to see if it's any better than a flame. Meg, thank you so much for coming back here and letting me know you tried it!
This is agreat idea. TFS. Now have to go and check out where to get this tape. 🙂 Awesome flowers
Nicely done, Kelly! This would be great for doll clothes patterns!
did you use the fabric blade?
I did this before they released the separate blue fabric blade. It's important to have a sharp blade dedicated only to fabric that won't be used for cutting paper. The fabric blade is blue, which makes it easy to differentiate from the black blades if you have multiples. Other than the color, the blue fabric blade is exactly the same as the current version of the black paper blade.
In other words, I would have used the fabric blade on this project. 🙂
Thanks! Just got my Cameo and so excited to try this!
thank you!
What kind of machine did you used?
Silhouette Cameo. This process should work with most digital cutters.
Thank you I am excited to try this as I am hopeless with a pair of scissors.
You’re welcome, Ingrid! I hope it works well for you. 🙂