Fabric Peonies with your Silhouette
Have you missed me?
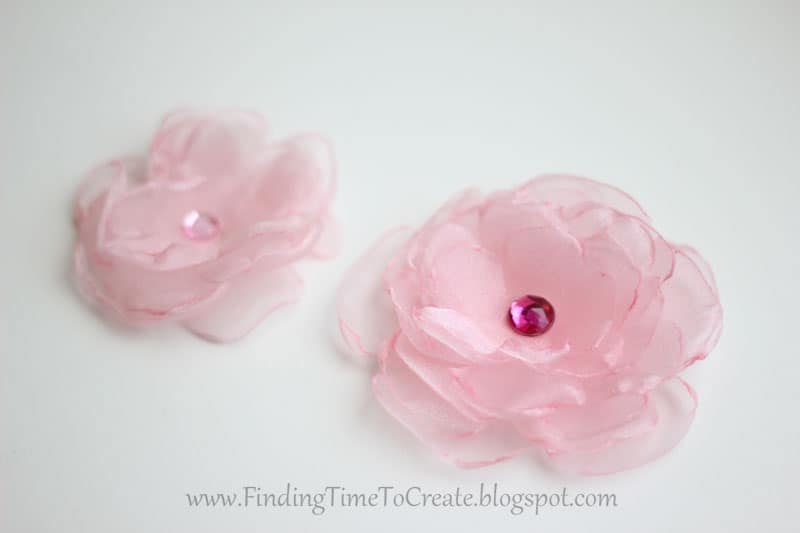
I’ve been busy with a super-deluxe project that I’ll show you in just a couple of days, but for now I want to show you what I made with some delicate fabric using my Cameo to cut it. I bought this pink organza a couple of years ago to make some fabric flowers, but they had to be cut by hand and the edges individually singed with a flame. I made a total of one.
Enter the Silhouette and the new trick I tried in my last post…
I used the same steps as in my previous post, but this time I used Contact brand clear contact paper that I bought at Walmart in the kitchen/shelf liner section. I still made sure the contact paper extended beyond the edges of my fabric so it would stick directly to the mat. This time I used my well-used blade and it didn’t cut nearly as nicely as the sharp new blade I tried last time. I’m sure it played a factor; I’m not sure if trying to cut a large area of flowers was also an issue with not cutting as nicely. The fabric doesn’t cling to the cutting mat very well.
But I didn’t ruin any of the flowers, and it was easy to fix up the flaws with scissors. Remember the whole thing used to be cut with scissors, so this was definitely an improvement! I still recommend a sharp blade.
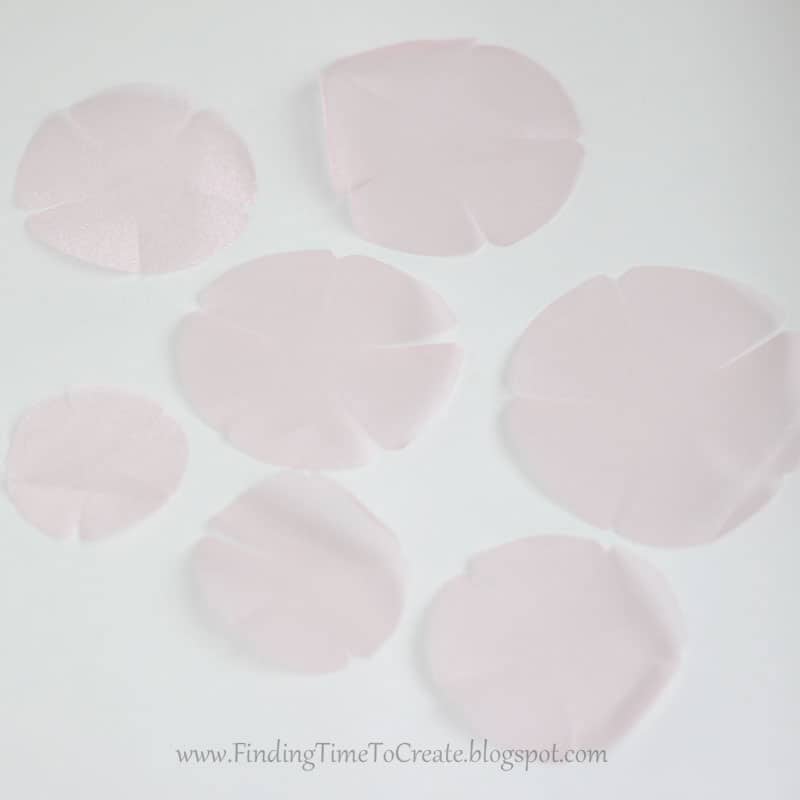
Here are the flower layers all cut out.
Then I took each “petal” of each flower and ran it over a candle flame just enough to melt and curl the edges. Only a little bit is necessary. I was originally introduced to this technique by Rhonna Farrer in a video tutorial.
So now I’ve made a total of two of these flowers in two years. 🙂 I’m more of a paper girl than a fabric girl, but I may get there!
Here’s the link for the Silhouette Studio Fabric Peony file I made for you. The original idea calls for cutting these out in circles with scissors, snipping slits towards the center, then clipping each of the corners. I designed the file so the blade would cut the slits separately in the hope that it would have less chance to catch on the fabric in tight corners.
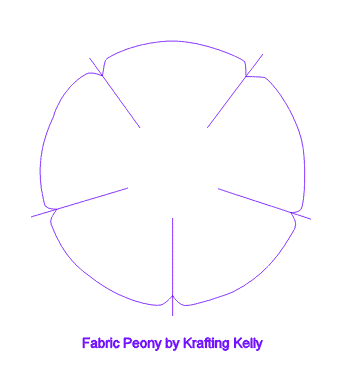
Pretty simple, but there you go!
And now for a sneak peek at the big project I’ve been working on. It also involves making flowers, but this time out of paper. (You can find the full post here.)
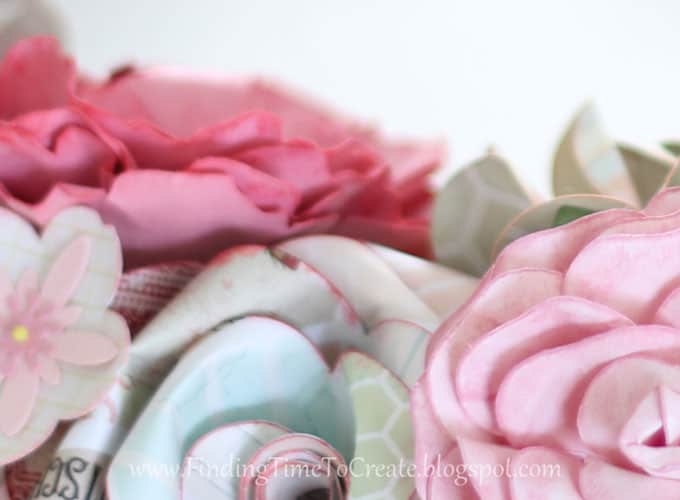
Come back soon to see what I’ve been making, or sign up in the “Subscribe via email” button on my blog to be notified of all my new posts.

Now I am kicking myself for not picking up the clear contact paper at WalMart earlier this week when I was in the city. I looked at it too. Those are pretty and would be neat glued on hair clips for either hair or dressing up a pair of shoes.
Can't wait to see your flower project with paper.
Pretty! I still have not had any luck cutting fabric with my Silhouette, so I use a rotary circle cutter for these, and then snip by hand. If you have a heat embossing gun, that also works for sealing the edges.
Thanks for the tip about a heat embossing gun, Holly. I'll definitely have to try that next.
Kelly your sneak preveiew looks gorgeous. Cant wait to see the finished project.
Oh these are absolutely GORGEOUS!!!
I didn't know you could use fabric. Very cool! I might get daring enough to try…but I have the Silhouette, not the Cameo…think it would still work? Hmmm….
Anyways…. I wanted to let you know that I gave you an award…check out my blog for the deets! 🙂
Yes, your Silhouette should be able to cut it just fine because it doesn't require any more force than regular cardstock or paper.
Thanks so much for the blog award! I'll get to those requirements soon to pass it on.
Oooh, so pretty! My daughter would love these in her hair!
just like to add that I cut organza on my old blue Craft Robo by laminating just one side – cut wonderfully!
Thanks for sharing that tip! May I ask how do you laminate one side of fabric, and which side did you put against the cutting mat?
Lovely tip . Thanks
Val,
http://www.crieartezzanato.blogspot.com.br