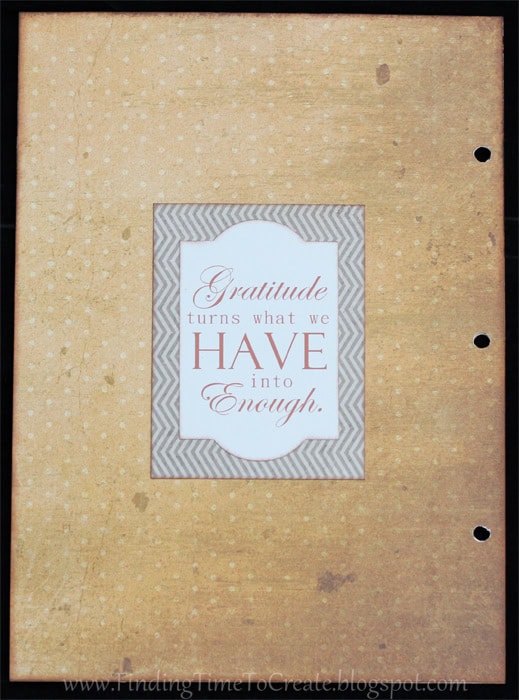
Gratitude Album
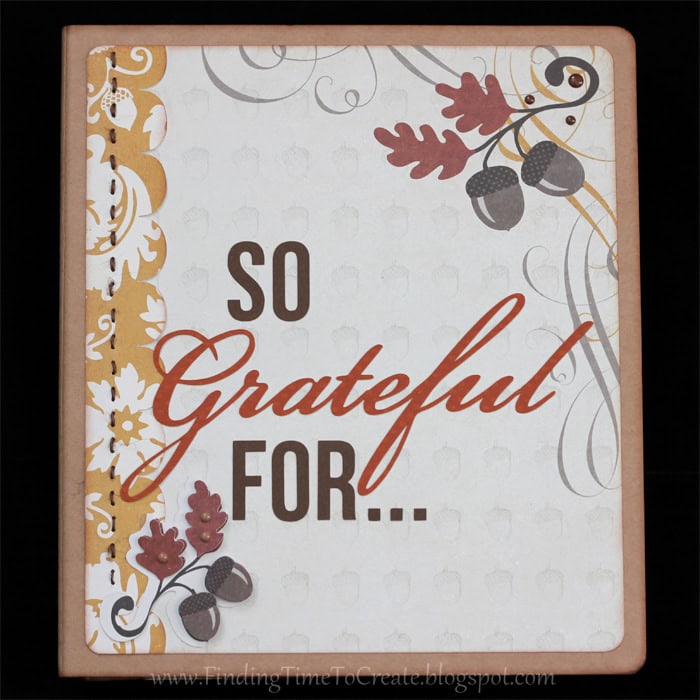
Fall is in full swing here in the western U.S., and that means our Thanksgiving is approaching. I was asked to make a gratitude album for the Heartland Paper design team using the Basic Grey Capture album and page protectors. I must say this was the fastest mini album I’ve ever made!
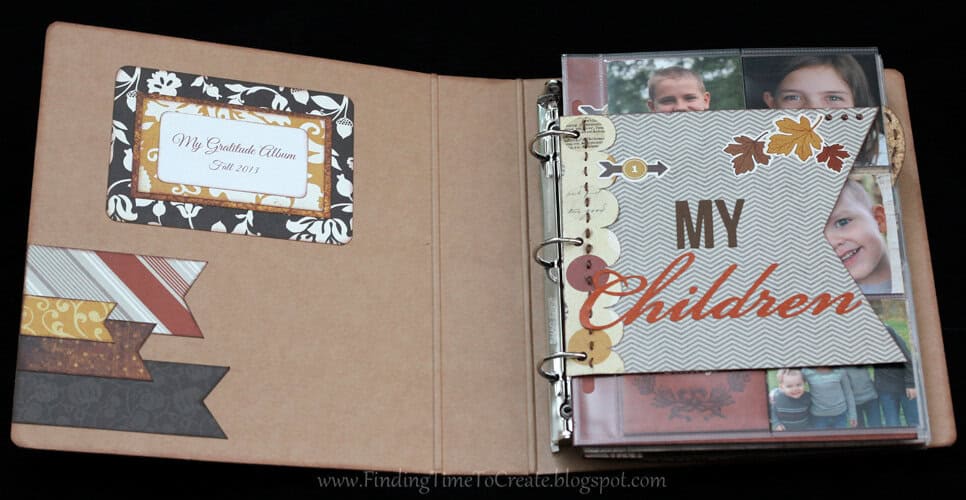
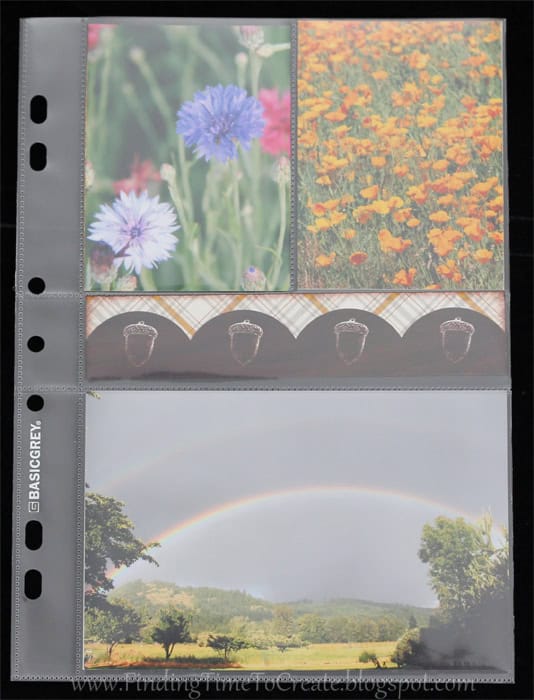
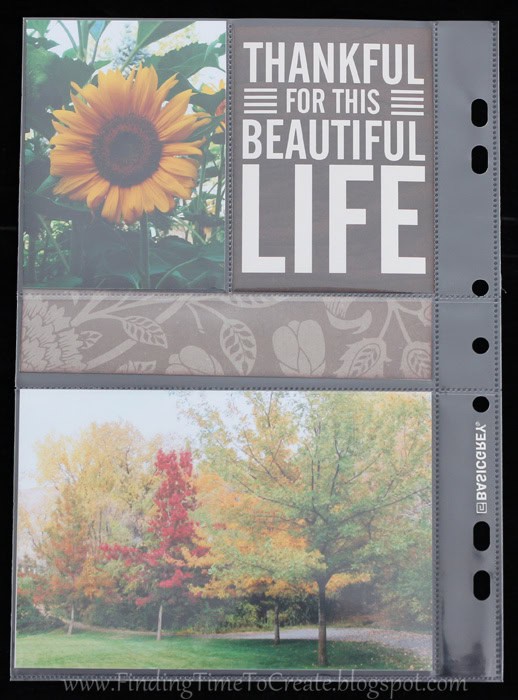
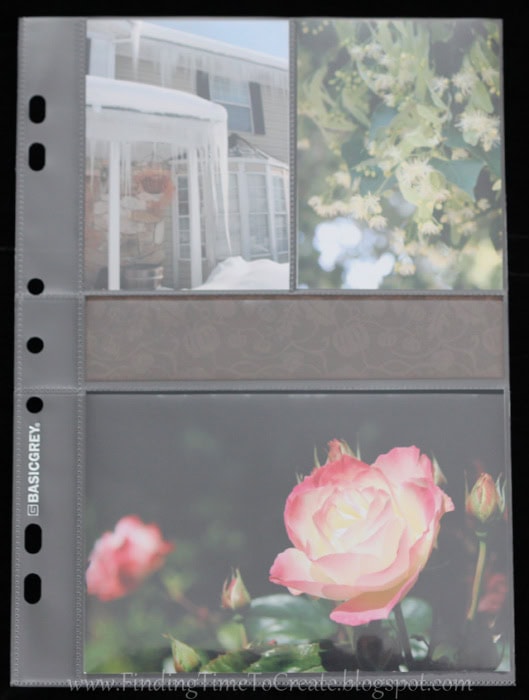
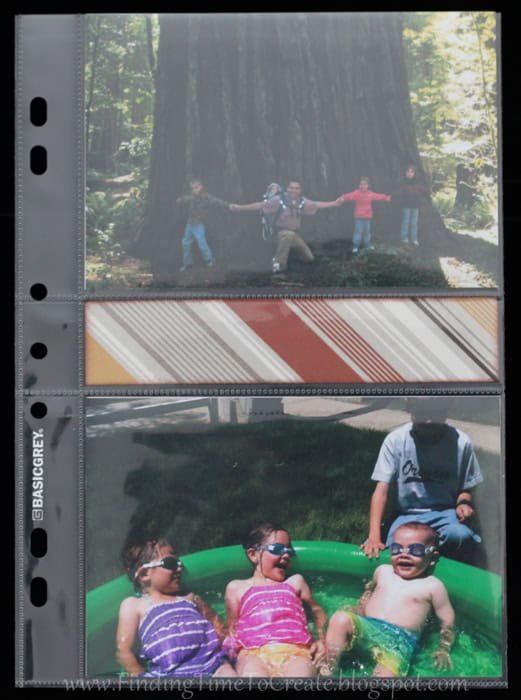
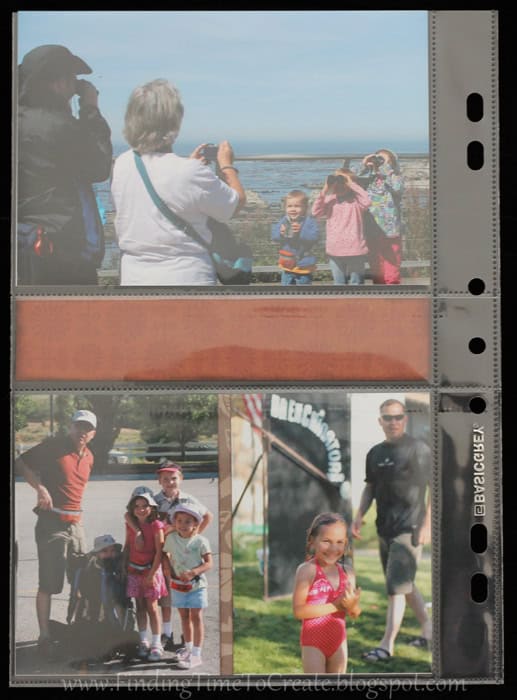
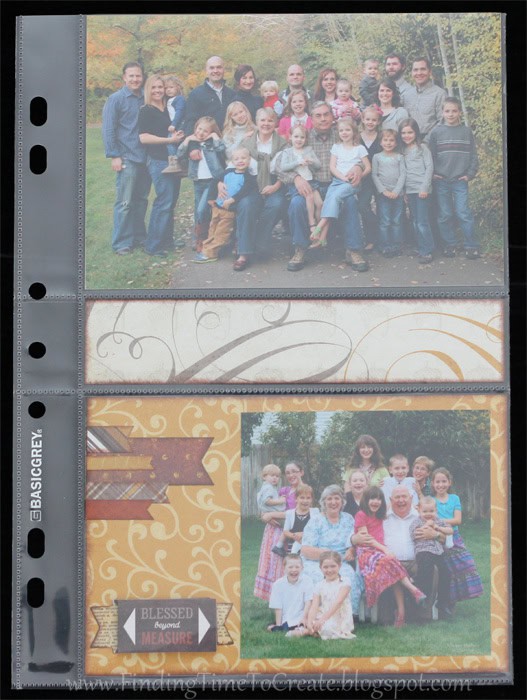
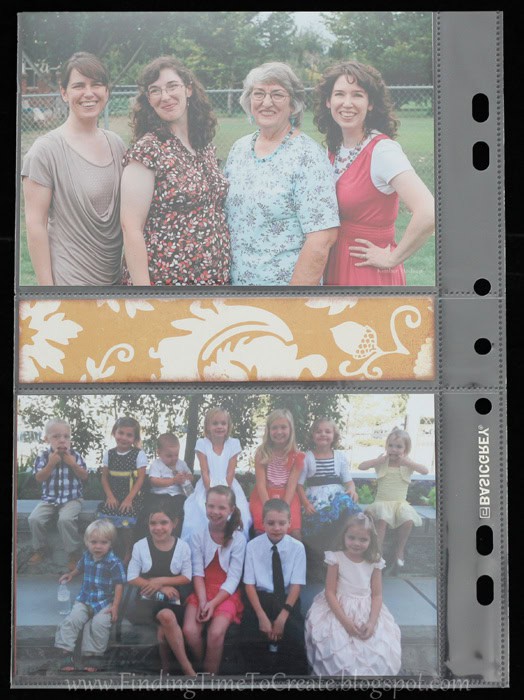
The album comes with 9 chipboard dividers in various shapes, and the package of page protectors includes 9 sheets of divided page protectors. They fit 4″x6″ photos or papers, plus 3″x4″ and 3″x3″ photos or papers.
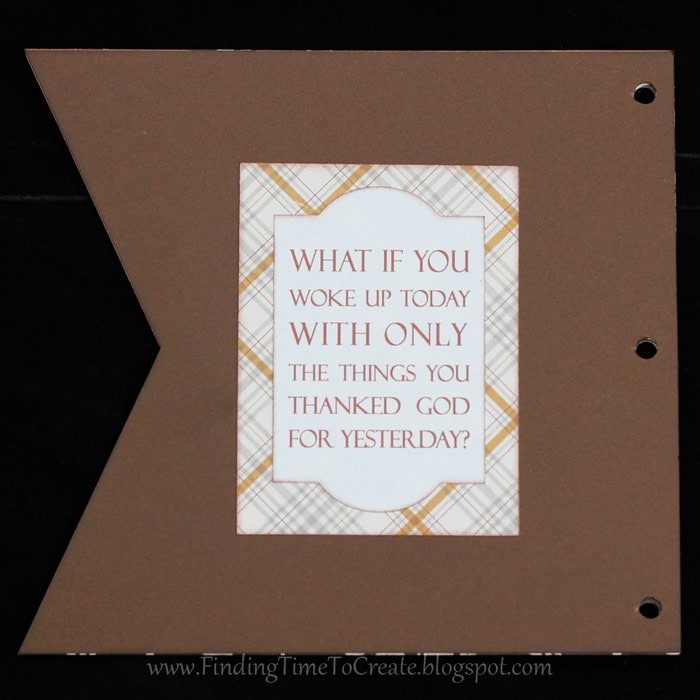
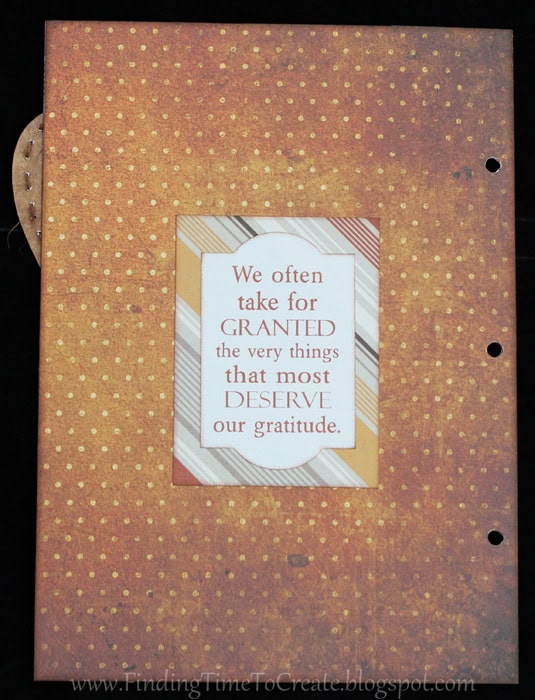
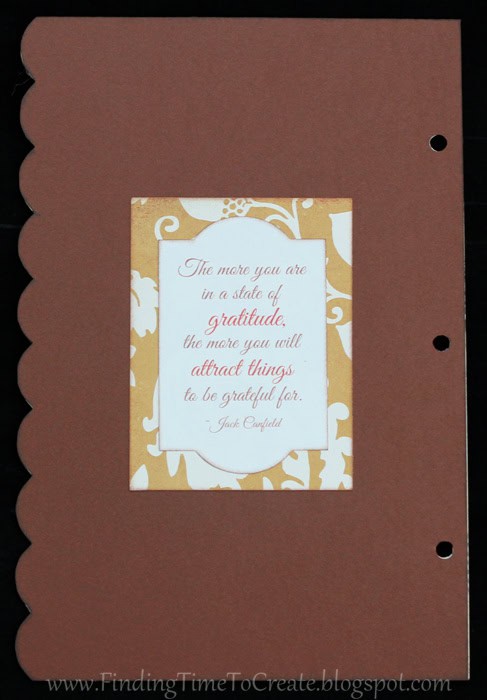
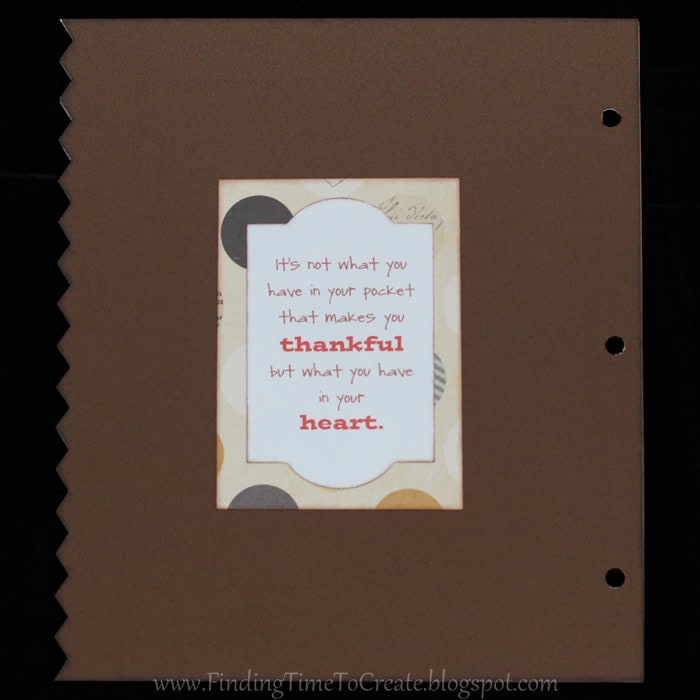
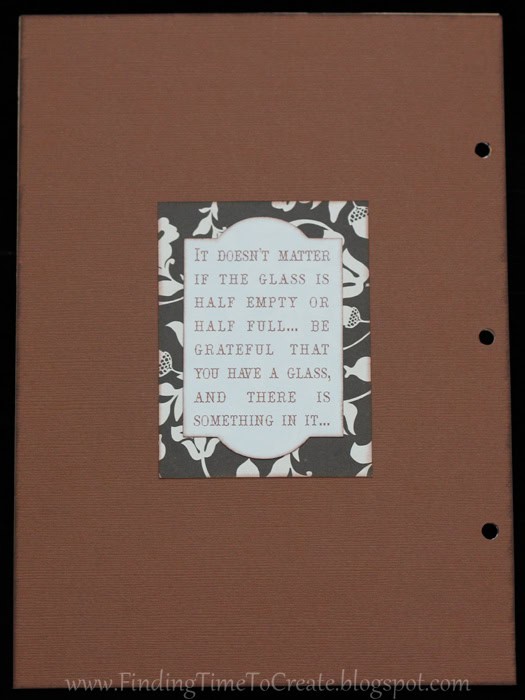
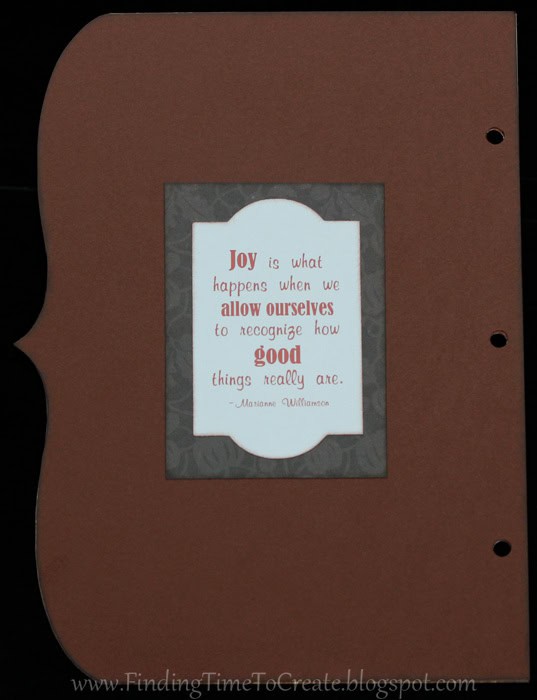
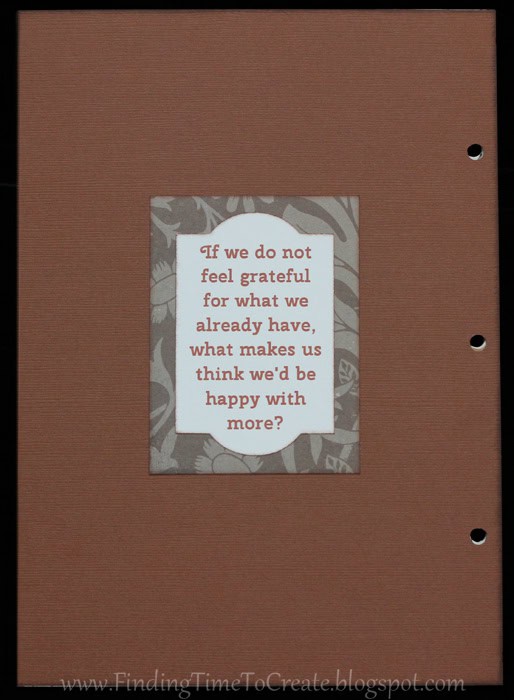
I decided it makes the most sense for me to use the dividers introducing major things I’m grateful for, then the page protectors following each divider include photos for that section. I looked up a bunch of gratitude quotes (thank you, Pinterest!) and used my favorites on the back side of each divider page.
Now I’ll show you how I decorated and filled each section.
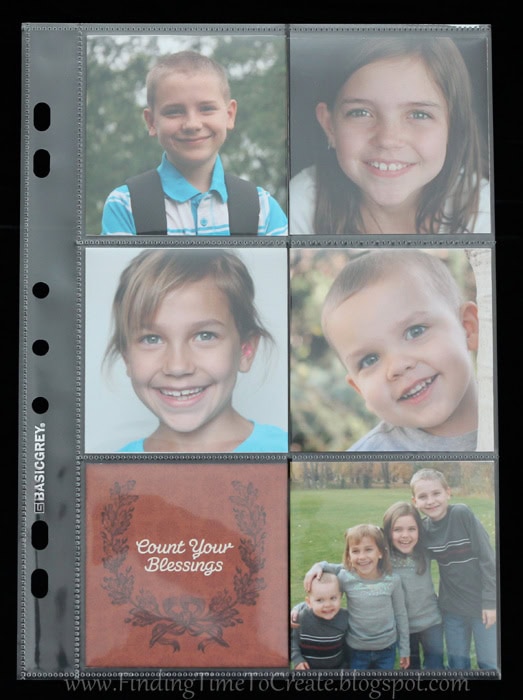
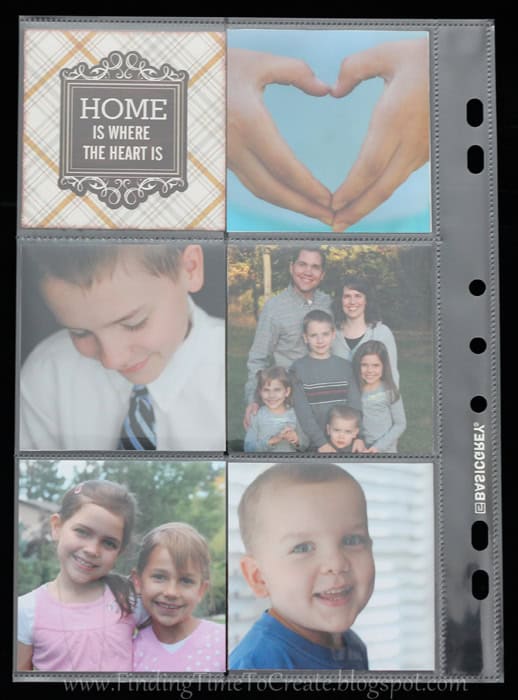
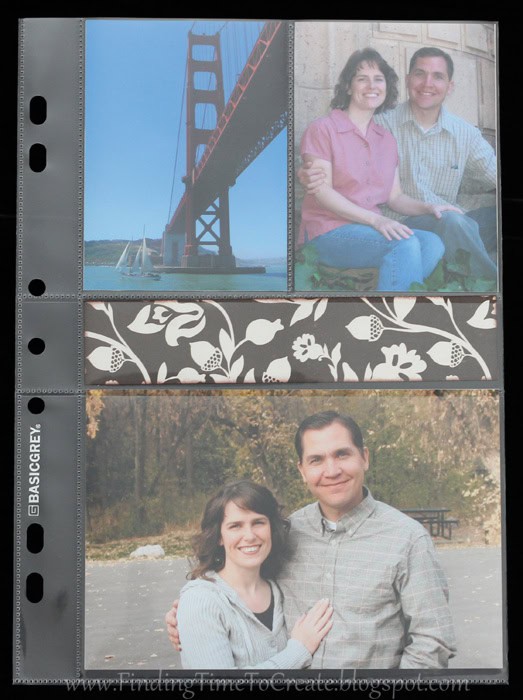
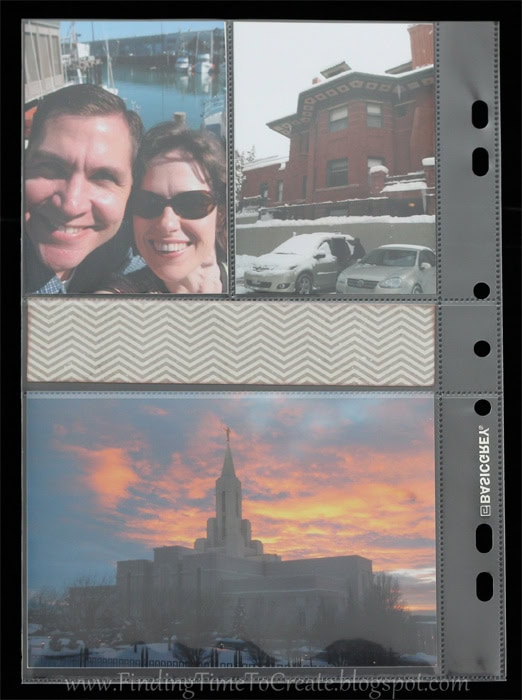
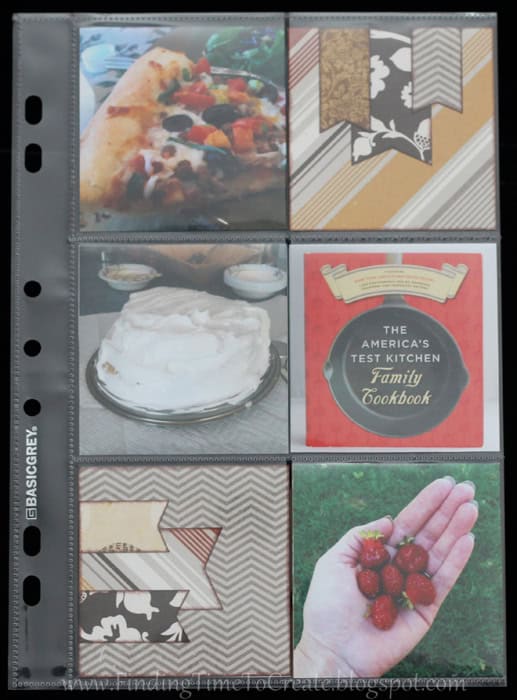
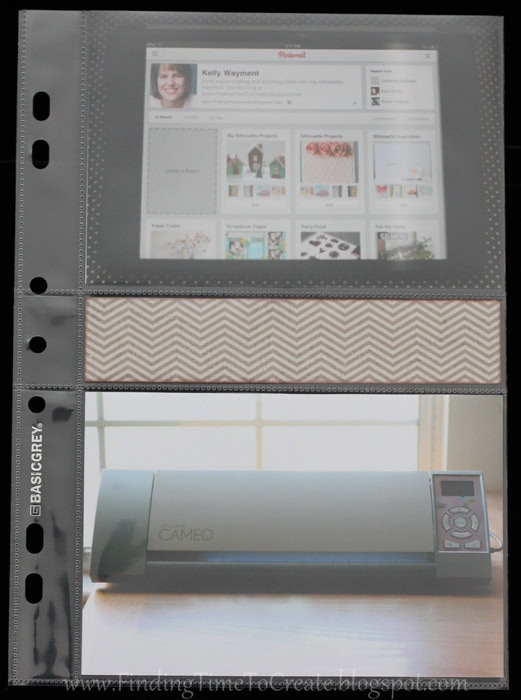
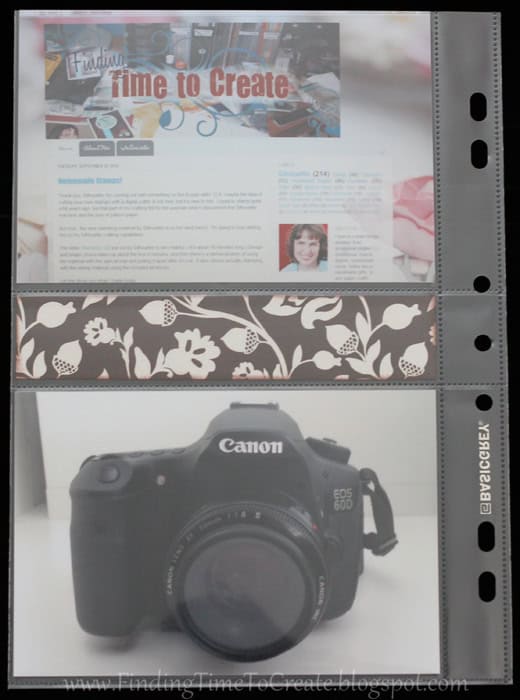
(Sorry for the glare on the page protectors, but I’m including these just to give you a feel for how I filled up the protectors. Most of the sleeves have photos, but I also included pieces here and there from the same Reflections paper line.)
Next section:
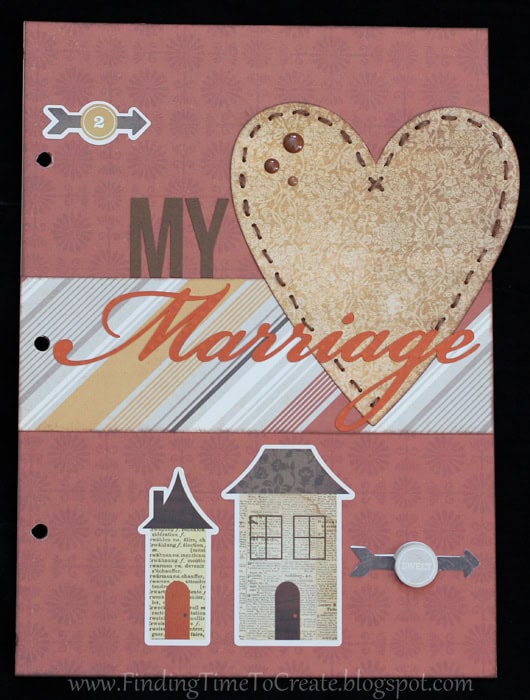
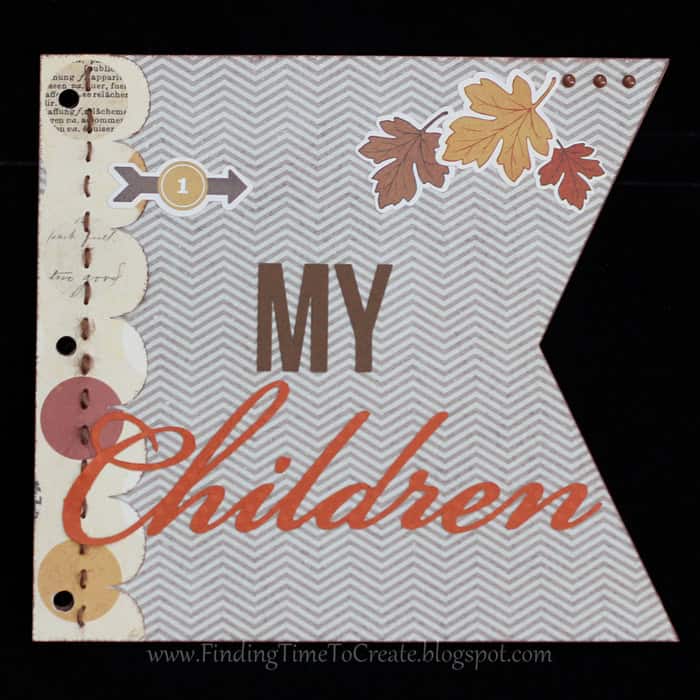
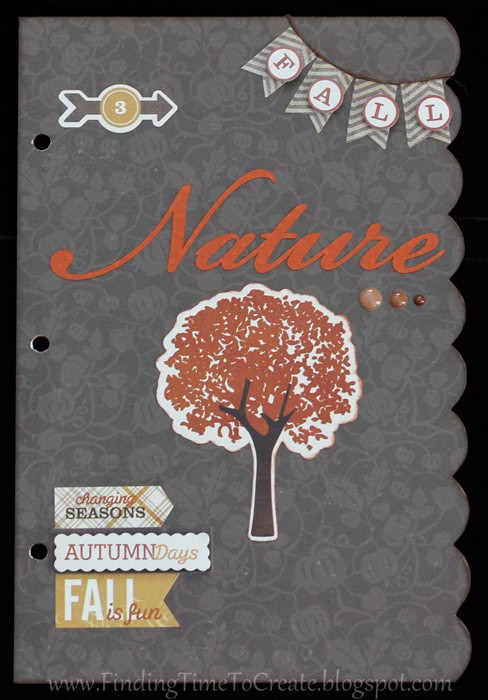
Section 3. Notice how I’m using the same fonts and a few repeating design elements on each divider to make the pages all tie nicely together. I’ll give you some more of my mini-album tips further down.

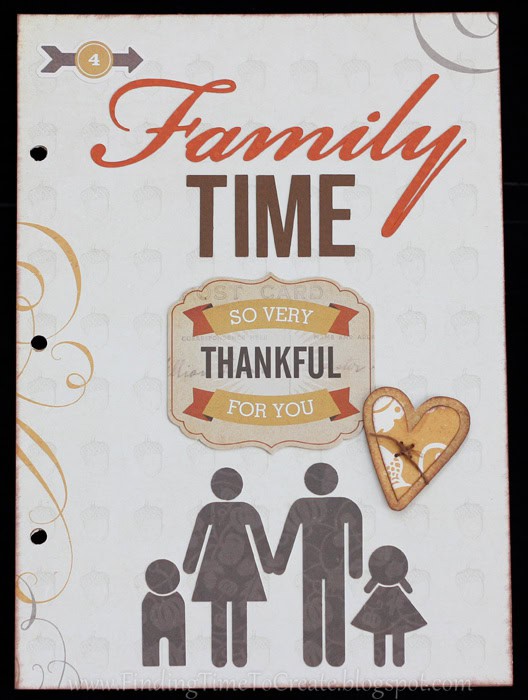
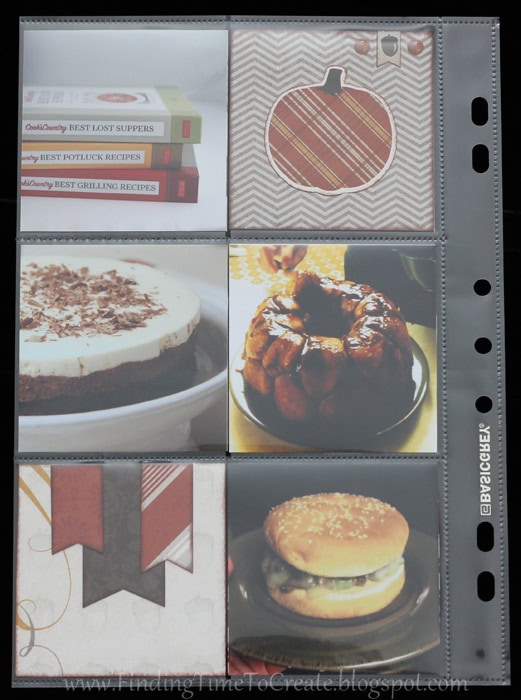
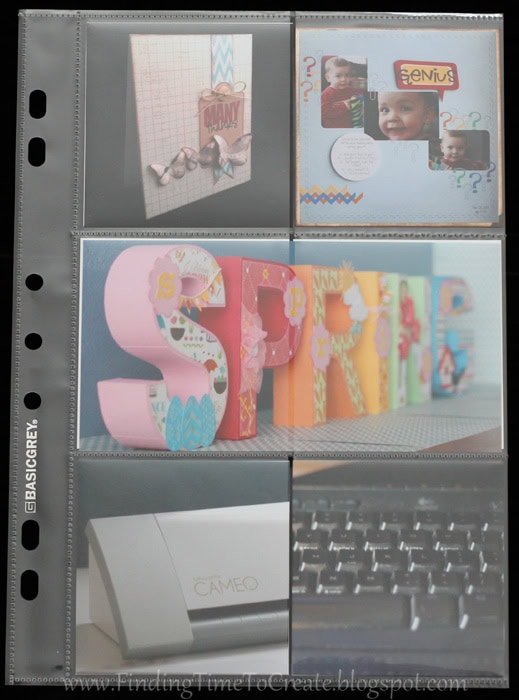
On to section 4:
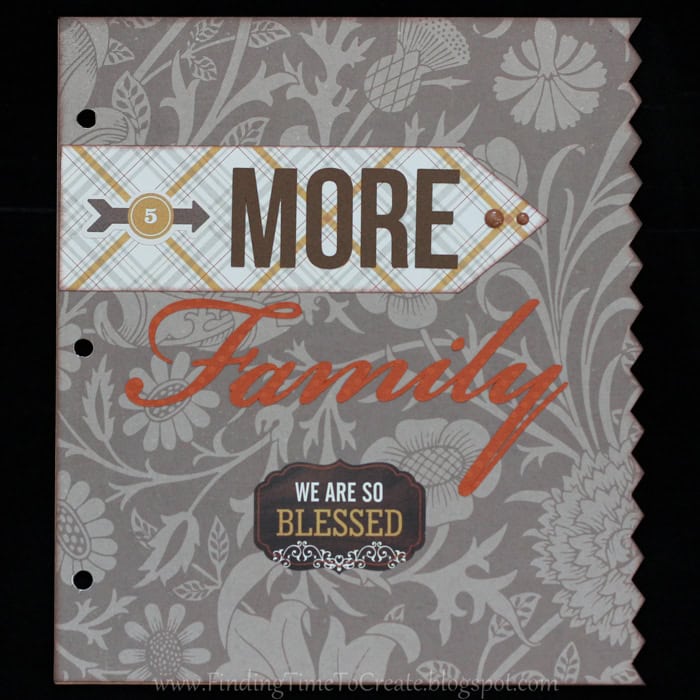
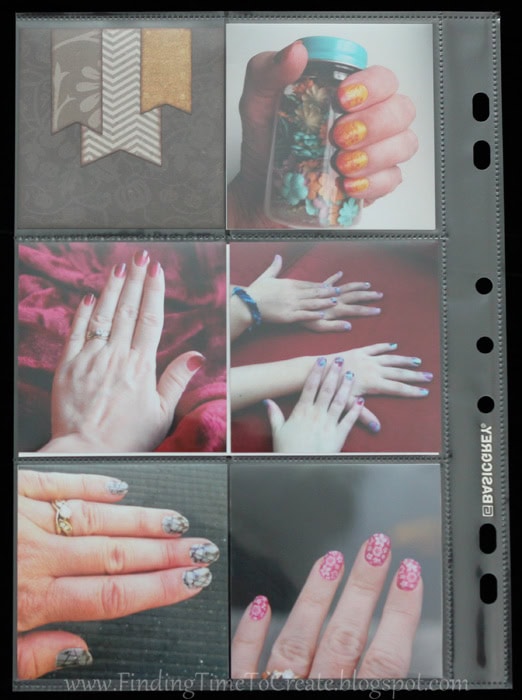
And section 5 (are you still with me?)…
Section 6:

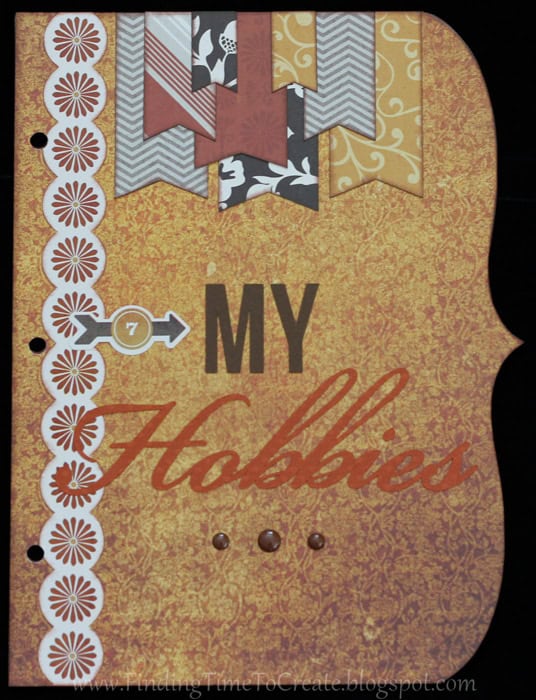
Section 7:
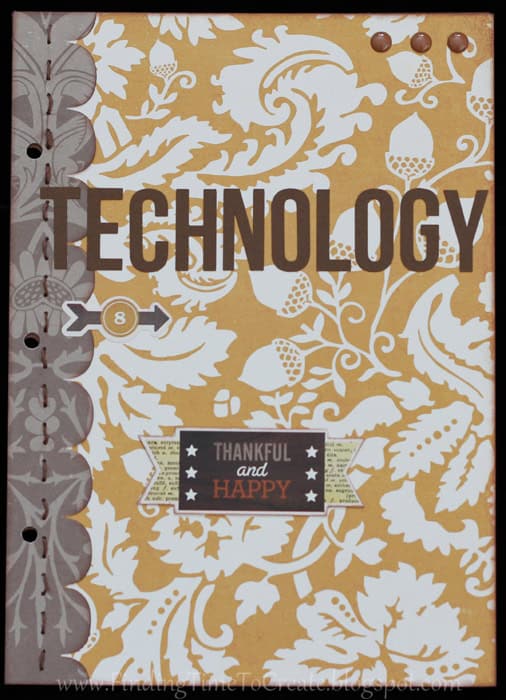
Section 8 (almost done!):
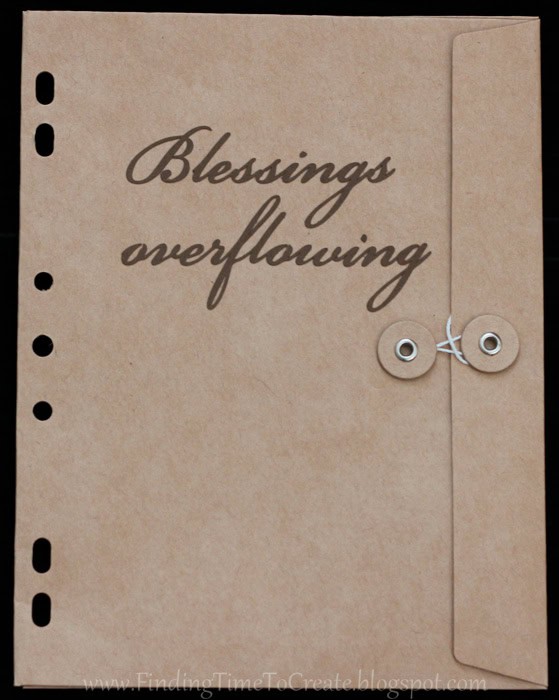
I used this last divider, which is actually an envelope, to fill with personal thoughts and more quotes or pictures that don’t fit in the page protectors.
Here are a few tips I use when making mini albums.
1) Use one designer paper line and various solid cardstock colors chosen to coordinate. If you have embellishments for that paper line, those are fun to use as well. This line I used is the Echo Park Reflections Fall by Lori Whitlock.
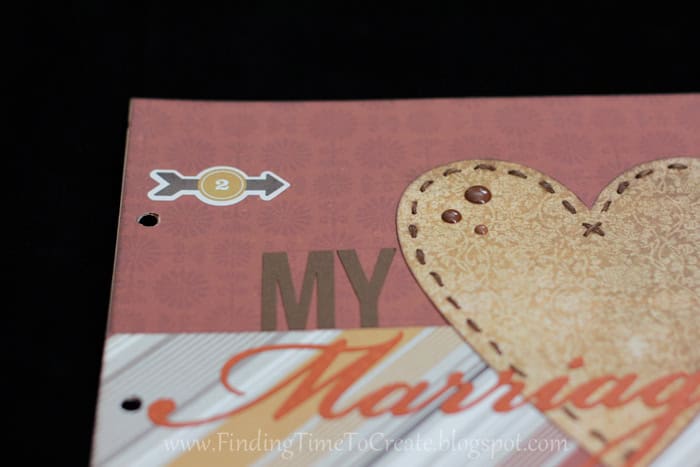
2) Use repeating design elements. In this album you’ll notice I used the same two fonts for all my titles, stitching with twine, a coordinating sticker pack (this set had a convenient set of arrows numbered 1-8 so I could use one on each page), pennant shapes, and glossy Sprinkles dots.
3) Ink the edges of all the papers and paper elements with the same color of ink. This really ties things together, gives the layered pieces dimension, and covers some flaws on edges from poor cuts, etc. I used Colorbox Chalk ink in dark brown.
4) Sketch out the pages ahead of time so you have an idea of where you’re going. Treat a mini album like a term paper…start with a main idea, then make sure all your supporting pages tie back to that main idea.
Let me show you just a few more detail shots so you can see some of the repeating elements.
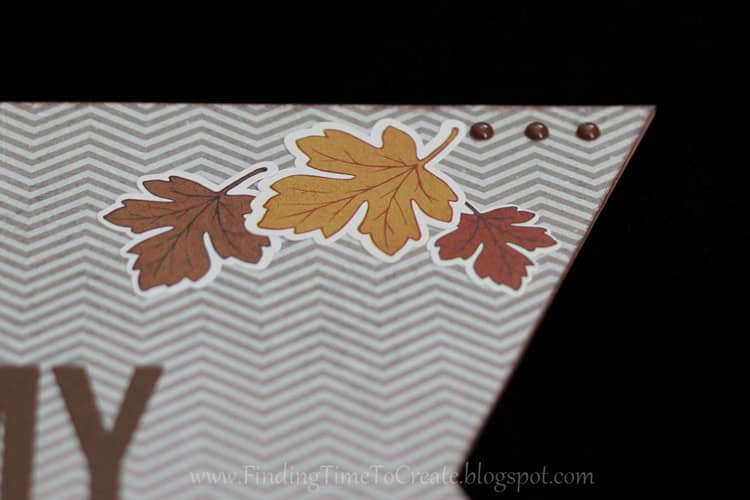
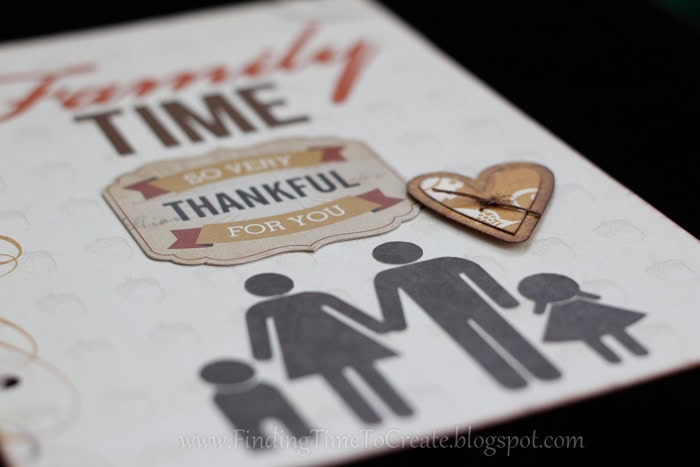
Also, don’t be afraid to “embellish” the embellishments that come ready to apply. Here I inked the edges of the tree sticker, which I also did with various other stickers used throughout the album.

And here I made a regular sticker into a chipboard sticker by putting it onto a piece of small chipboard (Silhouette chipboard or a cereal box will work) and then cutting it out with scissors. It’s best to save that method for basic shapes. The heart next to the chipboard element is just popped off the page with dimensional foam adhesive.
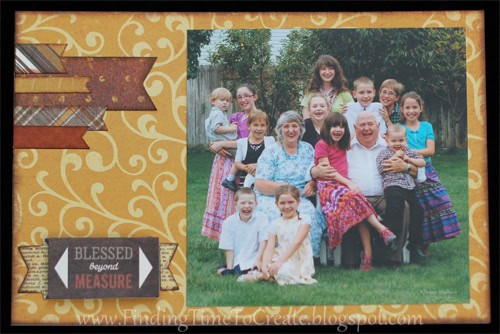
One more fun aspect of using these divided page protectors is you can either use a photo to fill the whole sleeve or you can decorate each section as its own little scrapbook page. This mini layout fit into a 4″x6″ slot. (Notice all the inked edges? Some of these pieces are paper and some are stickers.)
I know I included a lot of pictures, but I hope you enjoyed looking at my gratitude album.
And since you made it this far, how about a freebie? I’m sharing all of these gratitude quotes I made that fit nicely on a 3″x4″ paper. (That fits several companies’ page protectors I know of.)
Download the PDF
Download the Silhouette Studio print & cut file
Supplies:
Basic Grey Capture designer kraft album
Basic Grey Capture divided page protectors
Echo Park Reflections Fall pattern paper (10+ pages)
Bo Bunny Double Dot pattern paper: “Gingerbread Vintage” (2) and “Decaf Vintage” (1)
Echo Park Reflections Fall “Element Stickers”
Echo Park Reflections Fall “Layered Stickers”
Brown distressing ink: ColorBox Chalk “Dark Brown”
Cardstock in fall colors to match (about 10 pages)
Doodlebug Sprinkles “Bon Bon”
Twine by Creative Impressions
Adhesive: Scotch Quick Dry Adhesive, Scor Tape (1/4”- 1/2”), 3D foam squares by Scrapbook Adhesives, Xyron 150 Create-a-Sticker
Fonts: Bebas Neue, Bickham Script Pro
Digital cutter: Silhouette Cameo

Beautiful project!! Thank you for the great photos.
This is amazing Kelly! I loved every page! Good job girly!
We are Grateful to have you own our team!!!!
Beautiful album, beautiful family! Nicely done Kelly.
what a gorgeous book full of inspiration and gratitude, love the journaling and all those wonderful pics, hugs
Hey, Kelly, you have absolutely out done yourself with this project!!!! I absolutely love it and may try something like it. I love it!!! hugs, Patty
Congrats Kelly on a beautiful and very creative album.
Fabulous project, Kelly. Great combination of elements. Love it!
Tine 🙂
Kelly, I love your gratitude album. It speaks volumes about you, and every word is precious.