Paper Calendula Bouquet for a Friend
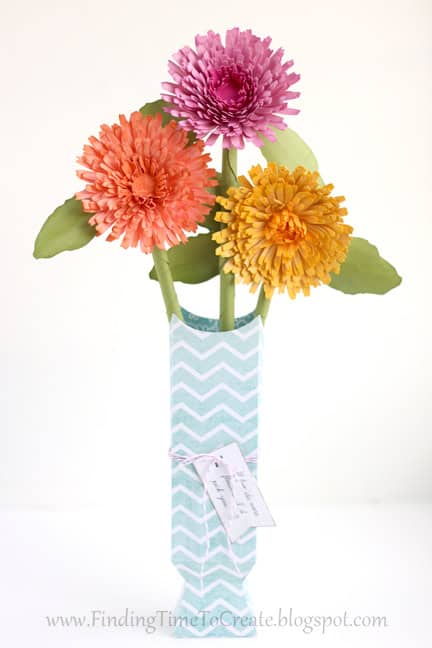
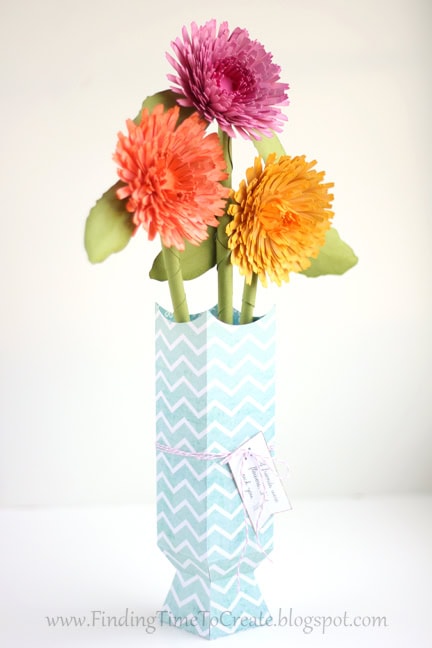
I made this bouquet of paper calendula flowers for a friend. I just wanted to give her something cheerful that shows I care about her, so I chose a vase of paper flowers.
This paper vase was a bit bigger than I wanted at its default size, so I resized it down to 9″ tall. This makes each side 2.25″ wide, which is still plenty big. I wanted to fill it so it wouldn’t have an open base, so I used my drawing tools in Silhouette Studio to create a base with tabs that I could glue inside the bottom of the vase.
Here’s how you can create your own base for this square vase:
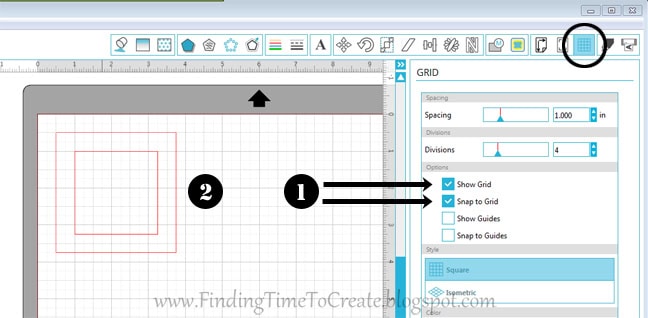
1. Go to the Grid Window and select both Show Grid and Snap to Grid (I usually do this when I’m designing from scratch). Spacing should be 1.00″ and Divisions should be at 4.
2. With your rectangular drawing tool, draw a square that is 2.25″ and another square around it that is 3.25″. The Snap to Grid option makes this really easy.
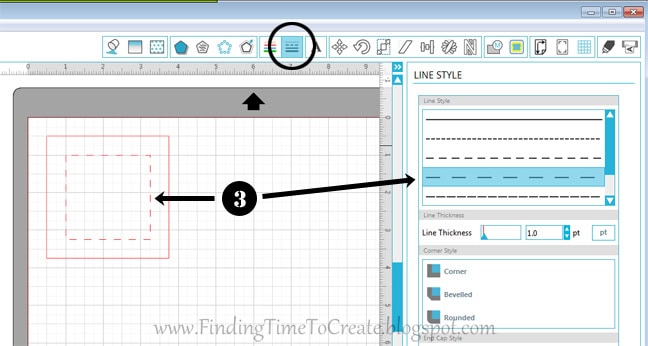
3. Click to select the inner 2.25″ square, go to the Line Style Window, and choose a perforated line.
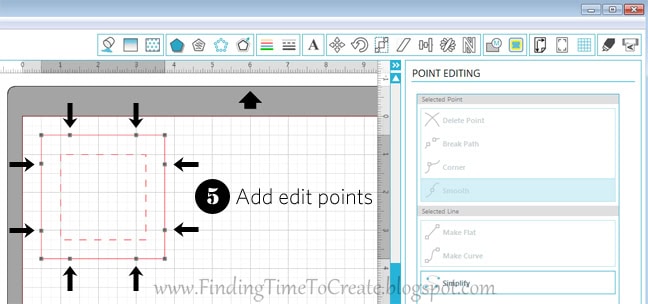
4. Double click on the outer square to enter point-edit mode.
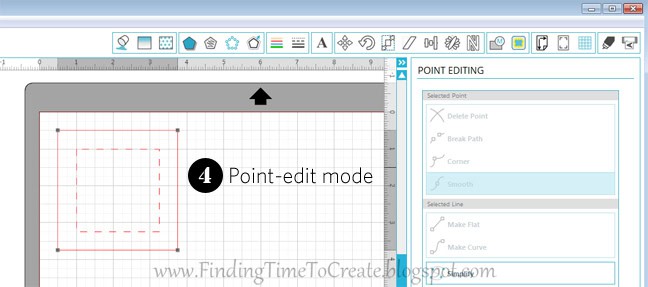
5. Add a point at each of these arrows by clicking along the line at 3/4″ away from each corner point.
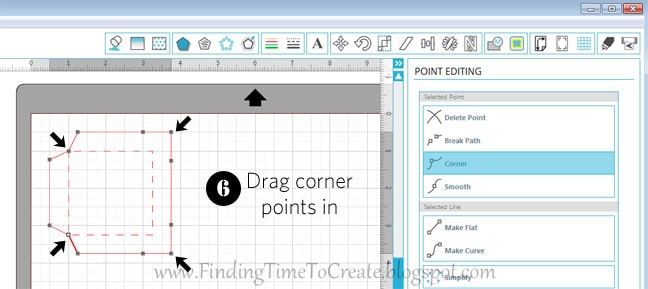
6. Drag the four outer corners in to touch the four perforated-square corners.
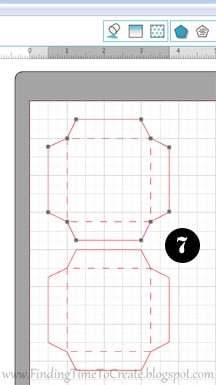
7. Click off to the side to exit point-edit mode, then select and group the two shapes. Now you have a base with tabs that can be glued inside the vase with 2.25″ sides. At this point it’s good to turn off Snap to Grid.
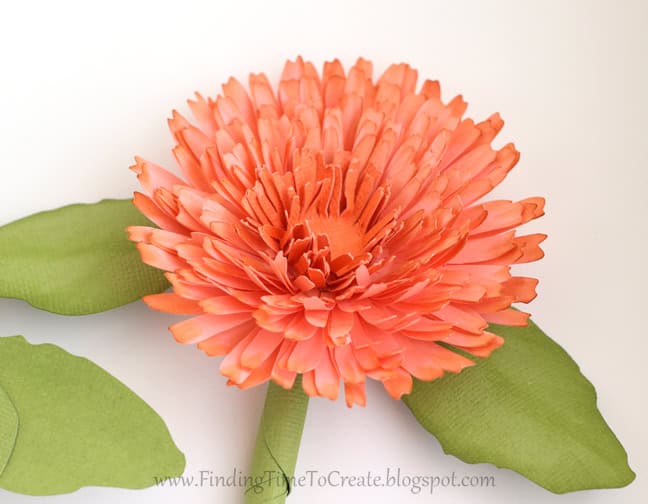
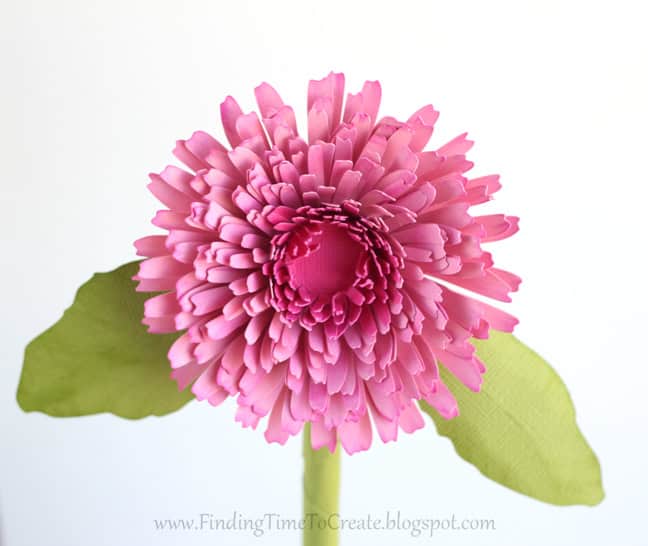
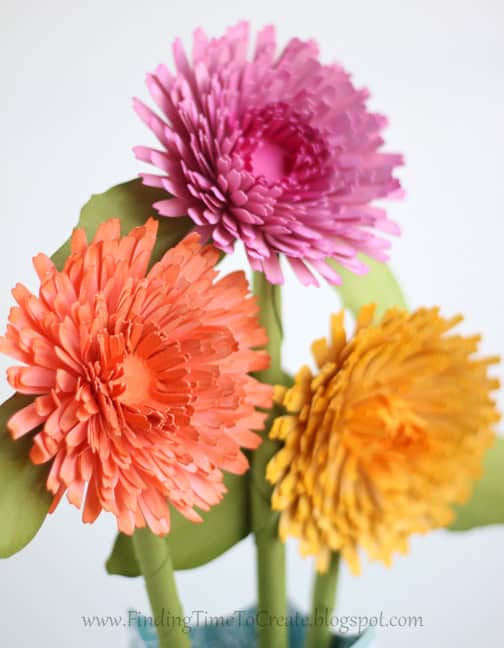
Next I chose some cheerful flowers. These calendulas were big enough that just three of them filled the vase. The designer’s assembly tutorial can be found HERE.
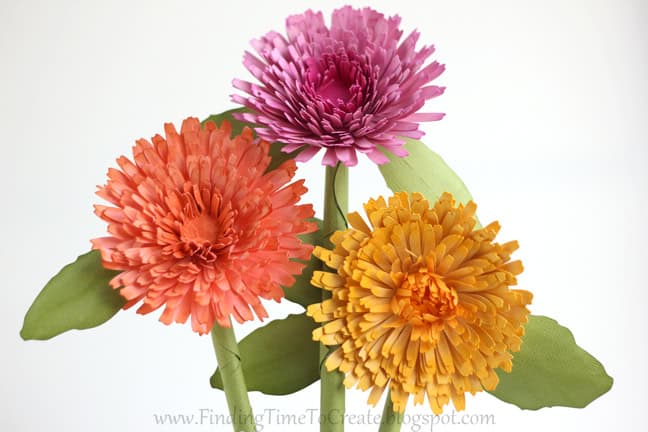
As usual with paper flowers, I like to run an inkpad along the tips of all the petals once they are cut but before they are assembled. There were a lot of layers here, but I just did a rough and quick job, and you can still see the tips have just a bit of shading. I used a green inkpad for shading on the leaves, as well.
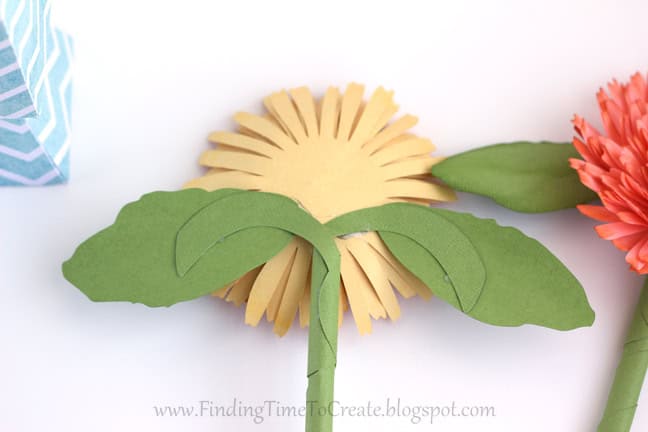
I followed the tutorial pretty closely. Here’s what the leaves look like from the back when hot-glued in place.
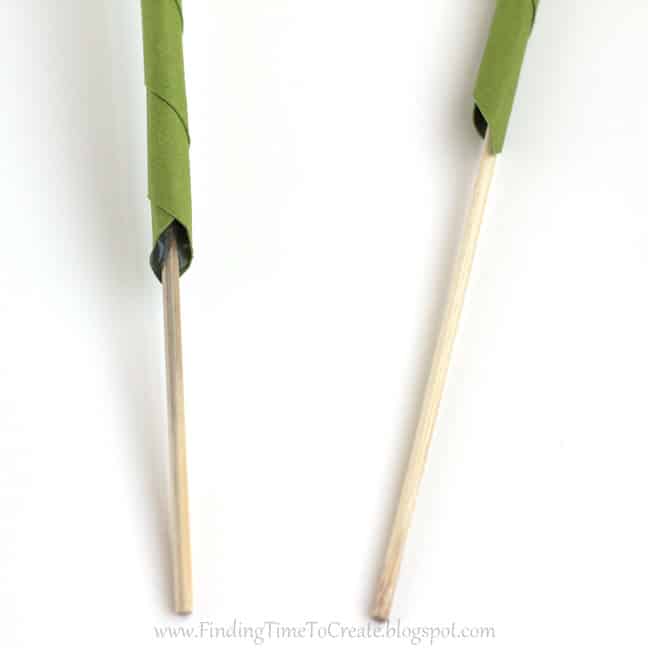
The stems weren’t long enough on their own for this tall vase, so I crammed a tiny wad of paper inside (so the stick wouldn’t poke out the top of the stem tube) with a bamboo skewer, then hot-glued it in place once I was sure of the height.
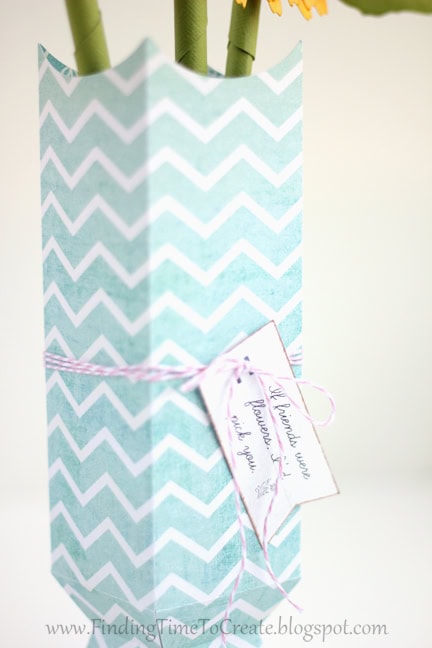
I added a little print & cut tag to the vase that says, “If friends were flowers, I’d pick you.”
I’m really pleased with how this bouquet turned out. I put some rice in the bottom of the vase to give it some weight. This keeps it from falling over easily, and also holds the skewer stems in place.
I hope you enjoyed my cheerful little bouquet!
Designs Used:
Tall paper vase (#42452)
3D Calendula (#57669)

Thanks for this great tutorial! Love giving designing a try and this will really help. And your flowers are beautiful!!
Thank you!
I love this! You did an awesome job! Thank you for sharing how to add the base to this project and the tip on the rice. The flowers are so pretty!
A beautiful project, Kelly. The flowers look so real!
Thank you, Marilyn and Gilda!
That is an awesome gift for a friend who needs a little cheer! And, you don't have to worry about allergies! Great Job!
Blessings,
Melitta
Thanks, Melitta! No allergies and no wilting. 🙂
I love this flowers!!!! absolutly lovely project!!! thanks!!!
Thank you, Wendy!
I love this! Love the colors, love the casual nature of the calendulas, love that they will last and last, and love the way they will brighten someone's days!
Thank you, Barbara! That's exactly what I was going for. 🙂 And it was an easy project, which is always nice.