Silhouette Lesson: Line and Drawing Tools
An all-new lesson is available now to learn about the Line and Drawing Tools in Silhouette Studio! Don’t forget you can find the password for each of my video lessons in the description below the video. (Just copy and paste.)
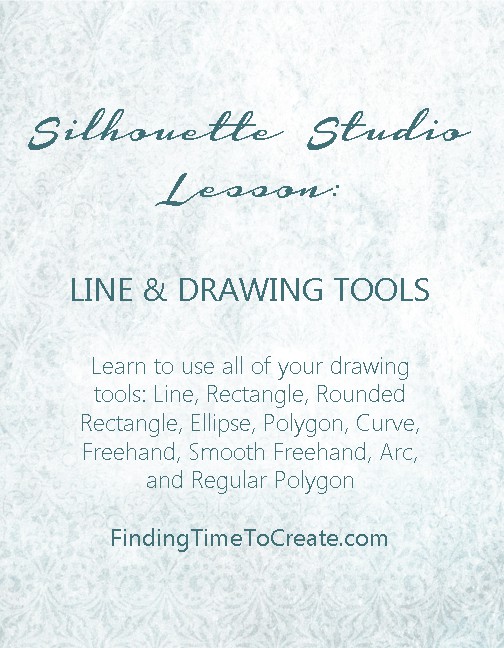
Line and Drawing Tools
This Silhouette Studio lesson goes over all of the Drawing tools: Line, Rectangle, Rounded Rectangle, Ellipse, Polygon, Curve, Freehand, Smooth Freehand, Arc, and Regular Polygon. For both Basic and Designer Edition. (Recorded with Silhouette Studio version 3.4.436 but still applies to earlier versions.) Run time = 9:52.
Password: draw34436

Kelly if you layout a card on your mat and want to cut away an arc on say the bottom of the card can you place the arc on the card and it will cut or is just a line since it is not a closed path?
An arc you draw is actually a cut line, so it will cut wherever you place it on your workspace. You can always tell which lines are going to cut by checking the Cut Settings Window (the icon towards the upper left that looks like a cutting blade). Cut lines will show bold red while in that cut preview screen, and that’s also where you can turn cut lines off and on.
Thanks Kelly for another great tutorial.
Blessings Jocelan
You’re welcome, Jocelan!
Thank you!
There is a world of difference between self taught and learning from someone who knows what they are doing.
Now I can get things done faster and easier.
Thanks, John, and you’re welcome. 🙂 A comment like that just makes my day!
Hello,
Kelly how can I trace and cut a wavy line. Let’s say I have my own image and I want to cut it on all arround the borders. But I want to cut it in zig zag. Like, when you cut a piece of paper with those crafting scissors.
How can I do this in Silhouette?
Thank you.
There are two ways to do this in Silhouette Studio.
One would be to open a shape with a curvy edge all around (such as you might find in the categories of tags, labels, or frames). Place that shape around your image and use the Modify>Crop tool. That will remove everything outside of the wavy border. You may need to turn cut lines on for a cropped shape in the Cut Settings Window.
The second method would be to use the Knife Tool in the Designer Edition of Studio. It has several fancy edge options that are not available in the Basic Edition.
Thank you. I tried last night the first method you described and it worked very well. I have my Silhouette Cameo 3 for 3 weeks and I don’t have Designer Edition yet 🙂
I’m glad that worked for you, Cristina! If you are considering Designer Edition after you’ve gotten a little used to the software, don’t pay full price! There are sales and discounts regularly.
I can’t get a wavy line on my sihouette. I have the points and need to go to curve line tab but all I get is straight lines. Help!
Virginia, are you trying to convert a straight line to one with curves in “Point Edit” mode, or are you trying to draw a curvy line from scratch using the “Draw a Curve Shape” or “Draw Freehand” tools?
My Silhouette work involves creating highly complicated lines (1000+ points) that I click to trace outlines of shapes. From time to time, I’ll double-click by accident and end the line segment. Is there a way to resume that line segment from that last point, rather than start a new one? I can’t for the life of me figure it out!
Cameron, that’s a good question. I don’t think you can resume once you’ve ended that line segment. What you can do is start a new line segment as close as possible to your accidental end point, and once you finish drawing you can select both lines, make them a compound path, enter point-edit mode and drag those two end dots together to seal them up (if you need it to be a closed shape, perhaps if you want to fill it with color). You can always drag red end points together that are part of the same compound path.
I am curious to know why you choose to trace your own outlines instead of using Silhouette Studio’s trace feature? I don’t know your software knowledge level, so I just want to make sure you know that exists. 🙂 It would be really nice if “Undo” would get you back to being able to continue that line, so it may be worth suggesting to the software developers at feedback_software@silhouetteamerica.com.
I know this is an older post, so don’t know if you will see my comment, but how do you get your line to have a thickness to it so that the silhouette will cut the vinyl in a line that I can peel up and transfer to my project? I am trying to make the lines for a calendar, I don’t know if that makes sense, thanks.
Hi Amber. You can increase the line thickness to make any line thicker, and then choose “Cut Edge” instead of “Cut” in the Send Panel. Just make sure it’s thick enough so your machine can cut on either side of the line and still have enough substance to it to cut, weed, and lift with transfer tape. Here’s a video that should help. https://youtu.be/5ekzDdMdvns
Hi Kelly,
I’m having problems in Point Editing mode where if break the points on a shape and then click on one to join it with another, the point will immediately jet out to a position far away from it’s original position and no where near where I need it to be. If I try to click on the node and move it closer to its intended location, it will either not move, or will make a weird curve in its shape, which I can’t smooth out. I have a Silhouette Curio and I’m running the latest software, but this has been an ongoing issue with me. I’ve looked elsewhere online to find a solution (because other people have had this same problem), but it seems as if no one who operates these tutorial sites ever answer this particular question. If you can help me, I would be eternally grateful. Thanks 🙂
Hi Page! It sounds like the culprit is that you have “Snap to Grid” enabled. Go to your Page Setup Panel, go to the second tab that looks like a grid, and make sure the box that says “Snap to Grid” is NOT checked. Let me know if that works for you!