Frosted Paper Flower Master Class

I’ve got quite a few pictures to share with you today! I recently completed Lia Griffith’s Frosted Paper Flower Master Class, and I thoroughly enjoyed it. I used my Silhouette Cameo to cut everything in class, and it was awesome. Enrollment opens HERE periodically for Lia Griffith annual members. Affiliate links are included in this post.
I must say that when I started, the thin text-weight frosted paper was a little troublesome for me to cut. I’m used to cutting cardstock when I make paper flowers. (Ignore crepe paper for the moment — that’s something completely different). If I had given up based on my less-than-perfect results cutting the spider mums in Lesson 2, then I would not have realized that was an especially difficult cut. My cuts got better with experience and practice. Just like Lia Griffith’s Crepe Paper Master Class, this Frosted Paper Flower Master Class is exactly what a master class should be.
Cutting Tips for Silhouette Cameo
Here are some of my tips for success with frosted paper. What I discovered was you need a clean sticky mat, or a clean mat at the very least. Lia mentions that, but sometimes you don’t know what’s important and what’s just nice to have. Also, a brand-new sharp blade is a must-have item! With a clean mat (I tried both standard and light tack) and a sharp blade, most of my Silhouette Cameo cuts worked great. With a light-tack mat, be sure to use a brayer to really push the paper onto the mat before cutting. You may use an older standard-tack mat that’s less sticky from use only if it’s clean from debris. Use the brayer again for that. Little bits of paper or fabric or other debris can interfere with cutting text-weight paper like Lia’s frosted paper.
Correct cut settings are important for success, too. I had the best results with my Silhouette blade at a blade depth of 2, Force 20, Speed 4-5, Passes 1, and Overcut turned ON. A second pass might be necessary if cuts are not going through on a significant portion of the designs. You can use either an Autoblade in the Cameo 4 or a manual 1mm blade. (Be sure to choose the correct blade for your machine.)
Finally, it seemed some frosted paper colors were a little more troublesome to cut than others. The reds and purples seemed to be a little more finicky. And of course, the amount of detail and corners on a design plays a factor in successful cuts, too. Less corners (like gardenias and hydrangea) are easier to get clean cuts.
Be sure to test cut before diving in! Practicing with any thin paper is important before committing to full sheets of petals or leaves.
Results
Here are my finished flowers from this frosted paper master class.
Spider Mums

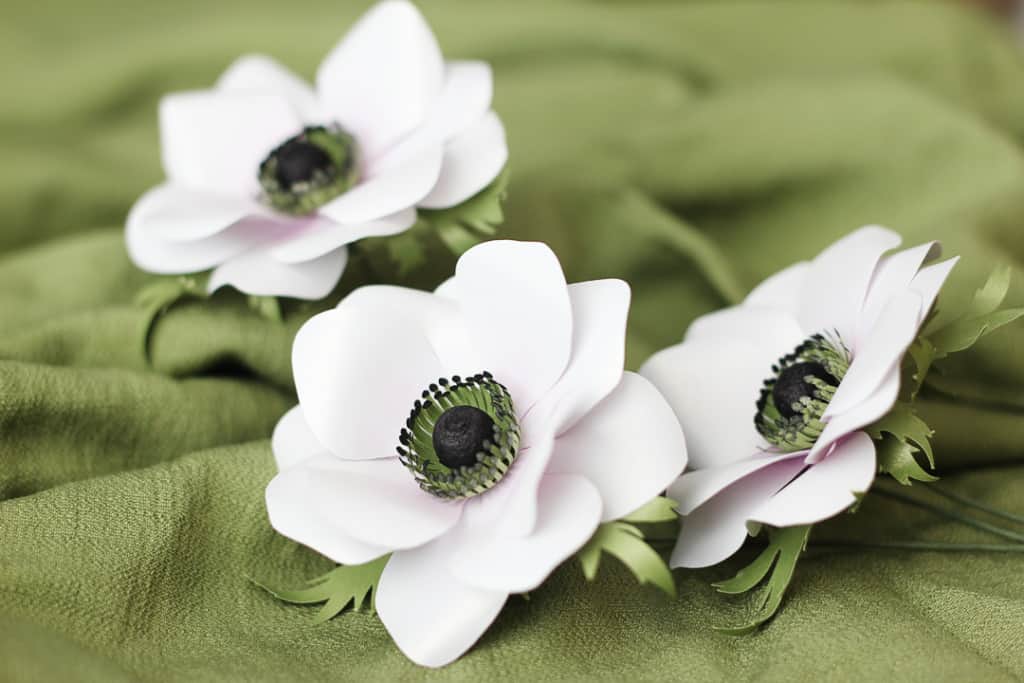
Anemones
Asymmetrical Wreath with Anemones, Mums, and Hydrangea

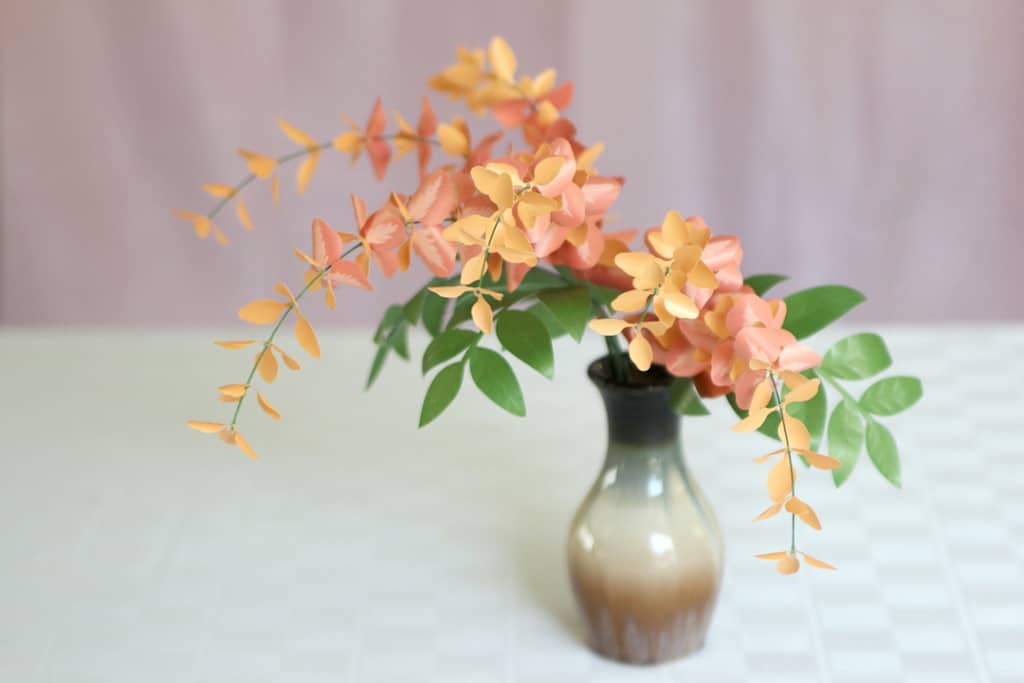
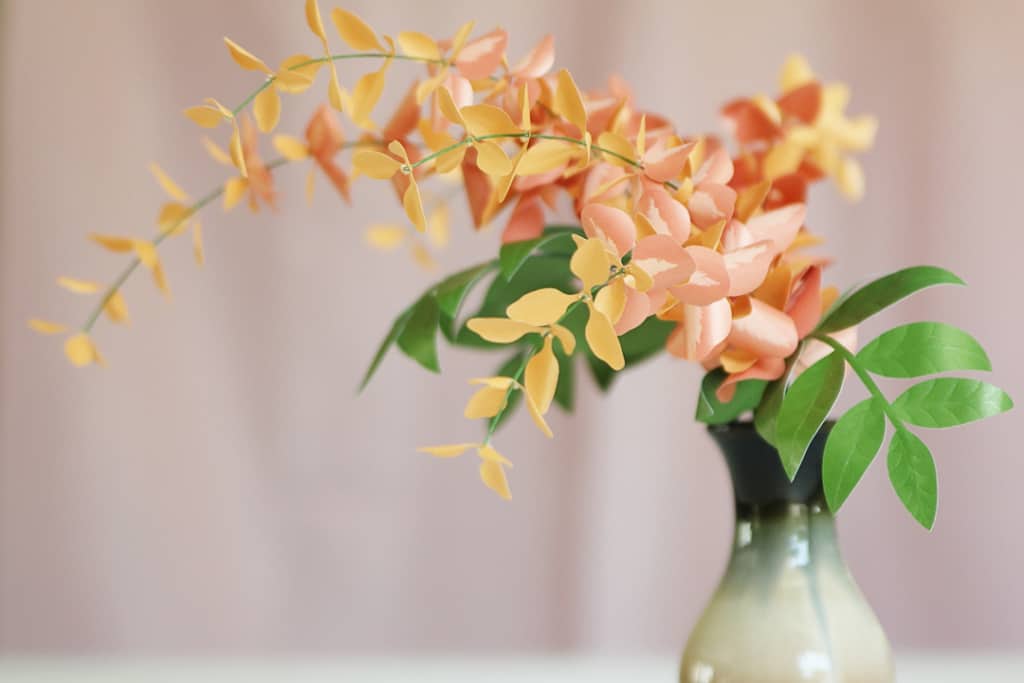
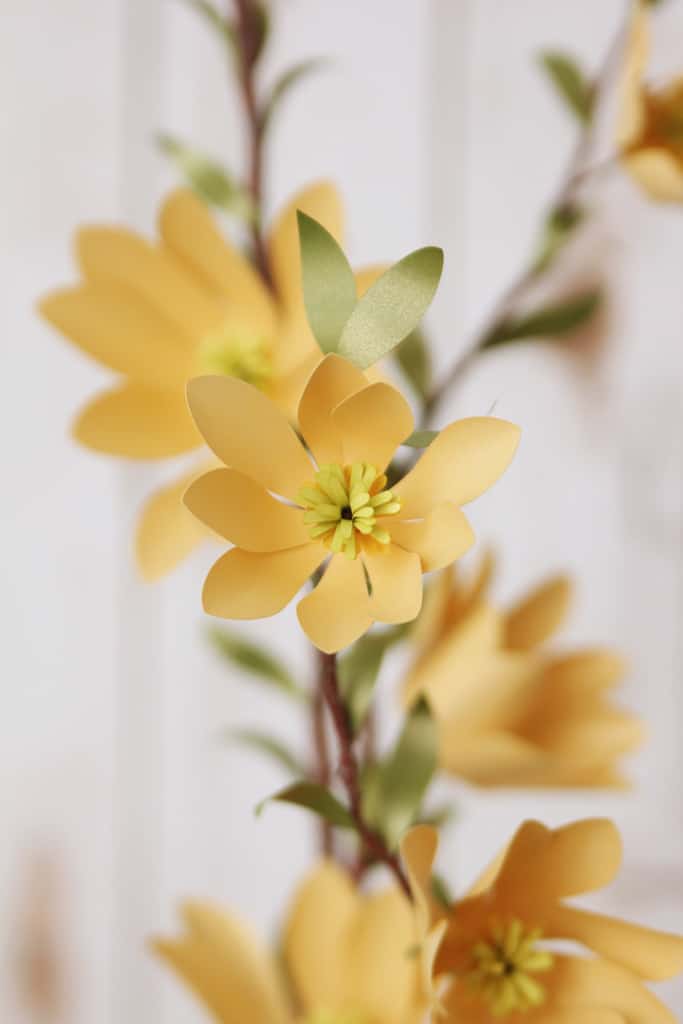
Hanging Wysteria
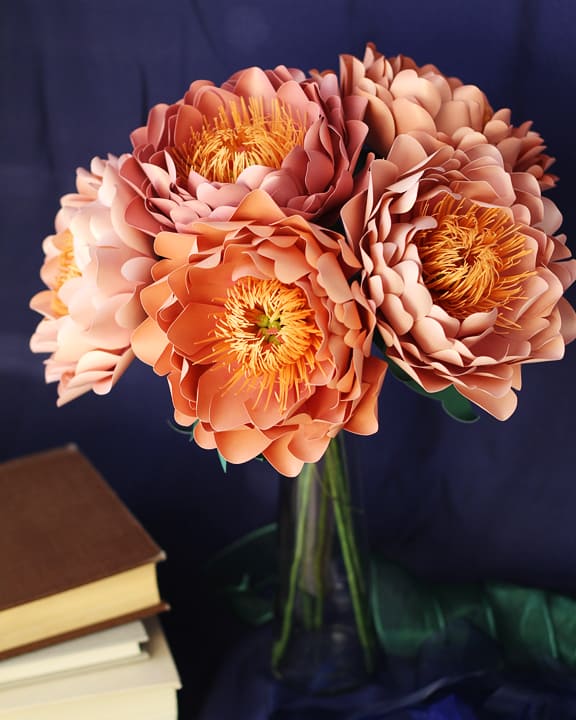
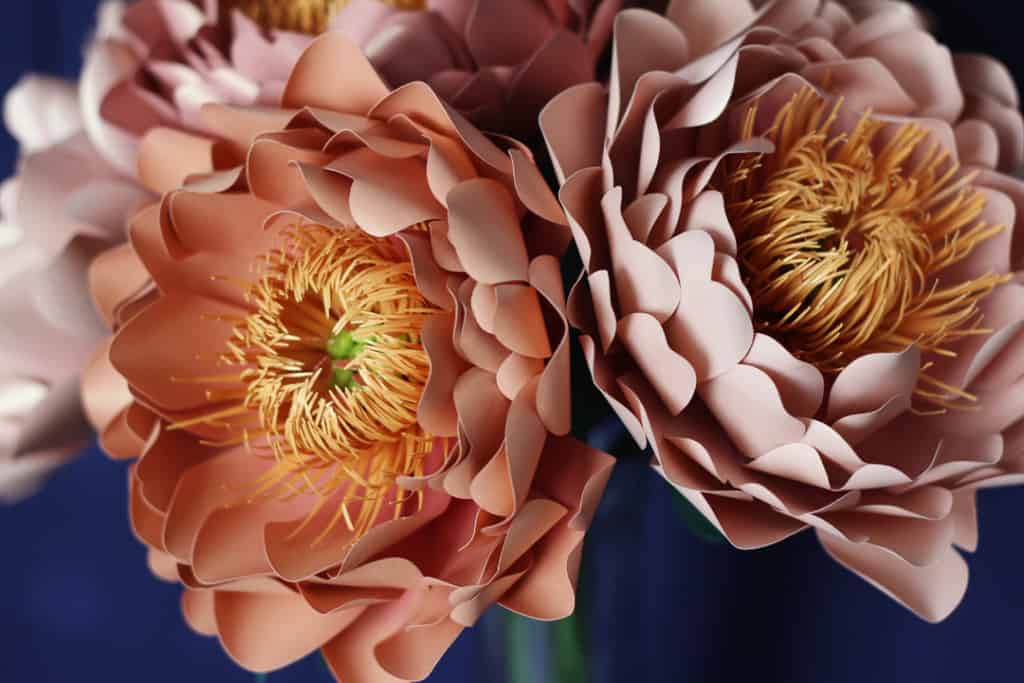
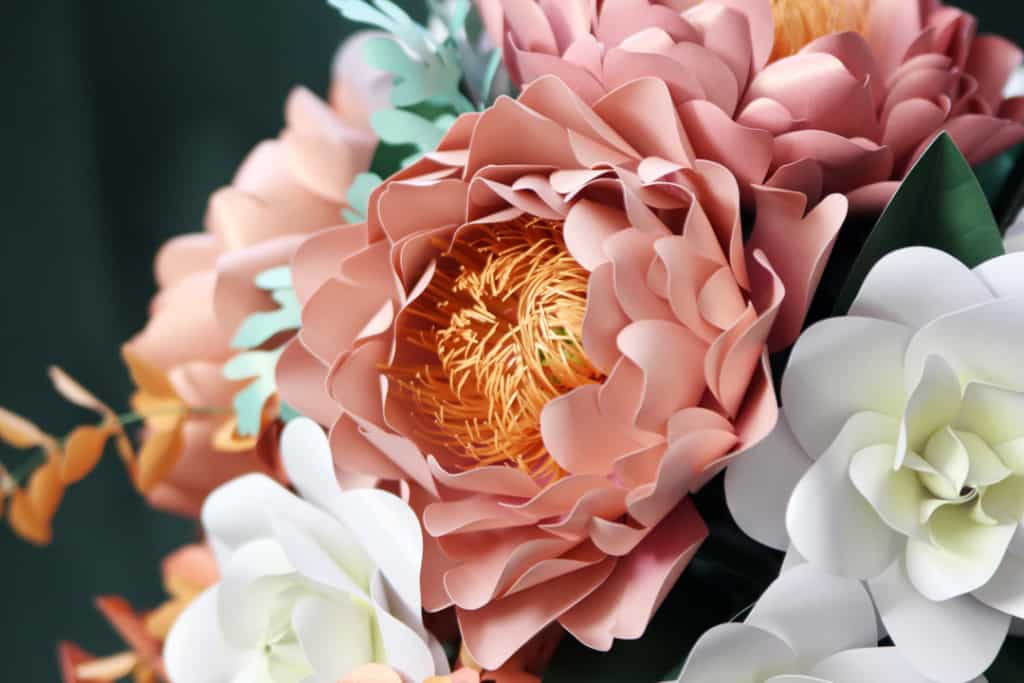
Coral Charm Peonies
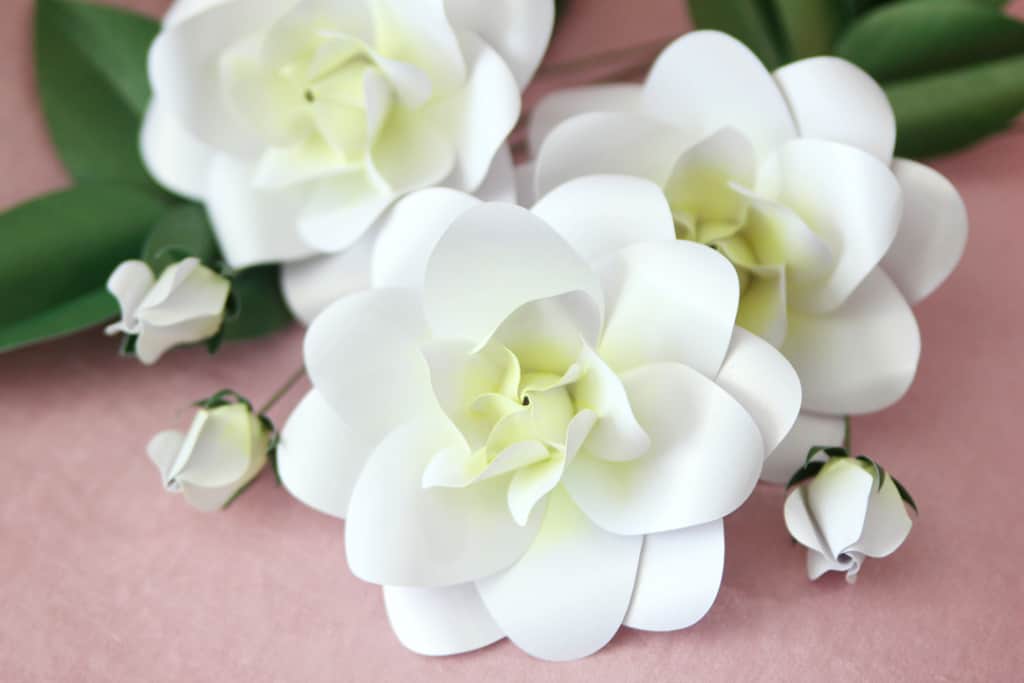
Gardenias
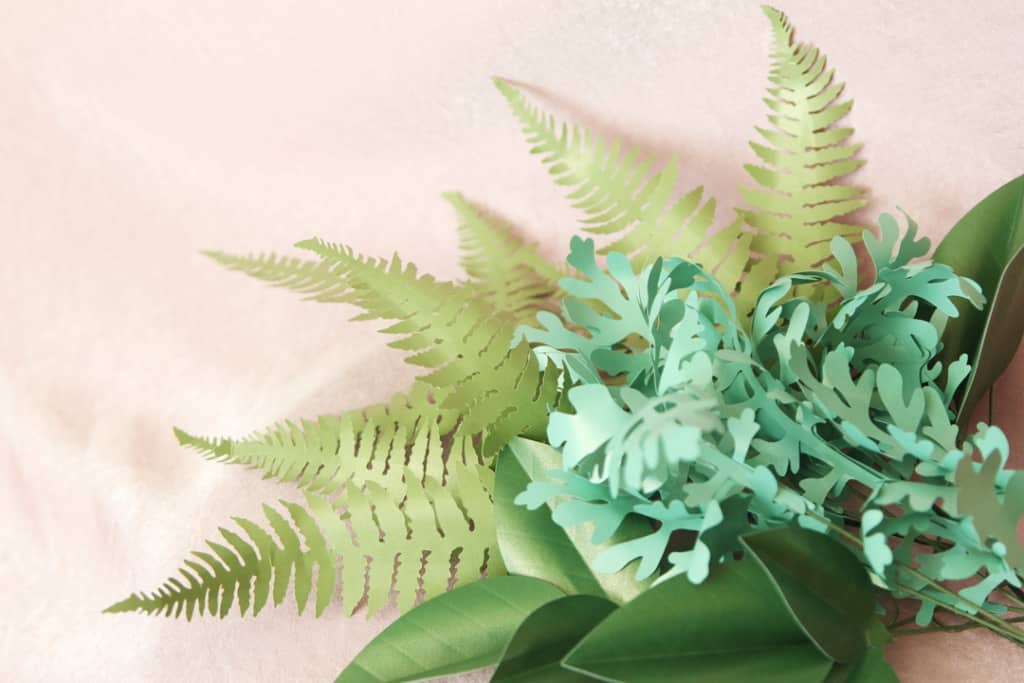
Greenery
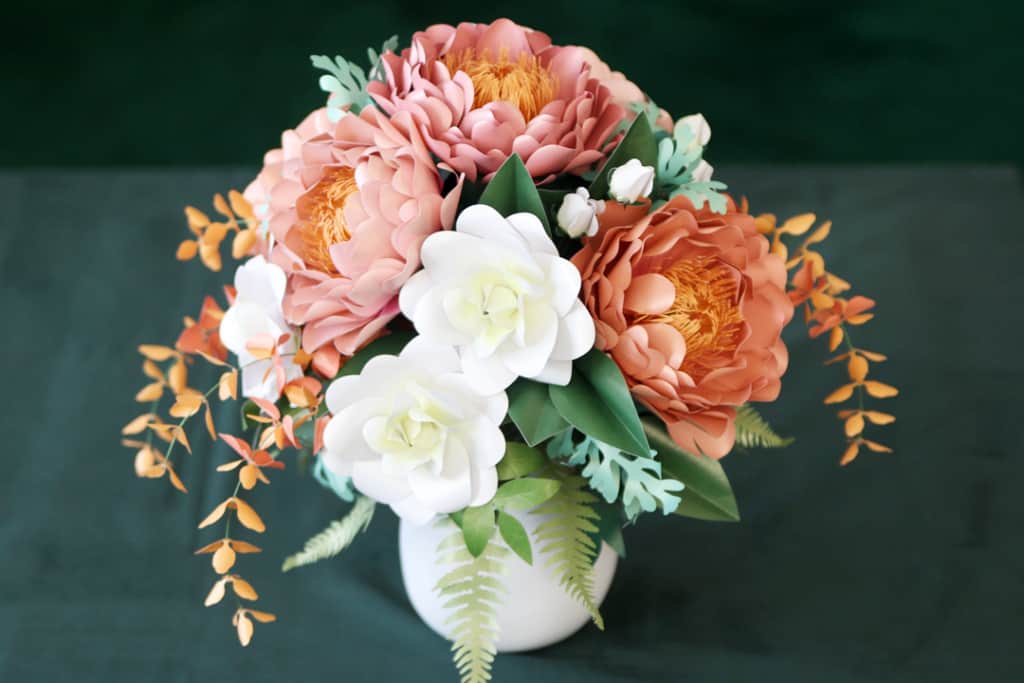
Bouquet Arrangement


Butterfly Magnolia Branch


Organization
Finally, I’ll show you how I organized my binder for this master class. Lia has done 11 or 12 lessons in her master classes, so I found these perfect Avery 12-tab dividers that really helped keep my binder clean and neat. Watch them in use in the video below. (The pretty cover sheet is included in the class downloads.)
That’s it! You can enroll (or join the waitlist) in this Frosted Paper Flower Master Class here to make all of these same flowers I just showed you. If you do your homework and stick with it, your flowers really can look like mine! Please let me know if you have any questions!
This post contains affiliate links. Your price is the same, but I may receive a small commission when you use my links. Thanks for your support!
