Pop Up Letter Tutorial
Here’s a quick tutorial on how to make pop-up letters for gift wrapping or whatever you want using Silhouette Studio (basic or Designer).
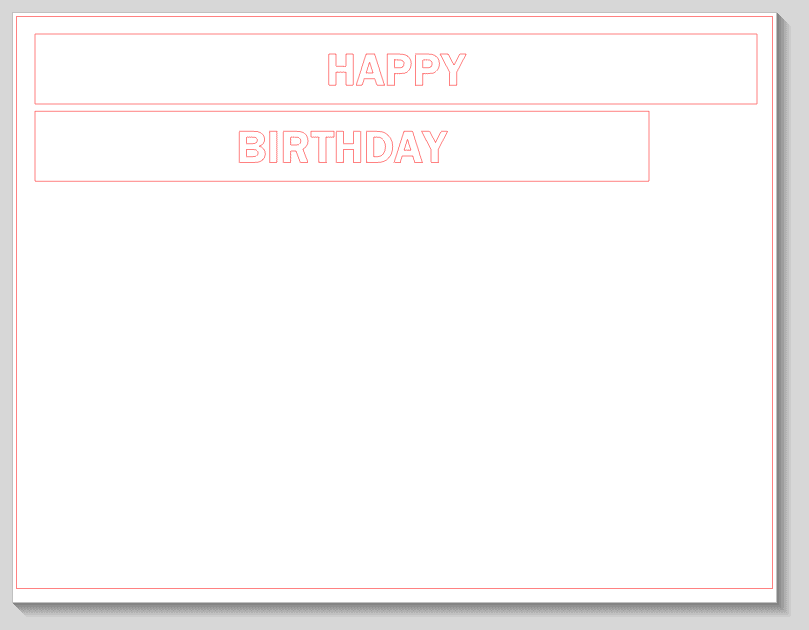
1- draw a long rectangle
2- type your desired letters (I used Franklin Gothic Demi font in these screen shots and Impact for the green in the photo)
3- arrange as desired within your rectangle
4- select a word and Ungroup
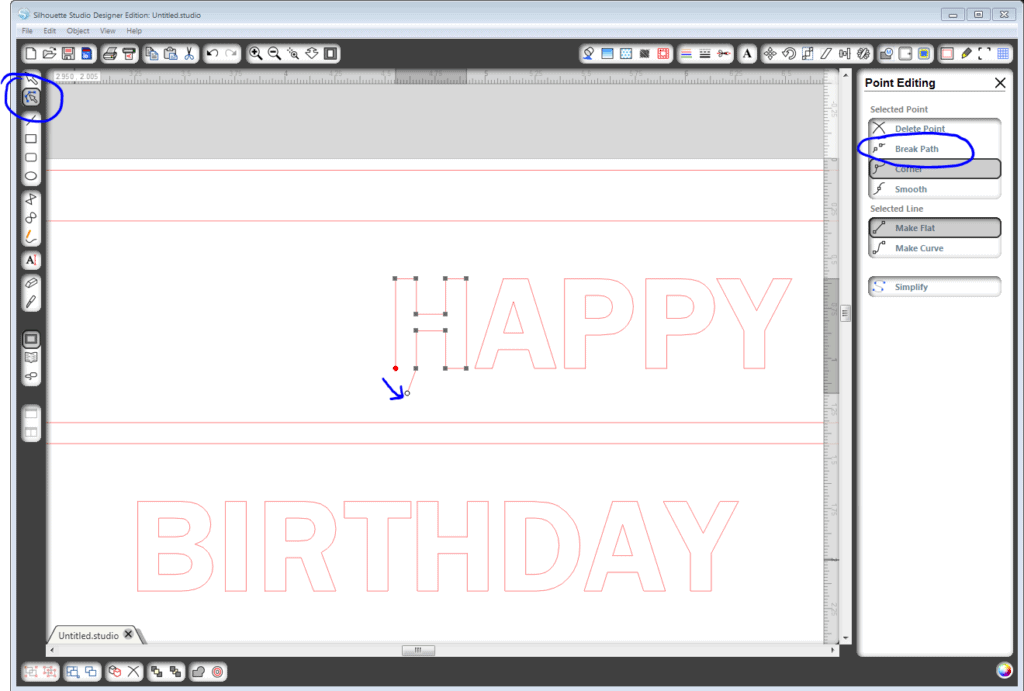
5- select the first letter and double click to Edit Points
6- select the bottom corner point by clicking on it, choose Break Path, move the line away by dragging the red dot, choose Delete Point (see update below.)
7- repeat with each letter
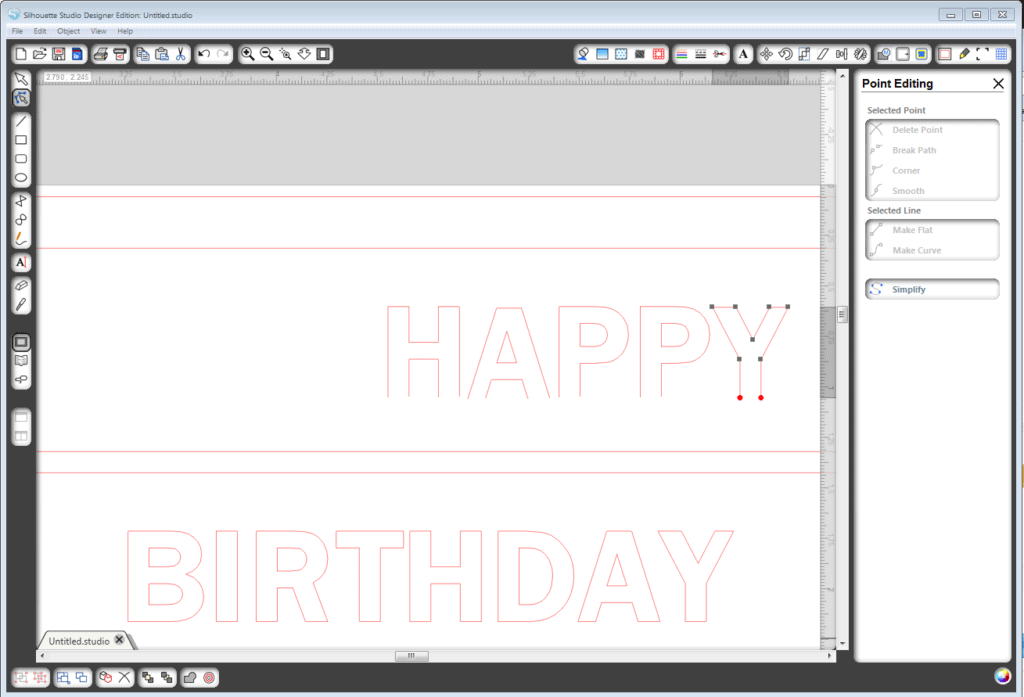
This way your letters will cut but stay attached at the bottom so you can lift them up and they’ll stand. You could add perforated lines at the bottom, but on this project I don’t think you need perforations.
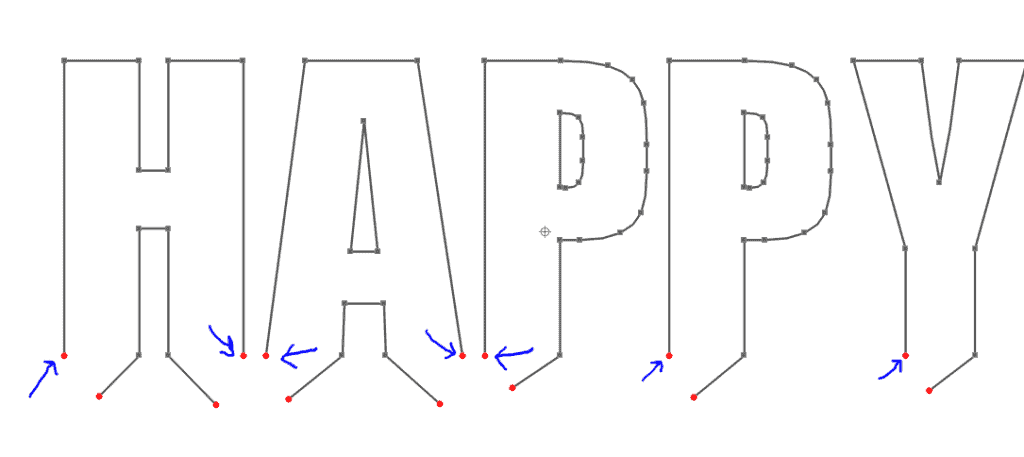
Update: Here is an extra image showing which point to click on for breaking the paths in each letter of HAPPY. If the letter has two parts or “legs” at its base, choose the very lower left point (then break the path and drag the line away) and also the very lower right point (then break the path and drag the line away). This is before I delete any points:

Hi Kelly,
I have seen post on pages from you regarding the Cameo. I just purchased mine and am having some issues with the left side of my vinyl fishtailing around. Once my vinyl is loaded the left side can be easily pulled out. I have attempted cutting and the vinyl just shimmies all around. Would you mind emailing me. Hoping to get this resolved. missyhydes@hotmail.com
Missy, I sent you an email with my suggestions.
Oh wow! Definitely going to bookmark this tutorial. Thanks for sharing, Kelly!
Nice, simple directions! Thank you.
Thanks Kelly —- I am printing and putting it in my Cameo instructions book.
Awesome; thanks for the help! I use my silhouette all the time but don't think I use it to it's fullest potential. It's hard to find good tutorials on this machine and was glad to find your blog!
I'm glad you found me, Carmina! I often make tutorials on request, so if you have a question about how to do something, let me know. 🙂
This is a great tutorial. I just got my Silhouette Cameo and played with it for hours and hours today. I was getting pretty frustrated because the manual and dvd that came with it were not very helpful. I have a cricut so I get the basics of how the machine should work but was so excited to know all of the other great capabilities it had as well. I decided to take a break from the machine so I wouldn't get mad at it and end up hating it! I'm glad I found your blog, looks like I'll be visiting often. I have so many things to figure out and questions to find answers to, this looks like a great place to start, thank you!
Thanks, Amy! The manual is sadly lacking, which is one of the reasons I have this blog. It helps me help people to love their Silhouette machines. (Plus I have a place to show off what I make!) Let me know if you need any help!
Thanks, Kelly!
Love this idea, love your tutorial. Thank you. I am having an issue with the step of "dragging the red dot." Sometimes I can delete the edit point but usually I cannot. Do you highlight the actual red dot when you're pulling it to edit it? Sometimes the wrong line is highlighted. Sometimes it looks like it's going to work, I drag the red line, but when I hit "Delete Point," nothing happens. It seems like it shouldn't be so hard! It's taking forever and I am still not even through the "Happy" part of Happy Birthday. I'm quite sure my problems are operator error. Do you have any suggestions on how I can get all the letters edited? Thank you in advance.
I suggest zooming in close, if you haven't already. You do want to click and drag the correct red dot when pulling it away to delete. I suspect you're having trouble dragging away the correct point on the letters like H and A. I'll add an extra photo above to show which point to select on the word HAPPY. Any letter that is connected with two "legs" needs you to break the path on its lower left point and its lower right point, not the lower left point of its right-side "leg". Sorry if that doesn't make sense, but hopefully the picture will.
If you drag the wrong point away, you can simply drag it back to where you separated it and it will snap back together and seal that broken joint (or use your undo button).
Before you hit "delete point" make sure the point you want to delete is highlighted white. Any black dots or red dots showing before you click the "delete point" button will not be affected by that command.
Sometimes after deleting one point you will need to click on the next point you want to delete because it may automatically choose a different point than you expect. Also be careful that you don't create new, unnecessary points by clicking on a line instead of selecting an existing point.
I hope those tips help. Please let me know if you still have troubles. 🙂