Scratchboard Airplane
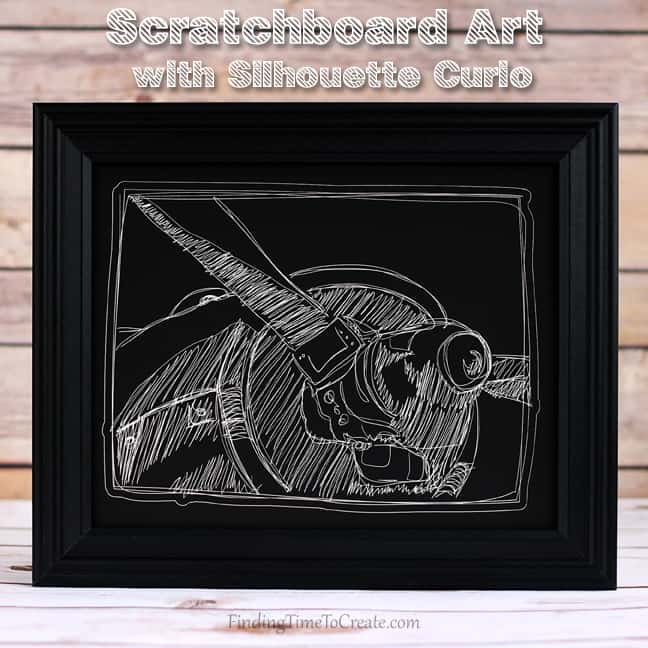
Hi, friends! I’ve got a new Silhouette Curio project for you today: a scratchboard airplane. I’ve scoured the craft stores for thick and unique materials to use in my Curio, and I love this piece I made with scratchboard.
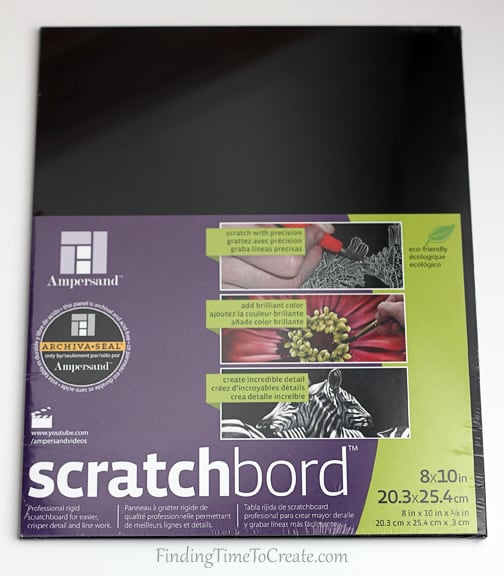
This scratchboard intrigued me, as I knew it would basically be the same as a metal-etch project, but would have a different look (and is bigger than the metal etching sheets). An 8 x 10 in. piece of scratchboard fits nicely on the large Curio base.
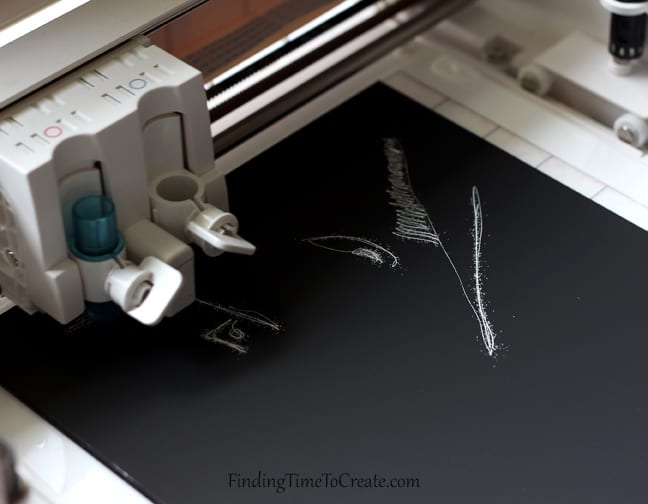
The high clearance of the bar and the lack of rollers directly on the media means thick materials like this are a breeze.

You can see that as the Curio scrapes away the top surface with the etching tool, white is exposed underneath the black. It reminds me of those black scratch pads that expose color underneath as you draw on the black layer with a sharp wooden tool.
Are you ready for the step-by-step instructions? Here we go.
Materials and Tools:
- 8 x 10 inch scratchboard
- Silhouette Curio
- Curio stippling & etching tool
- Silhouette Curio large base (8.5 x 12”)
- 8 x 10 inch frame
How To:
- Open this airplane sketch design (ID #45964) in Silhouette Studio.
- Ungroup and center the outer frame around the plane portion of the design, if desired.
- Group the entire design.
- Resize the design by dragging on a corner handle to fit within your frame’s opening. I made my longest edge 9 inches.
- In the Design Page Settings Window:
- Set the Page Size to 8 in. x 10 in. to match your scratchboard
- Set the Cutting Mat to Curio (cut) 8.5 x 12 in. (You do need the larger cutting base for this project.)
- In the Align Window: make sure the design is selected and choose Center to Page (the bottom choice).
- Carefully place the scratchboard onto the cutting mat exactly as you see it on the screen.
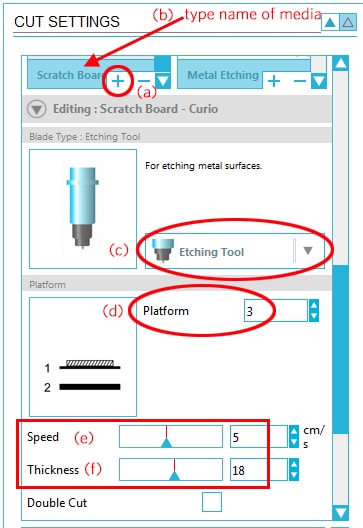
- In the Cut Settings Window: you will need to create a custom setting for scratchboard. Mine is 3 mm thick, so I want to use 3 for my platforms (2 + cut mat). Edit: Steps A-G below are for Silhouette Studio v3. To create custom settings in Silhouette Studio v4, please see this video.
- Click on the “+” symbol
- Type “Scratchboard” for your media type (but don’t hit Enter)
- Choose the Etching Tool for the blade type
- Choose Platform: 3
- Set Speed: 5
- Set Thickness: 18
- Hit “Enter” to keep the changes
- Place your platforms on the large cutting base (2 + cut mat with scratchboard) and load it into the Curio.
- Be sure to place the etching tool in the left blade holder (assuming you have Tool 1 as your selected tool).
- Click Send to Silhouette and watch it scratch the design into the media.
- When it’s finished, unload and use a soft paintbrush to brush away the debris from the etching.
- Frame it. Done!
Here’s a short video of the Curio in action.
Look at the crisp white lines that are exposed!

I hope you enjoyed this project! The Curio is so fun to experiment with on new materials. Let me know in the comments what else you have tried in the Curio.
This post contains affiliate links. It won’t change your price, but it helps you by getting exactly the product I used, and it helps me by giving me a little kickback. Win-win. 🙂

OMG!!!! Kelly I luv this! Now if I can just talk you in to making me one? Hope all is well, donna
Thanks, Donna! We like airplanes at our house, too. 🙂 If you really want to buy one, we can talk. Email me at kelly at findingtimetocreate dot com.