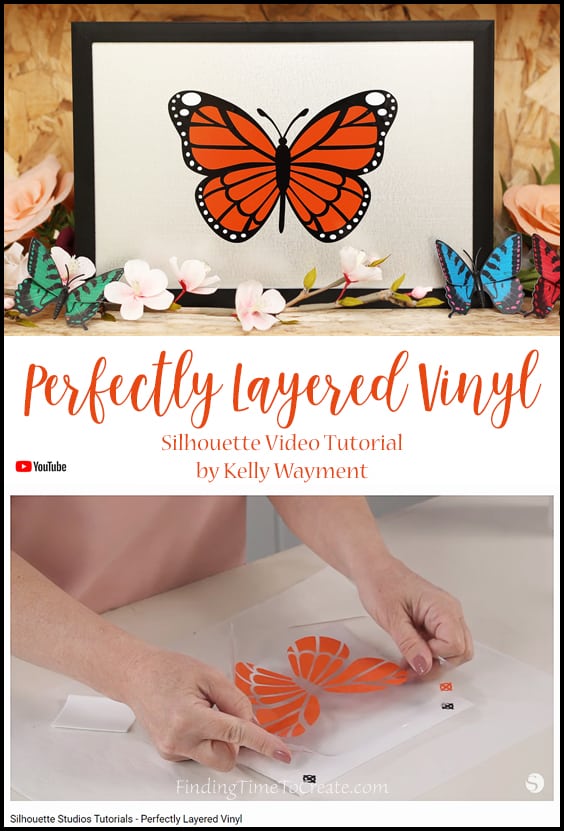
Perfectly Layered Vinyl Video Tutorial
Perfectly Layered Vinyl Tutorial:
In this video, I’ll show you how to achieve perfectly layered vinyl with your multi-colored Silhouette vinyl projects. I’ll show you how to work with any typical colored design in Silhouette Studio, then add crosshair placement guides in the software before cutting. Then we’ll cut the various colors of vinyl and use those crosshairs to easily line up the layers.
Materials:
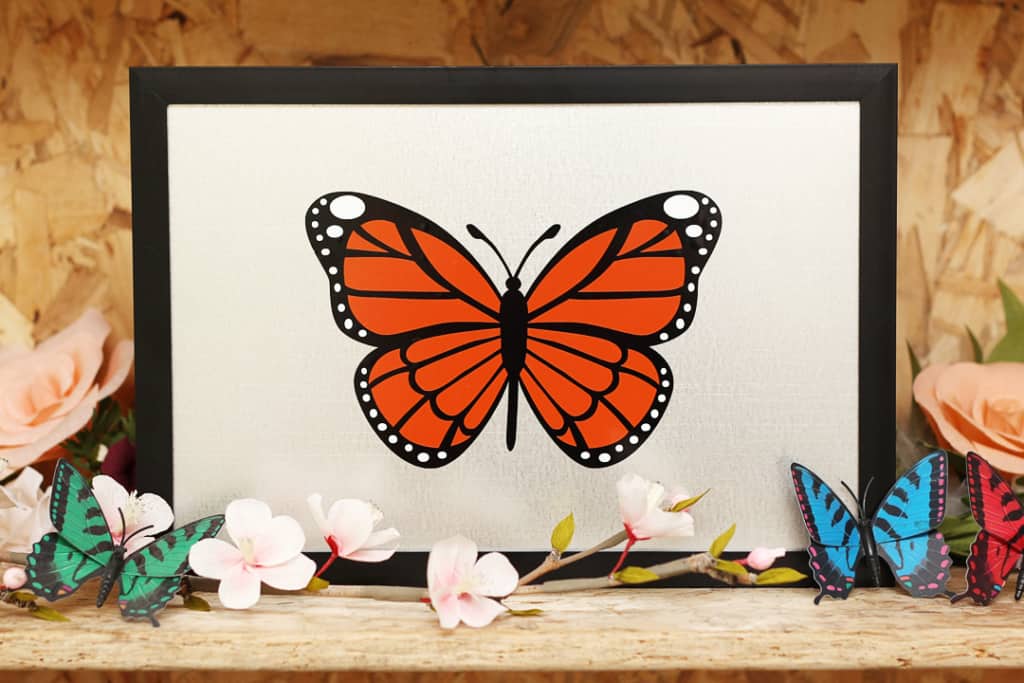
- Design ID #77259 Monarch Butterfly
- 2-3 colors adhesive vinyl (for each color in design) – for this project all trimmed to 7.5” x 6”
- Silhouette Cameo or Portrait – any model
- Cutting mat
- Hook tool
- Scraper tool
- Transfer tape – for this project trimmed to 7.5” x 6”
- Parchment paper (optional)
- Surface to apply finished vinyl design – I used an 8″ x 12″ galvanized steel flashing shingle from the hardware store and an 8″ x 12″ frame
Watch the tutorial here:
I hope you find this video helpful, and don’t forget to Pin it to refer to later! Also check out my other vinyl video classes HERE and HERE.
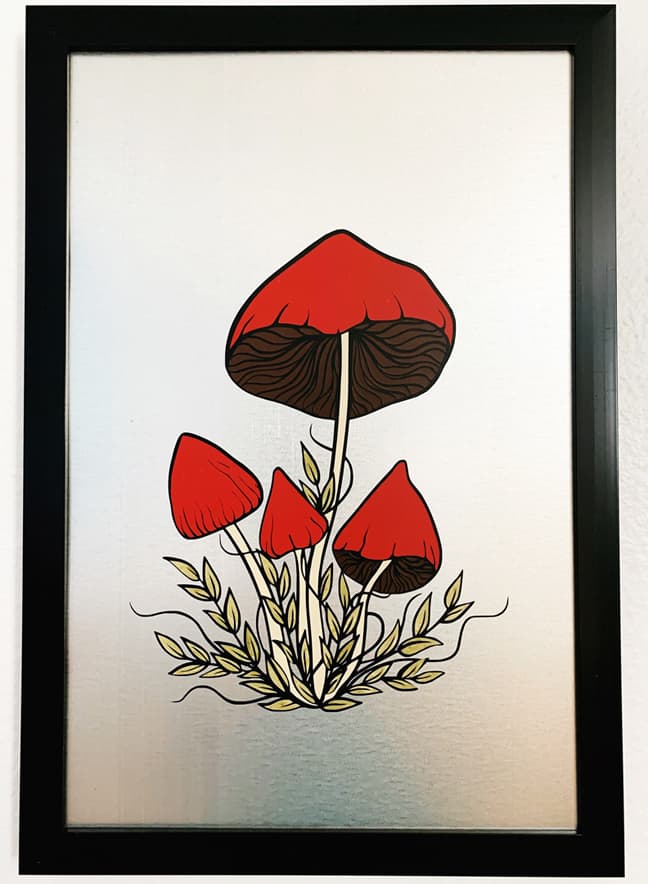
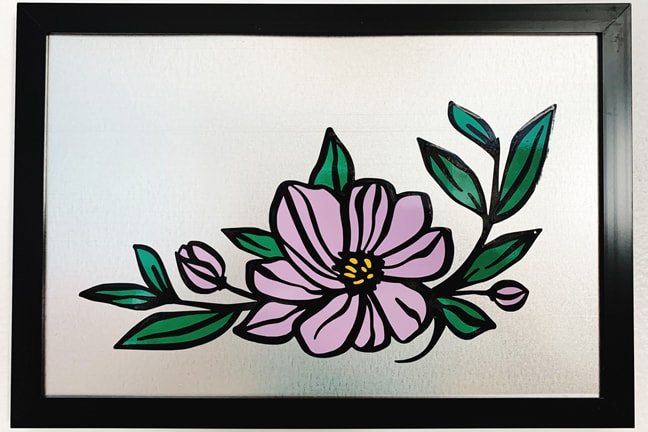
Here are some pictures of other multi-colored projects I’ve made using this same registration mark (crosshairs in the video) technique.
This post contains affiliate links. Your price is the same, but I may receive a small commission when you use my links. Thanks for your support!
