Tips and Tricks: Inking Edges
This tip may be basic for some of you, but I’ve been asked about this so I’ll share it with you. Maybe it will be an “ah-ha!” moment for some of you who are new to paper crafts.
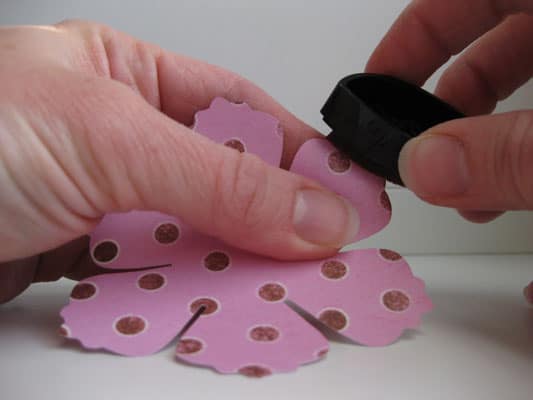
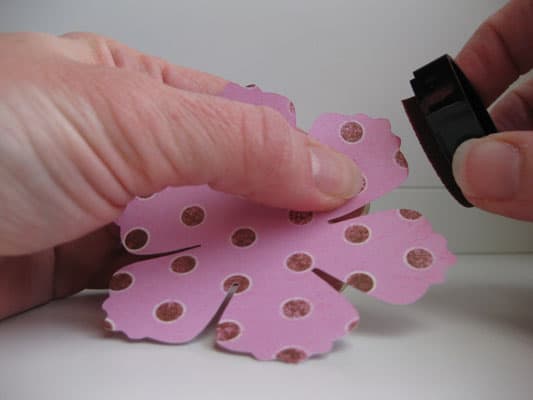
I’ve referred to “inking the edges” in several of my projects. This just means you take an ink pad and rub it, swipe it, or blot it along the edges of your paper design before you adhere it to the project. You can also use some kind of applicator (makeup sponge, felt-pad applicator, etc.) with a large ink pad for the same effect.
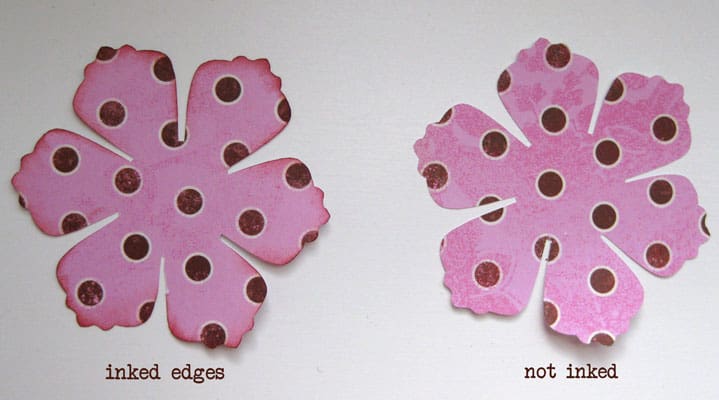
Here you can see the difference in the same single flower:
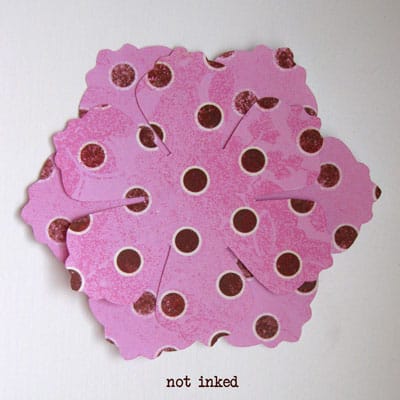
When you start to layer the papers, here is where it really makes it pop by inking the edges:

Any ink pad will work–dye or pigment, colored or neutral–but you get a slightly different look between different kinds. If you are going to buy a single ink pad I recommend a dark brown pigment pad. It really works with any color scheme. Some prefer black over brown for their go-to color.
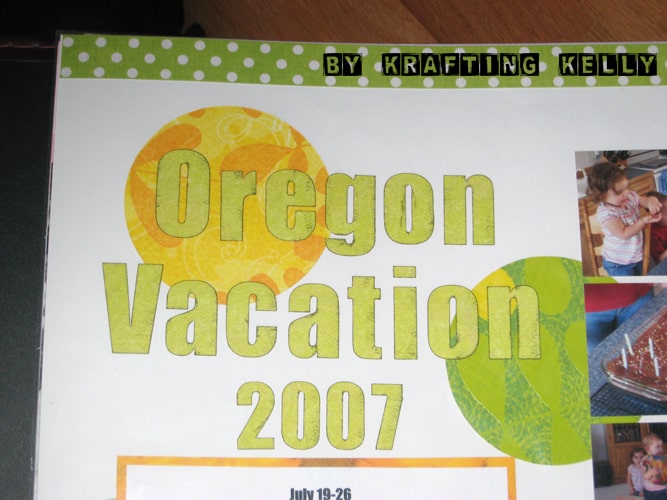
Here is how, with edge-inking, I made my title stand out better on this scrapbook page:
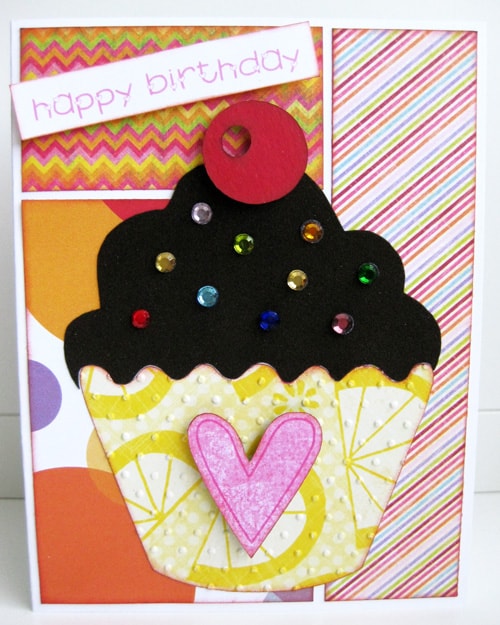
Not only does inking edges add depth and shadow to your paper pieces, but it can also tie in otherwise mismatched patterns and colors like the color blocks on this card. I inked the edges of the color blocks, the label, the cupcake holder, the heart, and the cherry.

Wow! Years ago I googled this and never came up with an answer. I assumed it was just as it sounded but never knew (and never attempted, guess I should have). Anyway, thank you for sharing!
You're welcome, Julie. 🙂
Oh wow. It really does make a difference. I'll have to remember that for paper crafts.
I wish they would have put a link to this in your Silhouette post, but I'm glad I found it. Super helpful!
I'm glad you found it, too. 🙂 I'm not supposed to link to my own posts from the Silhouette blog, or I would have.