Craft Stick Puzzles
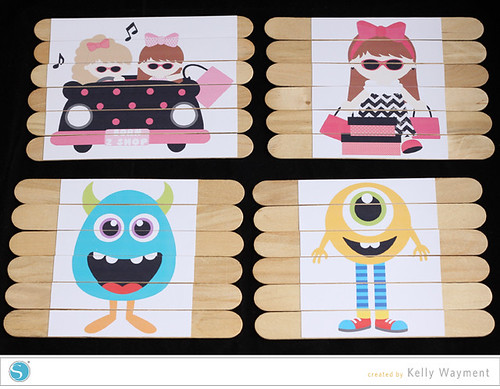
Here’s a tutorial for making perfect stickers to put on craft sticks for simple children’s craft stick puzzles. This would even be fun to make a secret message to be unscrambled. This is my take on several related ideas I saw on Pinterest.
Original tutorial featured on the Silhouette Blog 2/26/2014:
Raise your hand if you like the Silhouette’s print & cut feature! Kelly here with a tutorial for you today that will allow you to turn virtually any print & cut from the online store into a simple puzzle for young children. You’ll create the cutting template to fit standard wide craft sticks.
Here we go…
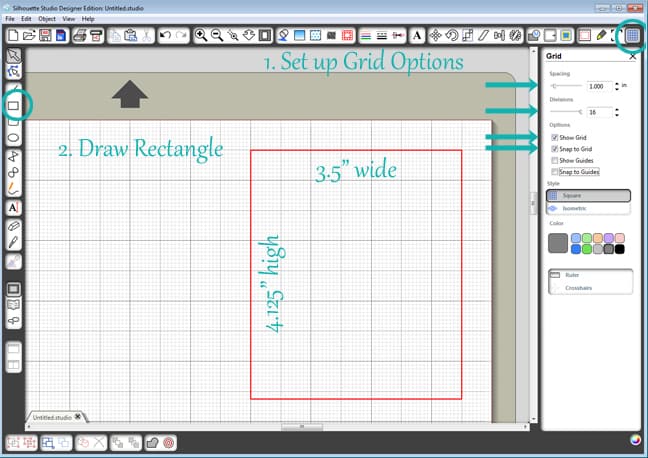
1- Set up the following options in your Grid Window (using inches as your basic measurement). If your screen doesn’t have all the options you see here, it’s probably because I’m using the Designer Edition of Studio. You can still use the Basic version for this project.
- Spacing 1.0
- Divisions 16
- Check the box for Show Grid
- Check the box for Snap to Grid
2- With your “Draw a Rectangle” tool, draw a rectangle that is 3.50” wide x 4.125” high (the Snap to Grid option really helps here).
3- With your “Draw a Line” tool, draw a horizontal line from one side of the rectangle to the other side every 11/16” (0.685” on the grid).
Note: It’s helpful to draw a guide here. Draw a temporary rectangle about 1.5” wide x exactly 0.685” high. Go to your Replicate Window and click on Column of Three and then Column of Four (this will give you six perfectly-stacked rectangles).
Use the bottom edge of each of these guide rectangles to show where to draw the horizontal lines every 11/16” (0.685”). Your Snap to Grid option takes care of the rest.

4- Group the 3.5” x 4.125” rectangle with its horizontal lines and delete those temporary guide rectangles.
That’s it! Now you have a cutting template to place over the top of any print & cut file so you can cut out perfect strips printed on white sticker paper to adhere to six wide craft sticks. If you want to keep this template handy, save it to your Library (File>Save to Library) and it will save in your My Own Designs folder.
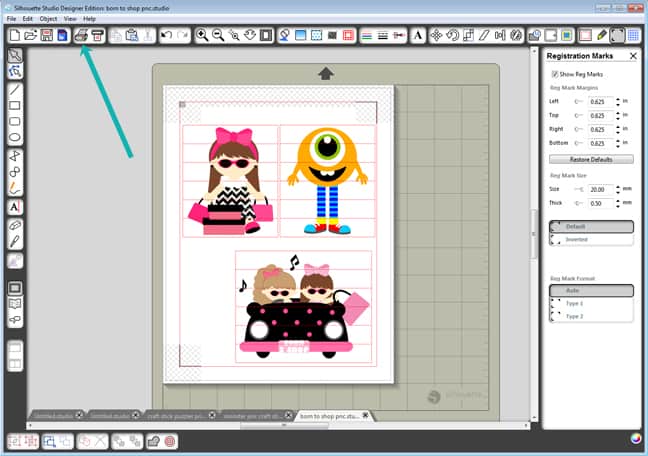
Make sure with each print & cut file that you resize it to fit within the rectangle, and completely turn off all cutting lines (in the Cut Style Window) of the original print & cut. You only want your template to cut. Those red cutting lines won’t print, so don’t worry about them covering the image.
As with any print & cut design, be sure to select your correct paper size for your printer and turn on the registration marks. Send the document to your printer, then stick the printout onto your Silhouette mat, adjust the settings, and cut. I used Silhouette printable white sticker paper so there’s no gluing involved. With the sticker paper, kids can help you assemble these for classroom projects or for gifts for friends.
Also note that you can make your template wider (but less than 5” maximum) by dragging the side handles of the bounding box, but don’t resize any other direction or it won’t fit the height of the craft sticks.
Don’t forget to change your Grid Window settings back to your normal preferred spacing/divisions, and uncheck the Snap to Grid box.
This template should fit standard wide craft sticks, but you could also use the template alone to cut sturdy blanks from Silhouette chipboard. This princess set is applied to Silhouette chipboard.
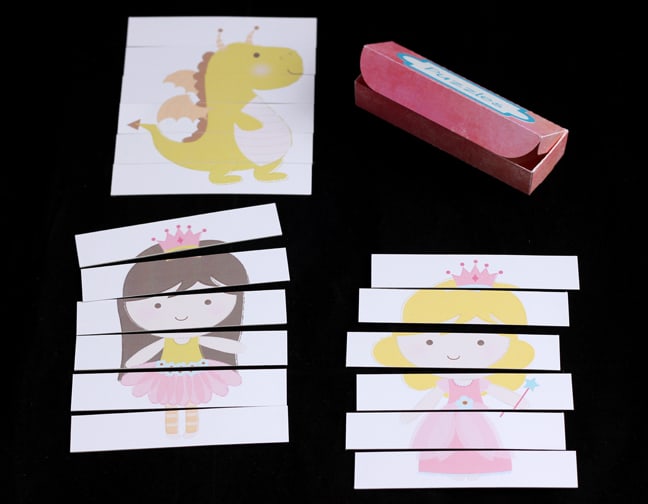
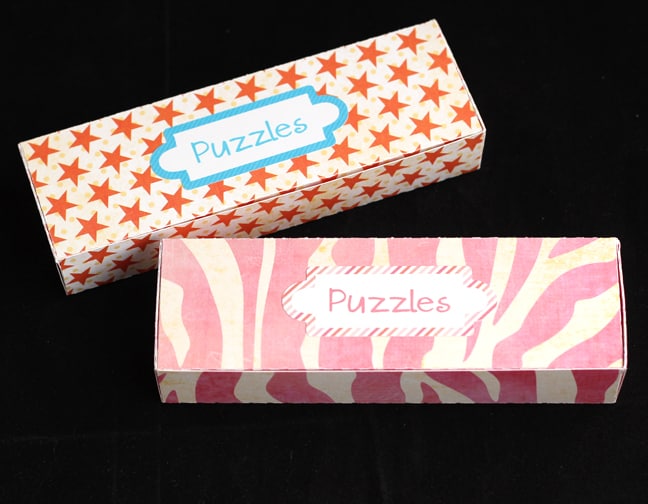
I even found a perfect box in the online store to hold these craft stick puzzles. (And a cute label to go on top.) My 4-year old son asks to play with these puzzles all the time.
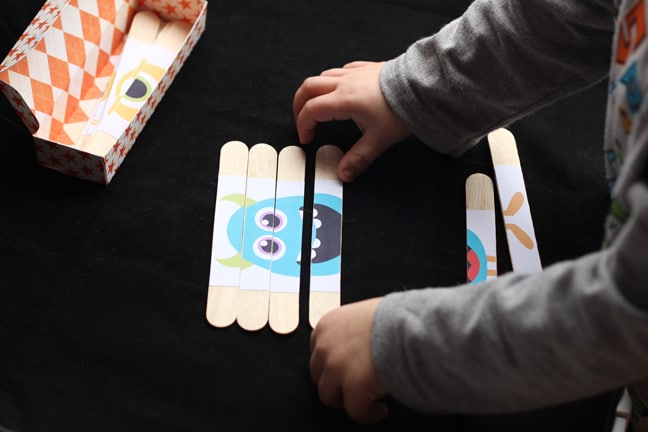
What a great way to use those print & cut files you’ve been collecting, right? These would be great for quiet games at church or the doctor’s office, or even for simple party favors. Have fun playing!
Shapes Used:
- 3d box by Lori Whitlock
- *Born to shop girl carrying bags by Stinkin Cute Paper Piecings
- *Born to shop girls in car by Stinkin Cute Paper Piecings
- Dragon by Imaginisce
- Princesses by Imaginisce
- *Cute monster by Michelle Renee
- *Cute monster by Michelle Renee
- *Scrapbook label frame by Jamie Koay
Patterns: Blue diagonal stripe, Diagonal stripes pattern, Small pink dot, Chevron black
*Not a print and cut design, but easy to fill with colors and make your own print and cut. See the Silhouette YouTube video if you don’t know how to do this.

How difficult was it to put the sticker on the stick and get all the sticks to line up? I designed a set but haven’t cut it yet cuz I can’t figure out an easy way to line up the sticks and get the sticker on them all evenly. This is just so cute. I don’t have any grandchildren yet, but I am making stuff already so I don’t forget how to do it! Kate
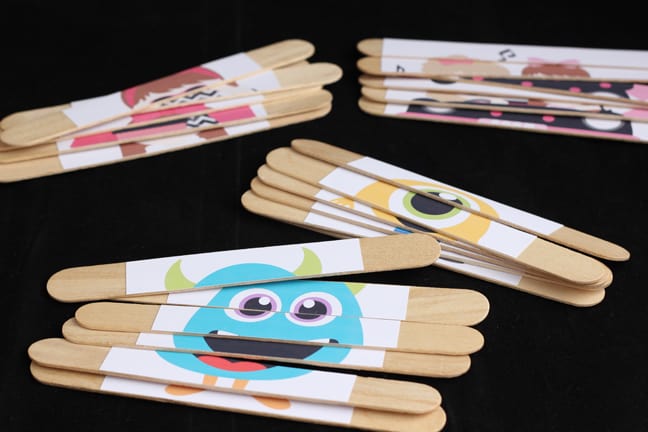
I found that if the sticks were lined up pretty well when applying the stickers, it doesn't matter too much if the stickers are off just a bit from each other. When the puzzle is put together, the child can still line up the pictures and if the edges of the sticks are not exactly aligned, it's fine.
If you do want to get them exactly right, I suggest lining up the craft sticks on a smooth flat surface and taping down the ends temporarily with masking tape so they don't move while applying the stickers. 🙂
Thanks Admin.
Great idea for youngsters! Well done.
Hi Kelly,
Clever girl! Love this idea for Sunday School, I think I would do it with scripture, they be the ones to make the puzzle. Cool!
Blessings always,
Barb
Nice idea, Barb!