Alphabet Magnets {with Personality}
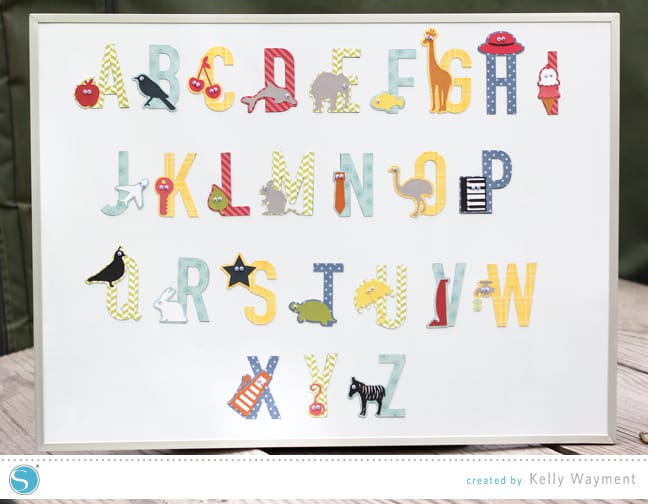
Summer vacation starts today for my kids, so I’m on the lookout for ways to keep them busy. Of course I turn to my CAMEO first. 😉 My preschooler has spent the year learning his letters and their sounds, and I’d love for him to only improve those skills over the summer. I’m going to share with you today how to make these cute alphabet magnets using Silhouette adhesive magnet paper.
I love the look of paper-pieced layers, but when it comes to gluing them together, the assembly sometimes becomes less fun. Not a problem with these designs that only have the base letter and one layer on top. I chose to use scraps of pattern paper for the base layer (this is an excellent project to use scraps) and adhesive cardstock for the character layer. The magnet paper has an adhesive top, so whatever paper you place on it will stick.
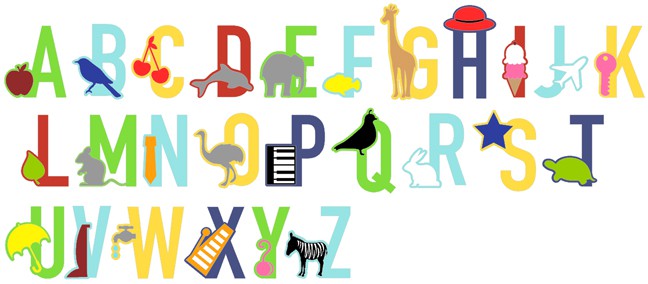
1- Open and lay out all of your alphabet shapes on the Silhouette Studio work space. If you want, move them off to the side while you work on arranging and coloring them. This is optional, but I like to color every piece with a color similar to what I intend to cut it out of. Use your Fill Color Window to do this (select a shape, choose a color). I chose 5 base colors and mixed them up. Here is what my Studio page looked like:
2- Make a copy of each base letter shape and arrange it on a letter-size work space to match the adhesive magnet paper. A quick way to make a copy is to hold your Alt (or Option) key while clicking and dragging on the letter shape. This will drag away a copy and leave your original shapes unchanged. I was able to fit all of the letters on less than two sheets of magnet paper when using their default size.
3- Now you’re ready to start cutting. I cut my adhesive magnet pieces first. Simply lay the magnet paper on your mat with the black side against the mat and the white backing on top. You do not need to mirror the images. The default settings (Blade 6, Speed 1, Thickness 33, Double Cut) worked great for me, but it’s always a good idea to perform a trial cut on a new material.
4- Once your magnet pieces are cut out, it’s time to cut out exact copies in paper. I dragged one or more letter colors over to my work page at the same time and put corresponding pattern paper on my mat to be cut. Most of my pattern paper was the same weight and could be cut with the same blade setting, but my yellow paper was much thinner.
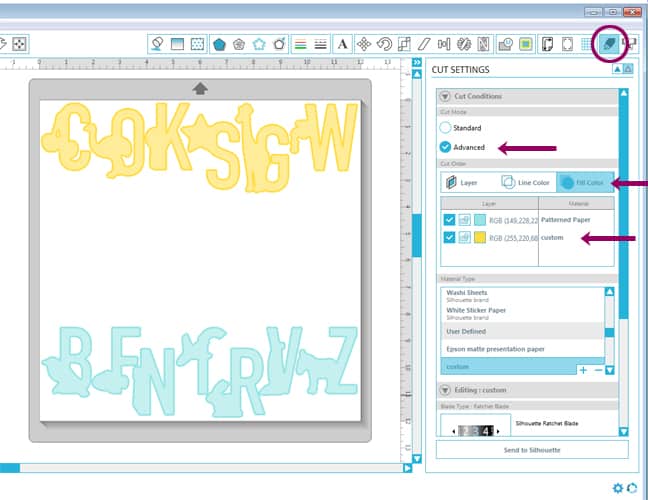
5- To cut papers of different thickness on the same mat, give each a different setting by clicking on the Advanced option in the Cut Settings Window. I chose Fill Color as my identifier because I had already colored the letters based on paper. Simply click on the material type to open the options for changing its cut settings. If you need to actually change the blade (e.g. from a 3 to a 2) for different paper types, then you will need to right-click on the material type and insert a pause.
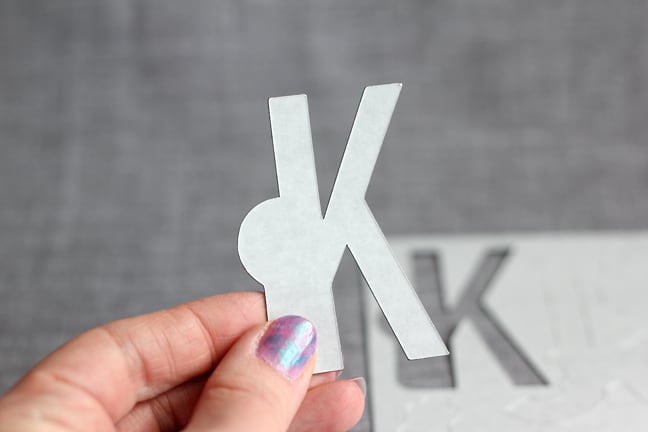
6- Cut all of the letters from paper, peel off the adhesive backing on top of the magnet paper, and press the corresponding letter shapes together.
7- Cut all of the character/object shapes from paper. I used adhesive cardstock to cut down on gluing, but this is another great time to use your paper scraps. Adhere them to the appropriate letters.
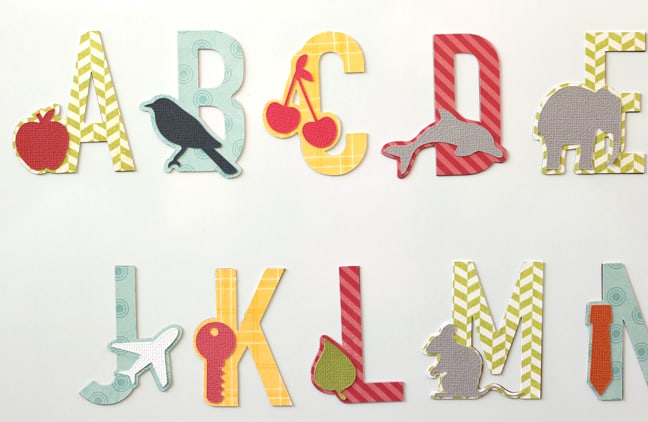
8- At this point, the magnet alphabet set can be considered finished. However, I wanted to add a few googly eyes to the animals. When my son saw me adding eyes, he insisted he wanted eyes on all of the letters! Especially the xylophone. He loved it! Although he did question me putting eyes on the vacuum; not the rest. {?!}
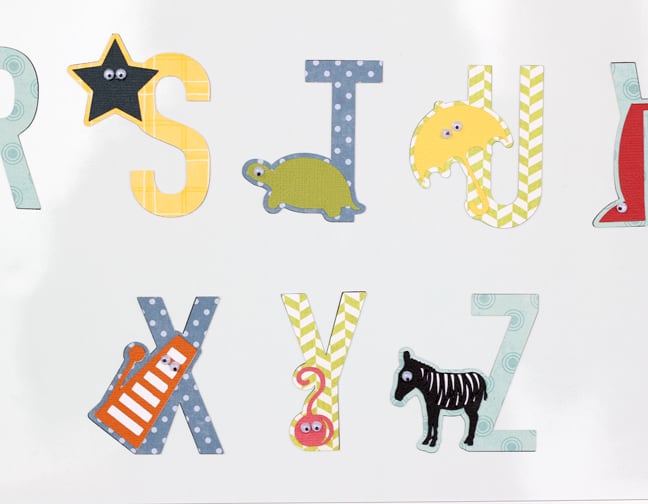
Now we have a great alphabet magnet set to play with this summer while practicing letter sounds. Custom ordered by a four-year old. What could be better?
Shapes Used:
- Sweet shape alphabet A-E (#57355)
- Sweet shape alphabet F-J (#57408)
- Sweet shape alphabet K-O (#57409)
- Sweet shape alphabet P-T (#57410)
- Sweet shape alphabet U-Z (#57411)
This post contains affiliate links. Your price is the same but I may receive a small commission when you use my links. Thanks for your support!

I absolutely love this — and wondered if you are using the Version 3 Cameo. I've been leary about updating to this version — not good with change, LOL.
I've never done a pause in cutting before — I'll have to see if there is a youtube on this — I'm better with visuals. Thanks again for a wonderful project. Now I have to find a baby to do this for, LOL.
Marie, I am using Silhouette Studio version 3. That's where you can get the pause in cutting, and I really like it. It has been updated a couple of times since its initial release, and the current version of 5.0.351 is really good. Still a couple of minor bugs, but nothing like it was at first. Macs are having more issues than PCs, FYI.
LOOOOOVE these.