Pocket Tag Tutorial
Today I’d like to showcase these pocket tags by Kolette Hall and share an assembly tutorial. There are several variations of pocket tags by Kolette available in the Silhouette design store (numbers, alphabet, Halloween countdown, themed shapes, etc.), but assembly is basically the same for each.
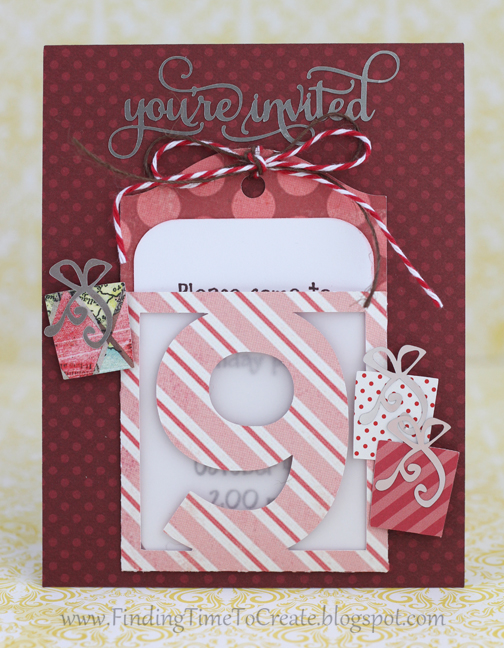
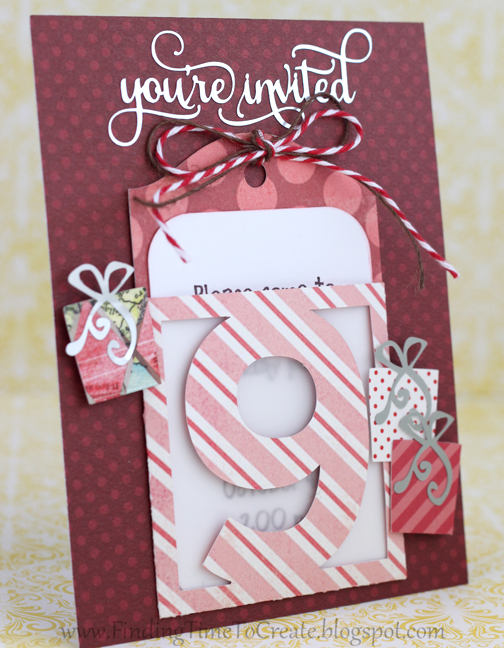
These pocket tags are great as deluxe tags for gifts and such, but I chose to use a number pocket tag on the front of a birthday invitation.
Prepare for Cutting:
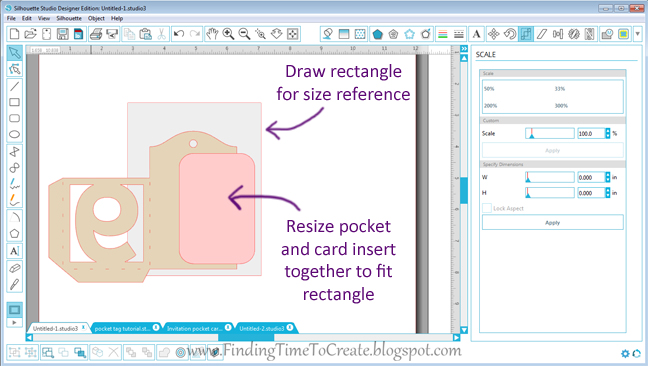
1. Open the pocket tag set and ungroup them. Drag away the shape you want to use and the card insert piece, then delete the rest.
2. If you plan on mounting the pocket tag to a card base like I did, it’s helpful to draw a rectangle of the card base size as a reference before resizing. My rectangle is 4.25” w x 5.5” h (standard A2 card size).
3. Select both the pocket tag and its card insert, then use your rectangle as a guide as you enlarge the tag and card insert by dragging a corner handle. (Note that I left room at the top of the rectangle for a sentiment.) The height of my pocket piece is about 4.65” tall.
4. Choose papers that coordinate with each other. Double-sided pattern papers are a nice choice for the pocket tag, because you’ll be able to see both sides of the paper once it’s assembled. Or a solid color on both sides works, too.
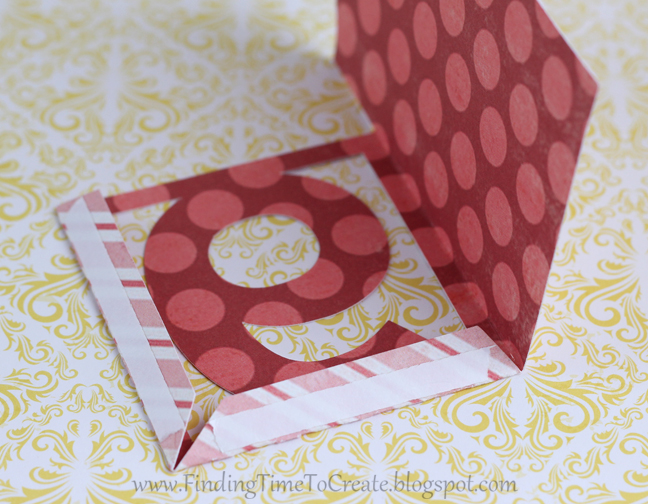
5. To cut the tag, be sure the pattern on your paper that you want to show is facing the correct direction. I wanted the striped side to show for my number 9, so I placed the striped side down against the sticky side of my cutting mat because the numbers are in reverse on the work page.
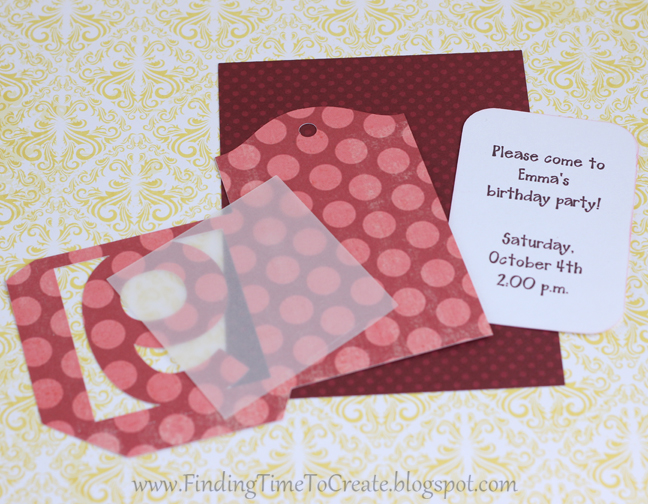
6. Put whatever sentiment you want on the card insert; I made mine a print & cut invitation with party details.
7. Optional: Cut a piece of vellum that will fit inside the pocket, using the fold lines as a reference for drawing that rectangle piece.
8. Once the pieces are cut out, you’re ready to assemble the pocket tag.
Assembly:
9. Fold the bottom and side tabs of the pocket towards the center.
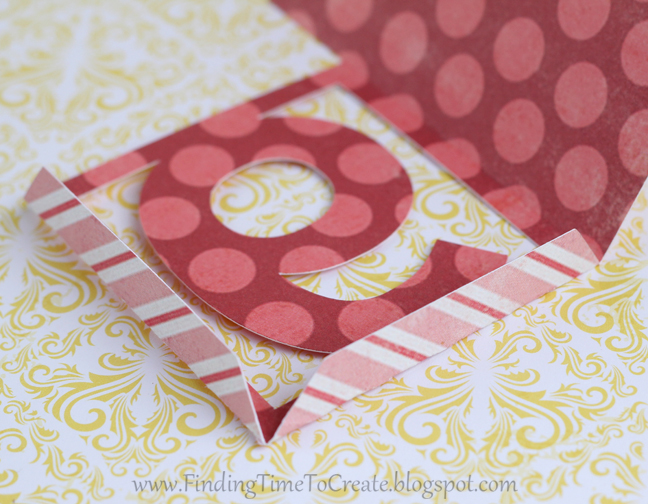
10. Apply adhesive to the side of the tab that’s exposed after folding it in. (This is also the step when you would glue the vellum piece to the back side of the number, if you choose to use it.)
11. Press the tabs against the inside of the pocket, so the back of the whole pocket tag looks nice and clean.
12. Once the glue is set, you’re ready to slide the card insert in and glue the pocket to the card base, if you’re using one. Then add your personal touches.
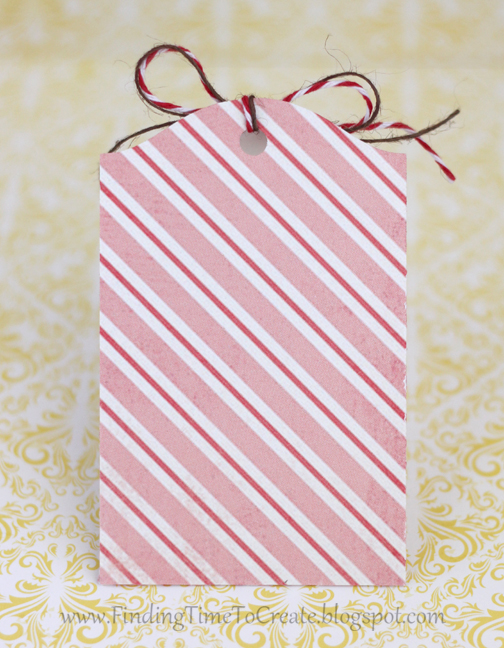
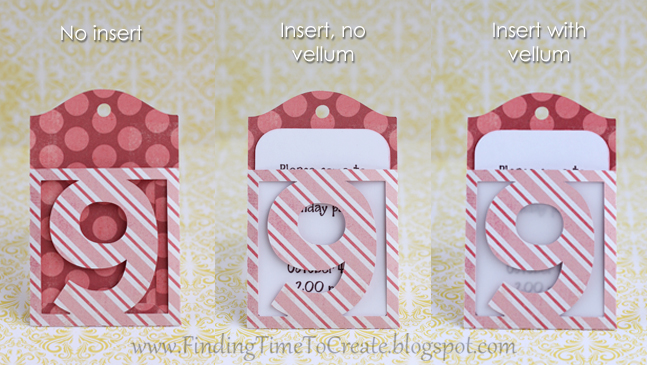
Here are some variations of what the tag itself looks like, with and without the card insert and vellum. This would also make a great tag on its own, perfect for tying on gifts or whatever you might use a tag for.
The details really add to the finished look of the invitation.

I hope you found this tutorial helpful. Please ask if you have any questions!
Designs Used:
- pocket tags – numbers set (design #63599)
- perfect flourish – you’re invited announcement (design #50263)
- whimsical present & gift – layered (design #41272)
Supplies Used:
- Silhouette printable silver foil
- Vellum
- Various red pattern papers
- Red and brown twine
- Scor-tape
- Foam adhesive squares
