Positionable Skeleton
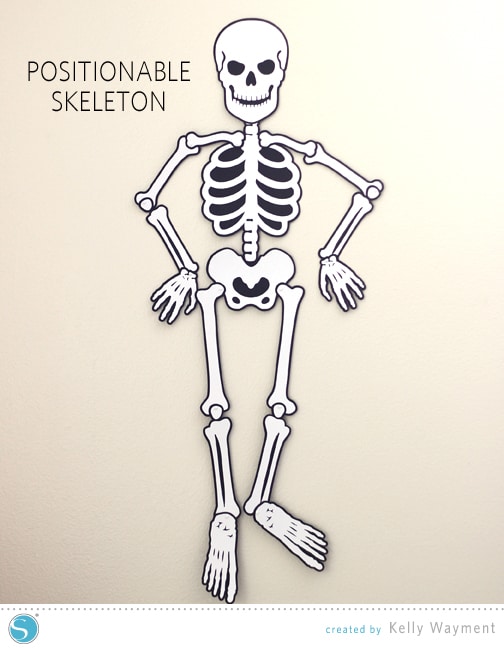
When I was little we had a paper skeleton my mom brought out at Halloween, and we loved to put him into crazy positions. I found this positionable skeleton in the Silhouette Design Store more than a year ago and finally put him together! This is one Halloween decoration the kids really love, because they are actually encouraged to touch it.
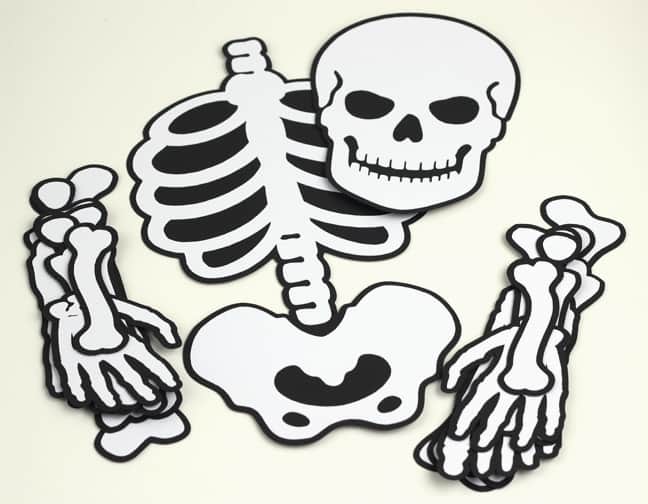
I enlarged the skeleton cutting file so I could make it as large as possible using my 12” CAMEO mat. The largest part (the ribcage and pelvis portion) mostly filled my workspace at about 11.5” tall. At this size, I could cut all the white pieces on two pages of white adhesive cardstock and all the black pieces on two pages of plain black cardstock (all 12” x 12” pages).
The finished size of my skeleton is about 35” tall and about 12” wide. (Non-CAMEO users, your maximum skeleton size will be a little smaller unless you cut the ribcage/spine and the pelvis portions separately.)
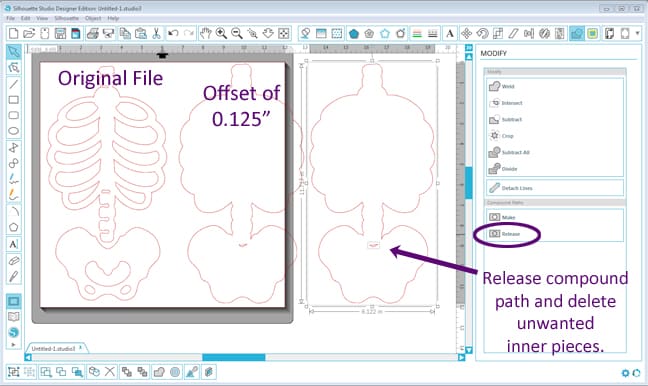
To get the black background pieces, I simply created an offset of 0.125” of each white body part in the Offset Window (after I enlarged the design). You’ll need to do some ungrouping and regrouping here and there as you work on the file. Note: If you want the black background offset pieces to be solid like mine and the offset function creates holes, simply release the compound path of the offset piece [Modify Window] and move away just the outer edge to be cut in black. You can delete any little pieces left over.
Once the white and the black pieces are cut out and adhered together, lay out your skeleton pieces and punch tiny holes for brads at each joint, then add the brads. Tip: I didn’t have white brads so I painted silver brads with white nail polish (before attaching them) so they would blend in with the skeleton.
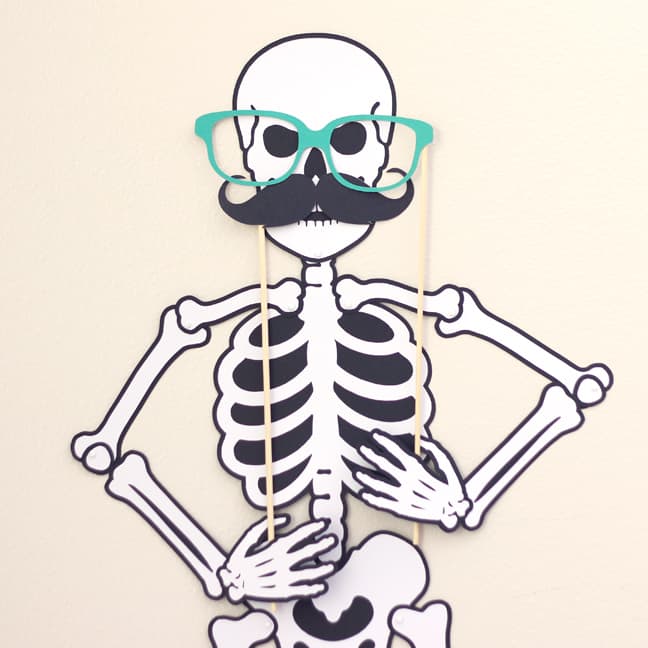
Now let your kids have their fun, positioning him into fun poses!
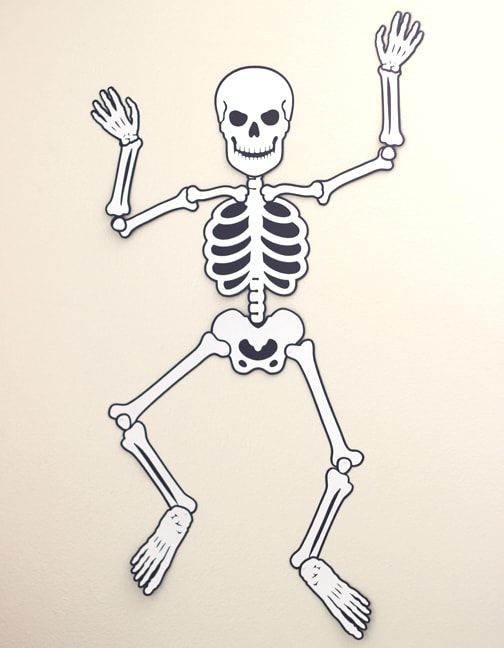
And if you have photo props laying around, it gets even better. 😉
Have fun using your Silhouette to decorate for Halloween!
Shapes Used:
Positionable Skeleton (Design ID #4828)
This post was originally featured on the Silhouette blog 10/9/2014 as a design team project.
