3D Haunted House Assembly Tutorial
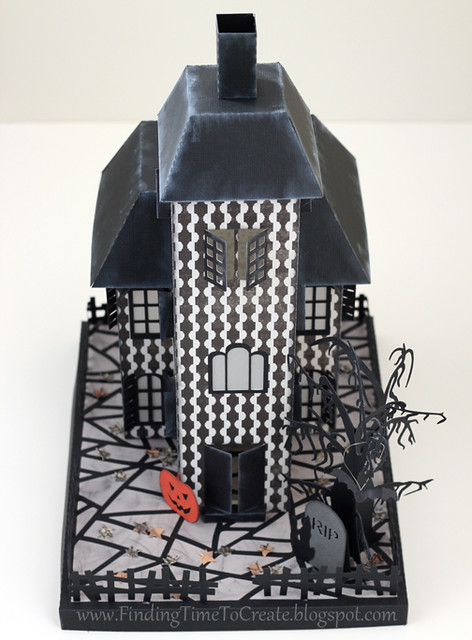
Here’s my assembly tutorial for this haunted house I made for Silhouette America. My instructions are for a CAMEO machine, but the original house file does come sized to be used with Portrait and earlier Silhouette models. If you don’t use a CAMEO, it will just be a little smaller than mine and will take more pieces of paper overall.
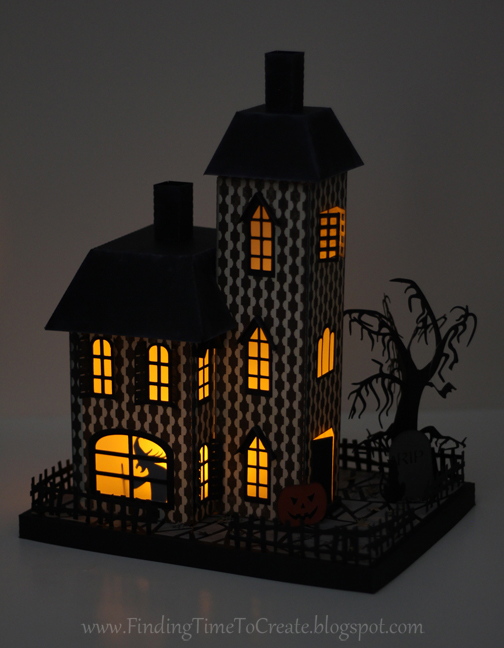
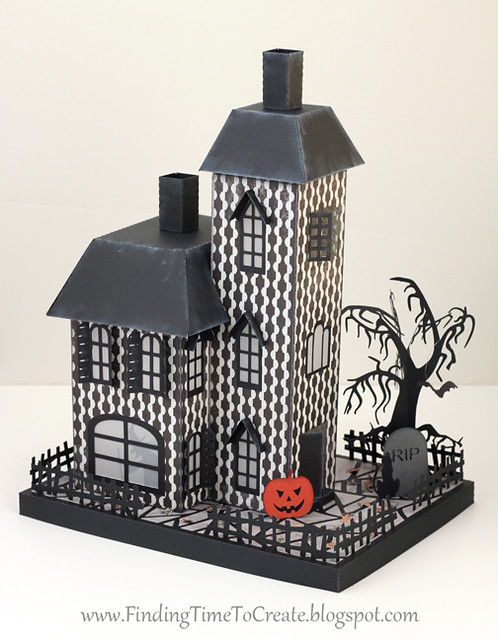
The final size of my house using a CAMEO, including the base, is about 8” wide x 10” long x 13”
tall.
Supplies:
Pattern paper: 3 pieces 12×12″
Black cardstock: 5 pieces 12×12″ (or 4 plain + 1 piece of black adhesive cardstock)
Vellum: 1 piece of 8.5×11″
Grey and orange cardstock: small pieces/scraps
Grey adhesive cardstock: 1 piece, at least 8″ x 10″
Sketch pen or pen/pencil with sketch-pen adapter
Adhesive: Scor-Tape + Zip Dry
Battery-operated tea light
Clear beading thread
Ink pads: dark and light
1. Open the luminara haunted house design in Studio and resize it larger so the largest piece fits on a 12″ mat. (The base piece and the tallest house pieces are the constraining factors.) You should be able to fit the two tall house pieces on a single 12″ pattern paper and the four remaining shorter pieces on two more pages of pattern paper.
2. Then ungroup everything multiple times until the perforated lines are not associated with each other from various pieces and so parts like the windows are not grouped across the whole page.
3. Now group everything in individual parts, so each window is grouped with its own holes, each box is grouped with its own perforated lines, etc.
4. Select the two chimney pieces, go to the Scale Window, and choose 65% in the upper section to scale them down in size. (Personal preference, on that one.)
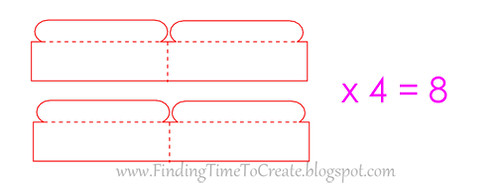
5. Make copies of the dormer pieces so you have eight total to match the eight pointed windows.
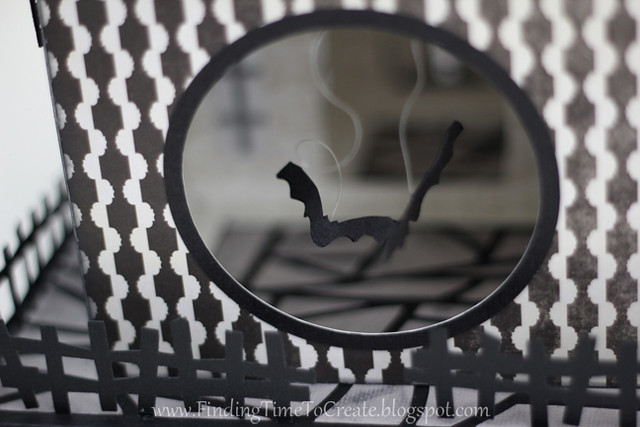
6. I added some extra pieces to continue the black accents on the house: rectangles to cover the front doors, window shutter pieces for the single top open window, and an oval ring to frame the back circular opening for the tea light. I did this with my Studio drawing tools, offsets, and Modify commands.
7. Open these extra designs to be cut in appropriate colors:
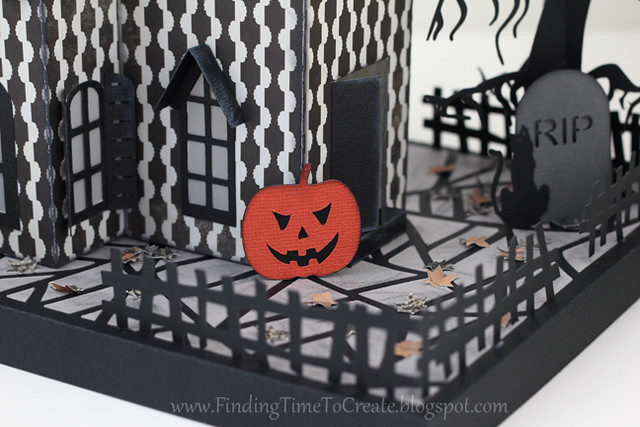
- Black cat Halloween set (cat, jack-o-lantern)
- Witch hag (witch silhouette in window)
- 3D ledge village haunted mansion accessories (tree, bat, fence, tombstone)
- Branch wreath frame (for tiny leaves)
8. Resize those extra shapes as necessary so they feel proportionate to the house. (Cat = 1.326″ tall; jack-o-lantern = 1.426″ tall; witch = 3.043″ tall, then cut off or fold bottom portion so she fits in window; tree/bat/fence/tombstone = leave at default size; leaves = about 1/2″ tall after welding a stem on.)
9. Flip one of the three tree segments as a mirror image. Make many duplicates of a single leaf. Make a total of four fence pieces.
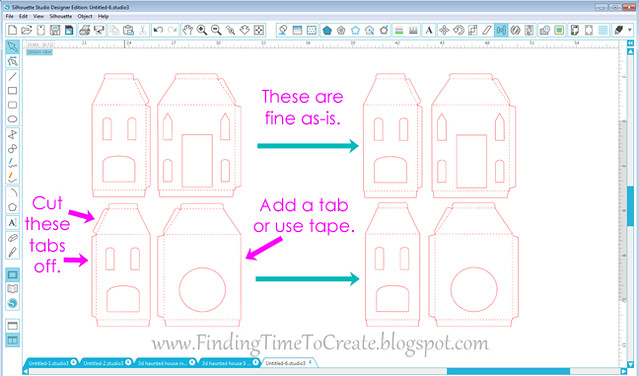
10. The house file itself needs a little modification because a couple of glue tabs don’t match up the way they should. You can add a glue tab in Studio by editing points, or you can just use a piece of tape to close the gap in one side that is missing a tab and use scissors to trim off the extra glue tab.
11. Optional: Use vellum pieces (rectangles will do) to back all the closed window pieces of the house.
12. Base piece:
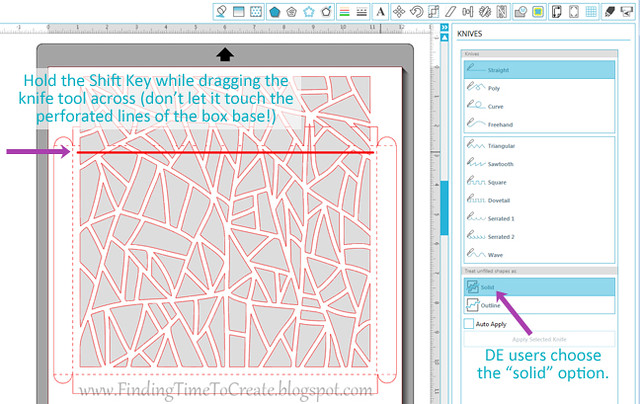
- I removed the outer box edge from this geometric file and sliced off the extra portion with my Knife tool in Studio, using the house base piece as a guide for size.
- After grouping the desired geometric portion and deleting the part I sliced off, I then centered it inside my base shape and grouped them together.
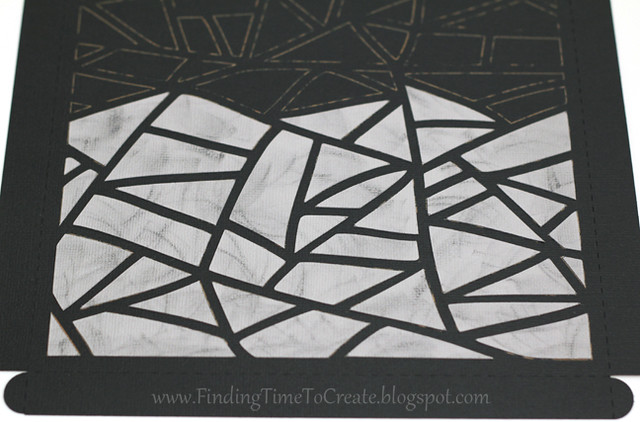
- I used a sketch pen to sketch the outline of the “stones” directly onto the base and then cut the base out with the blade.
- Then I cut that same geometric pattern out of grey adhesive cardstock so I wouldn’t spend a long time gluing every piece.
- I dabbed a dark inkpad all over the grey adhesive cardstock to give it a weathered look.
- Finally, I used the sketched lines on the base as a guide for placing the adhesive cardstock pieces (with no glue).
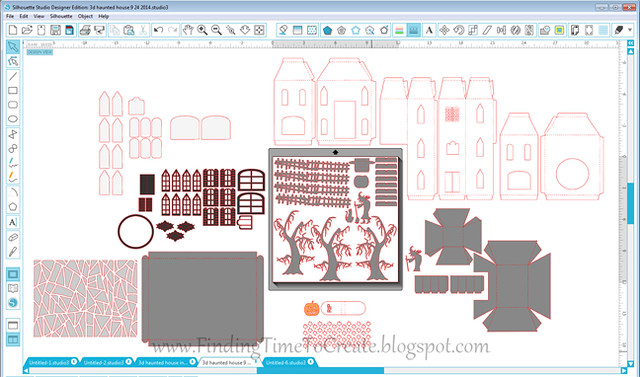
13. That’s it for the preparations. Now you’re ready to cut. I like to fill all the shapes with color to represent what I will cut them from.
- Pattern paper: six house pieces
- Plain black cardstock: tree, cat, witch, back layer of jack-o-lantern, roof pieces, chimneys, dormer pieces, fence pieces, base, windows with shutters that come away from the house.
- Adhesive black cardstock (if using–otherwise, also cut these with plain black cardstock): all window accents except the pieces with shutters that come away from the house, bats.
- Vellum: behind all closed windows
- Grey adhesive cardstock: cobblestone design for base
- Other: orange cardstock for jack-o-lantern front piece, dark grey for tombstone. I cut the leaves with a double-sided pattern paper in dark fall colors so they would look good with either side facing up.
Here’s what all my pieces looked like (mostly color coded) before cutting. (I usually copy and paste elements to a new document to cut one portion at a time so I don’t have so much on a single page.)
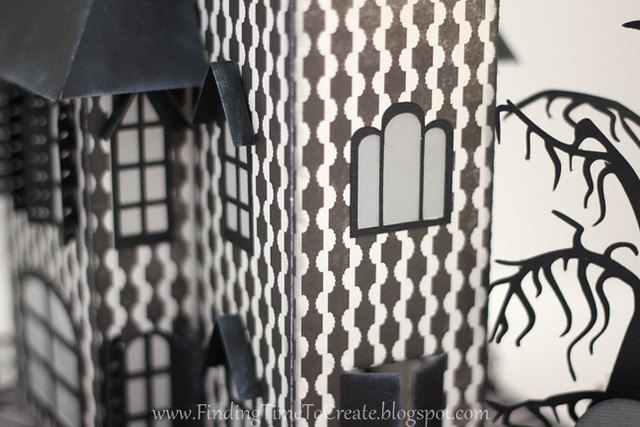
14. Once all the pieces are cut, assembly is fairly straight forward. The house pieces only go together one way (after noting the modifications needed in step 10). I found it easier to add the black trim and the vellum to the house pieces before assembling (just the flat ones, not the dormer pieces). I added a little white ink to the black roof and chimney pieces before assembling to give an aged look.
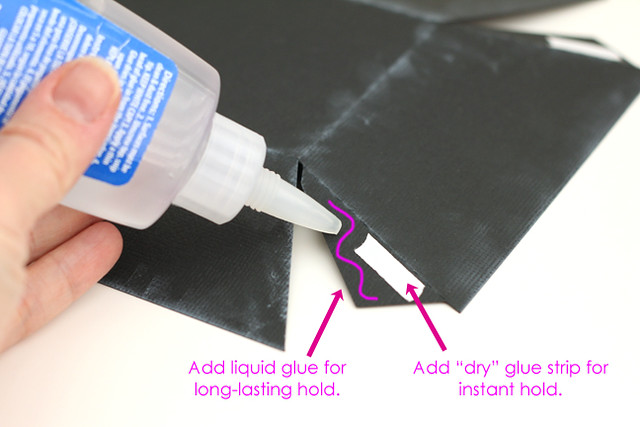
TIP: When I’m working with 3D files, I like to use a combination of glue types on the glue tabs. I like an adhesive like Scor-Tape for instant holding power, but I also add some liquid glue that will have a stronger bond once it dries. If you use liquid glue alone (even supposedly fast-drying glue like Zip Dry or Scotch Quick Dry Adhesive), you have to hold pieces together while it sets. Scor-Tape or a roller-type adhesive in a dispenser holds everything in place long enough for the strong liquid glue to set. Often Scor-Tape alone will eventually pop apart if the forces of the 3D object are too much.
15. The tree doesn’t match up perfectly, but that’s fine. You can find the tutorial by the designer {here}. I bent and curled the branches a little to give it more dimension.
16. I crumpled the leaves a little for texture by pressing each one into my palm with my thumbnail.
17. If you cut the bats with adhesive-backed cardstock, you don’t need any extra glue. I took a loop of clear beading thread and pressed it between the bat as I folded it together and hung one from the tree. I made two more bats and attached one at each end of another piece of clear beading thread, then hung them from the hole in the back of the house. I just used tape inside the house because it stays hidden. This is the hole where you insert a battery-operated tea light.
18. Once the base is assembled, start placing your assembled pieces down on it. I decided where I wanted the house and glued it down to the base, then started placing everything else in position. I glued everything down, including each leaf, so it would stay in place. Paper elements like this tend to fall over and shift with even a little breeze through the house.
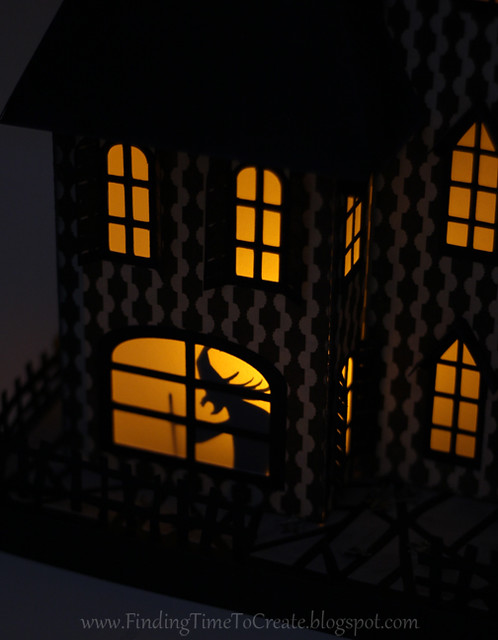
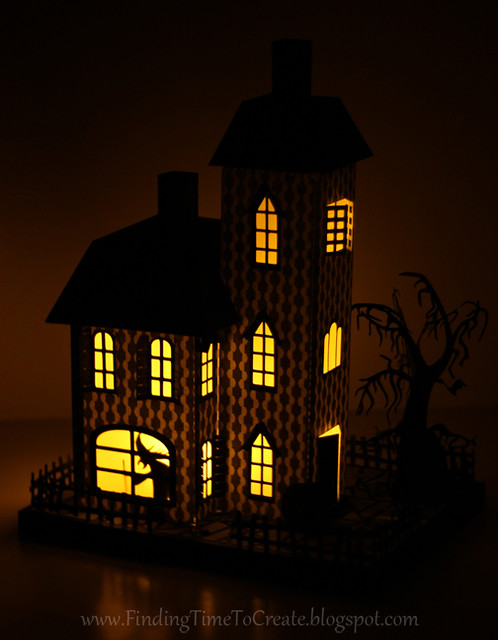
19. I just folded the witch to make her short enough to be seen through the window. If you use vellum to back the windows, she looks great at night.
I hope you have fun making this haunted house. Please send me a picture if you do! If I’ve left anything out, please let me know in the comments below.

Sooooo awesome! What a great job!!!
Thank you, Gaby!
Wonderfully Spooky!
Thanks, Sandra!