Bird Cage Valentine’s Décor
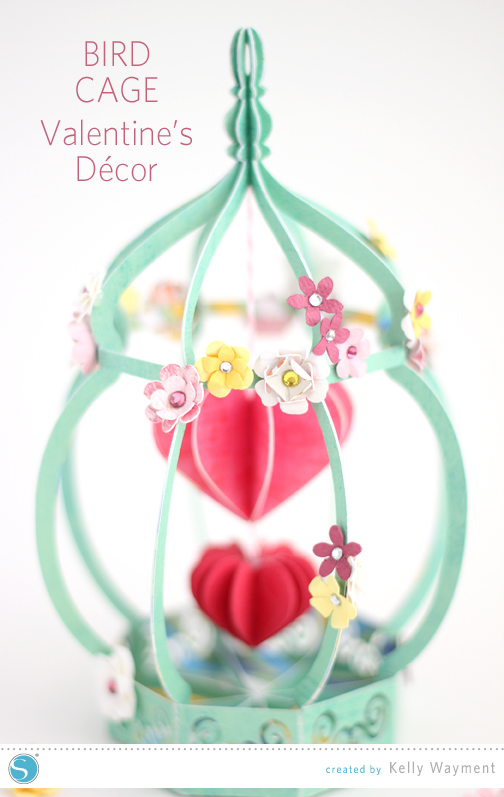
I’m excited to share this project with you! I made this little paper bird cage, hung some paper hearts inside, and covered it with tiny hand-shaped flowers. It’s one of my favorite Silhouette projects. Perfect for Valentine’s Day and for spring.
I’d call this one an intermediate-level project. Not crazy involved and time consuming, but not a 30-minute project, either.
Here’s the tutorial as it originally appeared on the Silhouette Blog:
This year for my February office décor, I decided to make a little birdcage. And yes, it’s quite little…and covered with mini flowers (my favorite part). Most of the flowers are about 1/2″ or smaller, and the birdcage itself is 7” tall including the 1.25″ finial.
This birdcage design comes with an optional swing and bird, which I did not use so I could hang some hearts inside instead. You can find the birdcage assembly tutorial from the designer here, which covers the same assembly for several similar files.
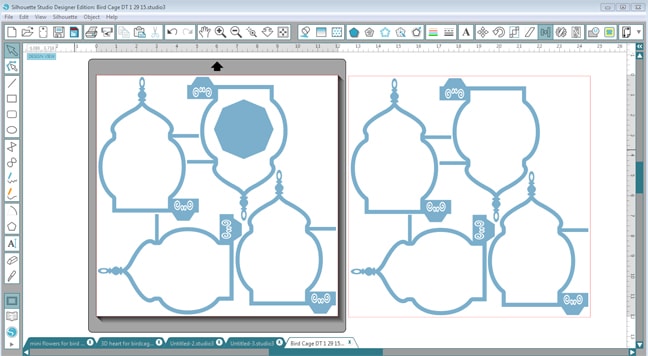
The cutting file itself comes with some extra pieces, depending on whether you use the bird and swing or not. I did not, so all I cut were 8 “wedge” pieces of the birdcage (the piece with the perforations and decorative flaps) and the hexagon base. I made mine small enough so I could fit four per 12 x 12” page. (And I was in a “mini” kind of mood!)
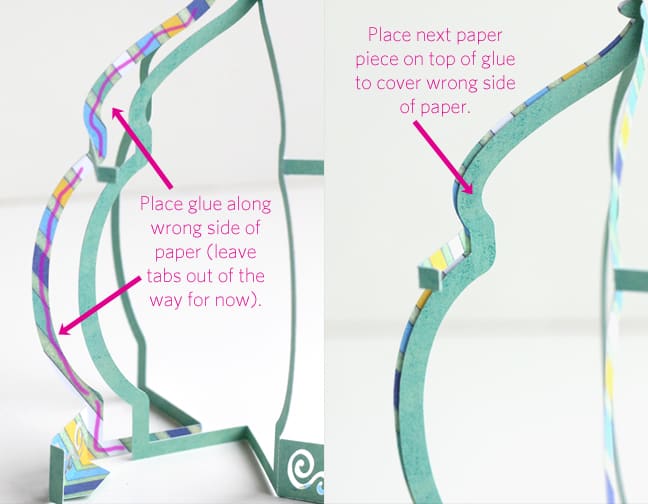
I used pattern paper instead of heavier cardstock, and the finished cage is sturdy enough. Each cage piece (except the base and the optional bird center piece) gets folded like this:

Once these are cut and folded, simply glue four together, then another four together to get two halves of a bird cage. Leave the flaps out of the way while you glue the matching vertical cage pieces together.
For the hearts, I chose a heart from my Studio Library that was symmetrical and just added my own perforated line. (See image below.)
- Place a symmetrical heart shape on your work page.
- Draw a vertical line down the center (with your Line Drawing Tool).
- With that line selected, go to your Line Style Window and choose a perforation style.
- Center the line within your heart. (Select the heart and line, go to your Align Window and choose Align Center.)
- Group the line with the heart so you can duplicate and resize as necessary.

I cut 10-12 of the same size (10 hearts about 1.5” tall and 12 hearts about 1” tall) and stuck the coordinating halves together, then added a string inside before closing up the final pieces. I used “strawberry” adhesive cardstock on the smaller heart, which made it really fast to cut and assemble.
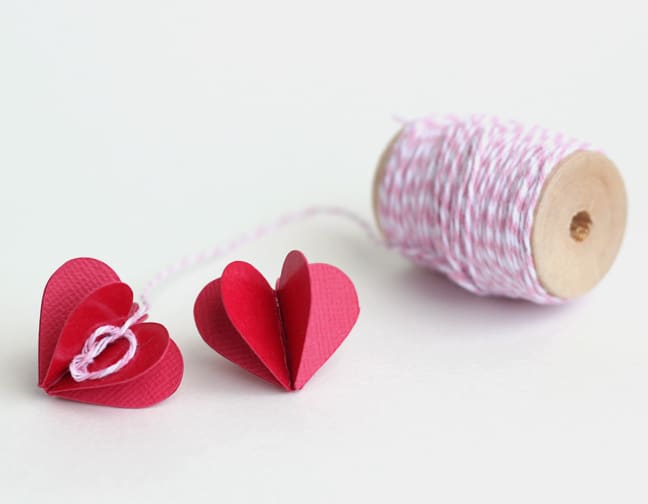
Tip: You can turn a flat shape into a 3D shape like this with any shape that’s vertically symmetrical by adding your own perforated line.
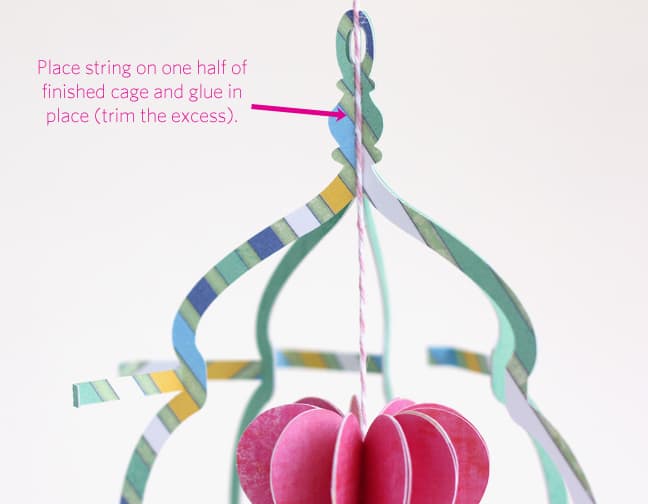
I placed the string of the hanging hearts against one half of the bird-cage finial and glued it in place. I trimmed off the excess string before adding glue to the remaining face and pressing the two cage halves together. You can glue the decorative tabs in place before or after putting the two sides together.
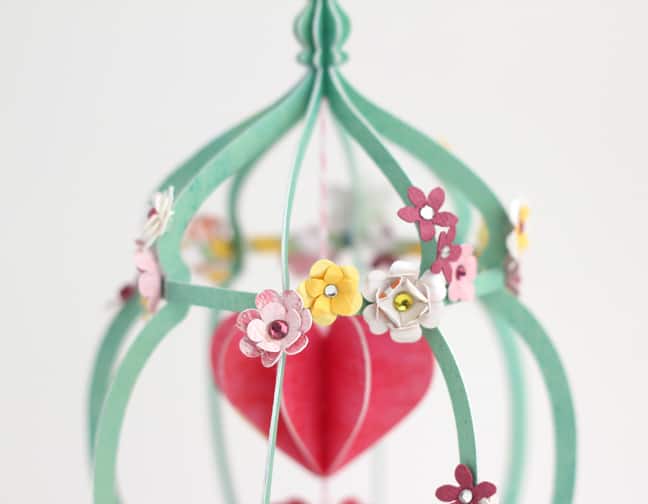
Finally, I cut a lot of little flower pieces, shaped them, glued them together with hot glue, and added rhinestones to the centers with my rhinestone setter tool. I did a little mixing and matching of flower pieces, and most of my flowers only have one or two layers because they’re so tiny. The largest flowers are about 1/2″.
I used hot glue to place individual mini flowers all over the cage. Pretty cute, isn’t it? I’m excited to put this piece out on display.


How cute is this!?! So 'sweetheart-ish'. Thank you!
Lovely!!!
Aww, thanks, Tawna and Sue!
Wow, such an amazing project! You did a great job Kelly! Thanks for sharing.
Thank you, Marilyn!
This is adorable! Thanks for sharing 🙂
So glad you like it! 🙂