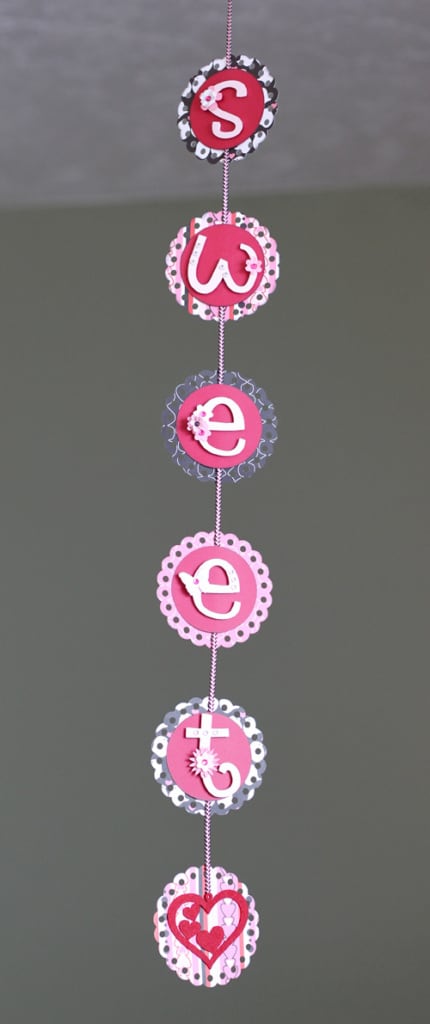
Sweet Valentine Hanger Tutorial
I made a version of this Valentine hanging decoration a couple of years ago, but this is my new and improved version. I turned this in to Heartland Paper today, so if you live in or near Davis County, Utah, you can go see it and buy all the supplies to make your own. It’s quite easy, and I’ve written a tutorial to help you make it.
![]()
Materials:
Pattern Paper (2 sheets, double-sided): BoBunny “Crush Romeo” and “Crush Stripe”
8.5×11” Cardstock (smooth or textured): 1 red, 1 white, 2 shades of pink (Bazzill “Currant Sensation,” white, “Sweet Pea,” “Petal Soft”)
Rhinestones (as small as you can find): Queen & Co. (fuschia), Teresa Collins (clear, black)
Felt valentine heart
BoBunny layered chipboard accents
Ribbon (1 yd, narrow and flat): Creative Impressions
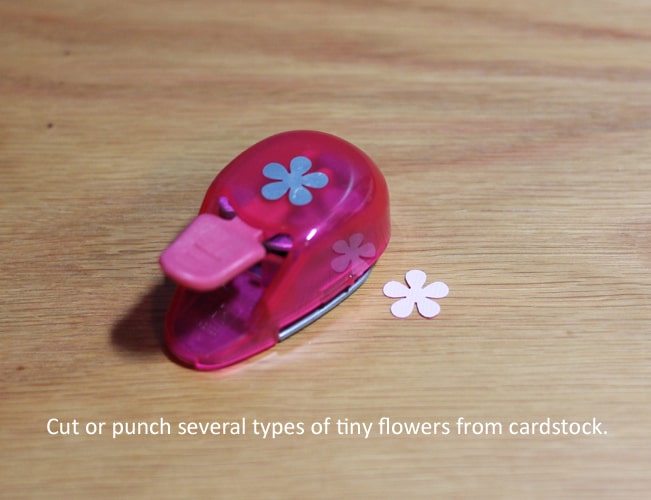
Flower punch or die cuts (as small as you can find—approx. ½”)
Die cut letters (I used the Silhouette to cut them from the fonts “LD Red Hatter’s Hand” and “Impact”)
Scallop circle punch, or from die-cutter (approx. 3”)
Circle punch, or from die-cutter (approx. 2 ¼”)
Butterfly punch, or from die-cutter (approx. ¾”)
Adhesive: 3D foam squares by 3L, 1/8” double-sided craft tape, Scotch Quick Dry Adhesive, Tombow Mono Adhesive Dots
(Butterflies and Flowers cutting file for Silhouette Studio available HERE.)
Instructions:
(download PDF version):
1. Cut out scalloped circles (3”), 3 each from 2 different double-sided pattern papers.
2. Cut out 5 circles (2 ¼”) from red cardstock.
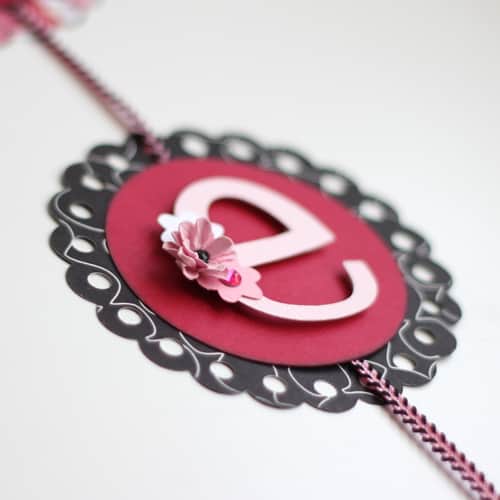
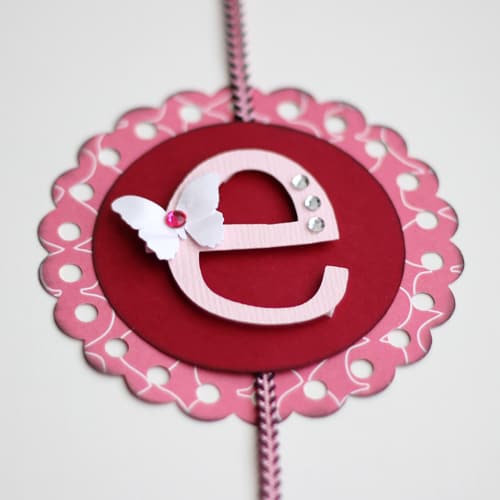
3. Cut from the lightest shade of pink: s w e e t (approx. 1.75” tall, give or take), and cut or punch several tiny flowers. (If you have tiny Prima flowers in white/pink those work great as well.)
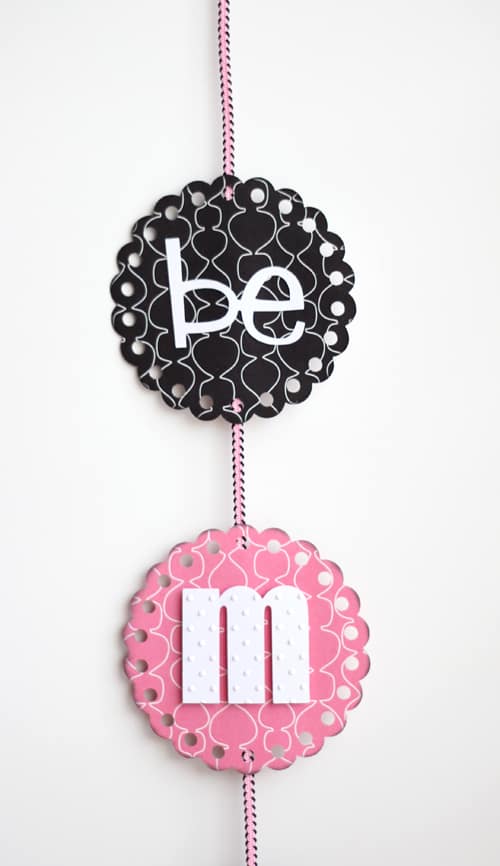
4. Cut from white cardstock: be m i n e (also approx. 1.5”-1.75” tall), a butterfly or two, and several tiny flowers.
5. Cut from the medium pink: a butterfly or two and several tiny flowers. You probably won’t use all the butterflies and flowers cut in steps 3-5, but this way you can have a nice selection when assembling your embellishments, and maybe even save some for another project.
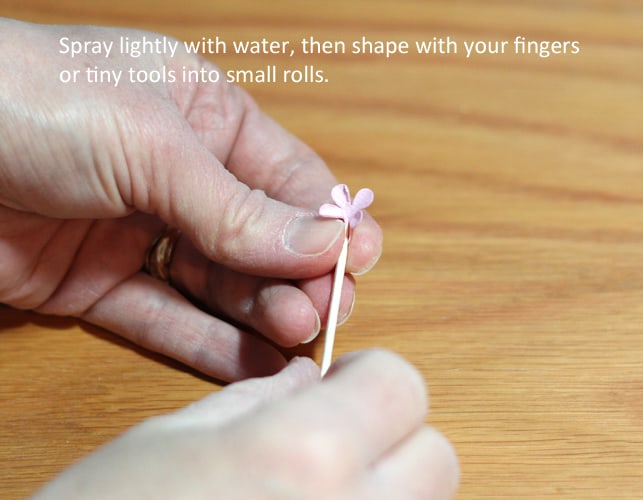
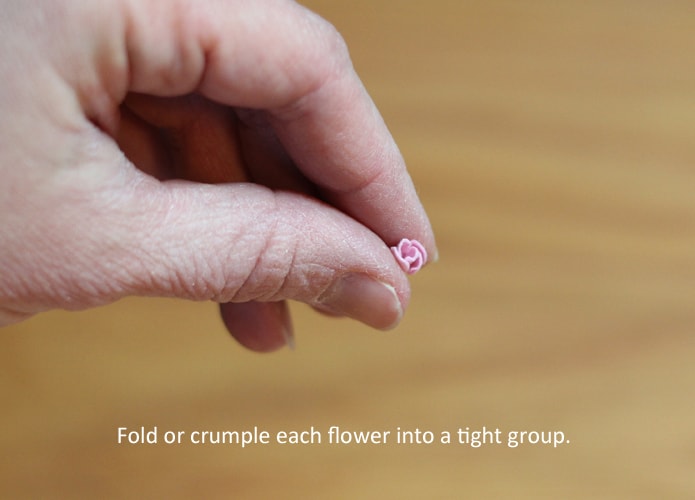
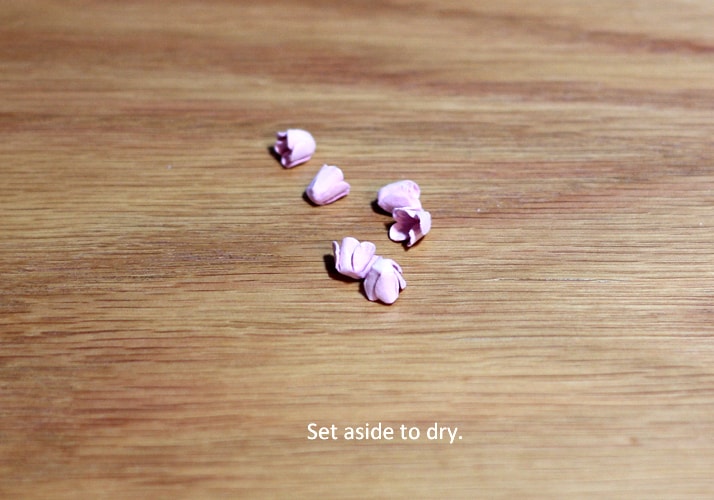
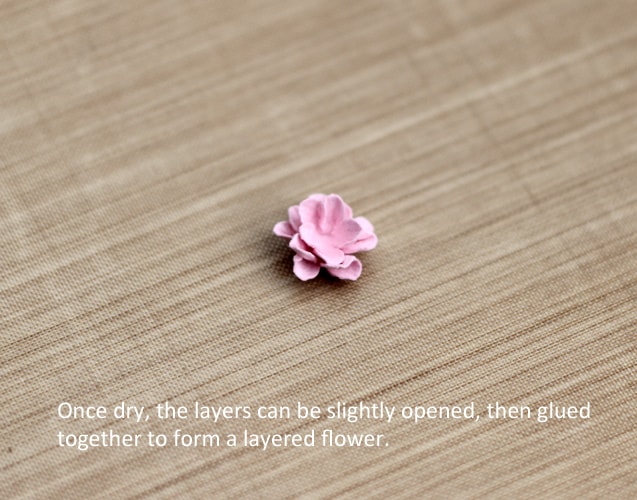
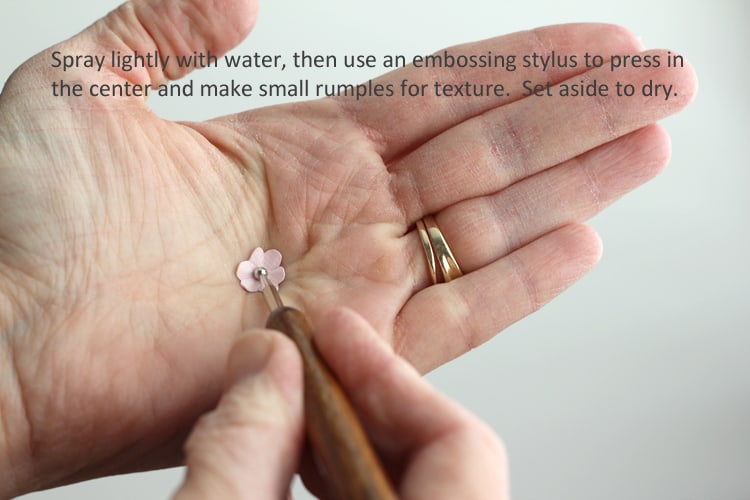
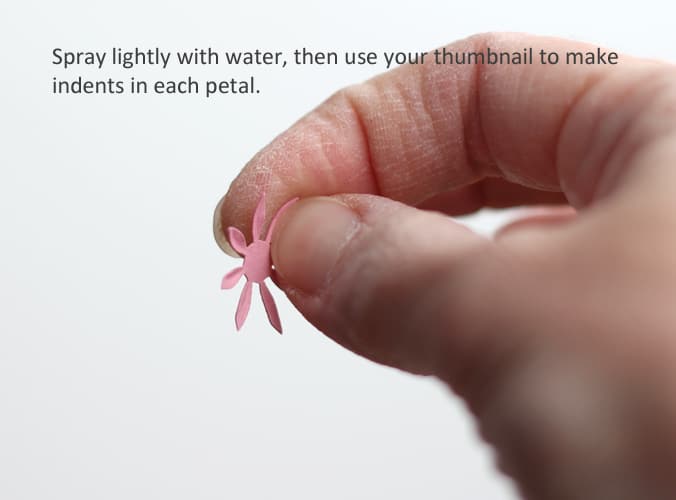
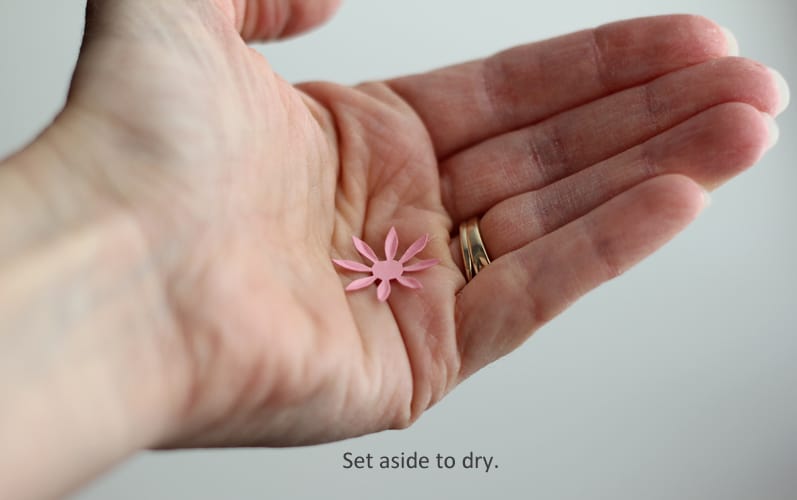
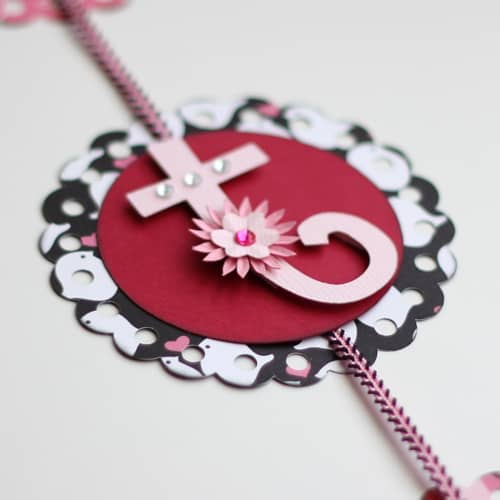
6. Spray your tiny flowers and butterflies with a light mist of water to soften them. Crumple and curl them, shape them (see below), then set aside to dry. Once they are dry, slightly open the flowers and reshape as necessary. Choose 2-3 flowers to layer together with a dab of glue or a tiny glue dot in between the layers. Add a self-adhesive rhinestone to the center.
7. (Optional) Emboss the white letters m i n e with your favorite embossing folder (I used “Seeing Spots” for the Cuttlebug).
8. (Optional) Ink the edges of the scalloped circles (front and back) and one side of the red circles with a black ink pad.
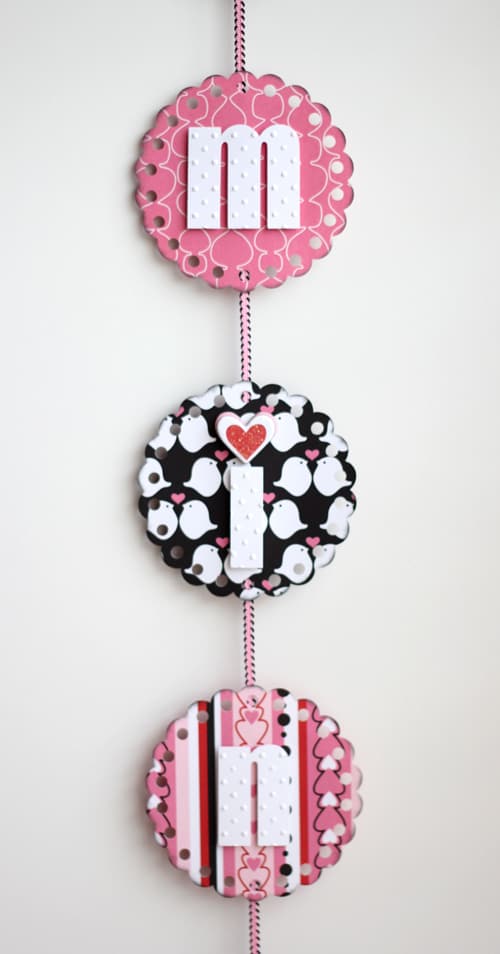
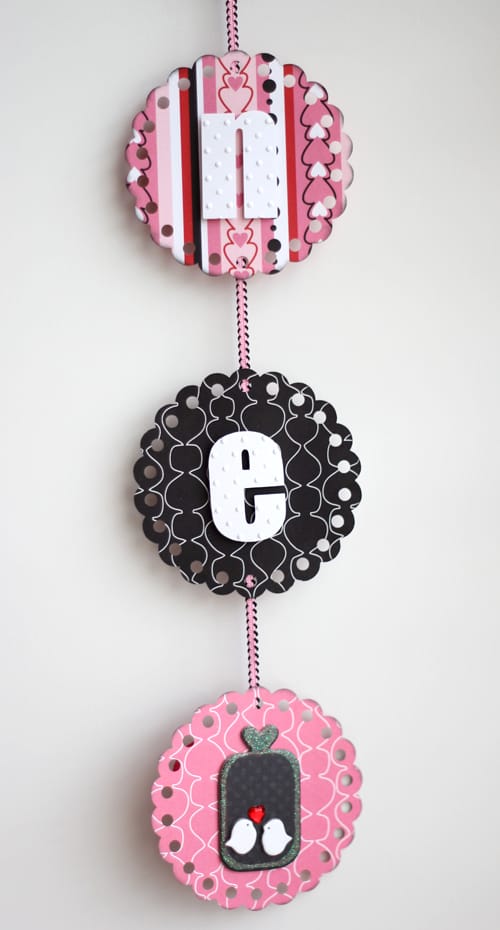
9. Lay out your pieces, alternating the pattern that shows on the scalloped circles. One side will show, from top down, s w e e t and an embellishment on the bottom scalloped circle. The other side will show be (one word on the top scalloped circle) m i n e (one letter per scalloped circle) and an embellishment on the bottom scalloped circle.
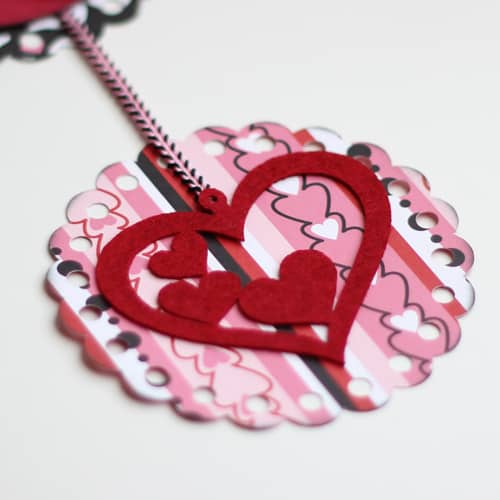
10. Start with the side that will show the word sweet. Glue the red felt heart (or other embellishment) to the bottom scalloped circle. Tuck the bottom end of your narrow ribbon under the heart, then use narrow craft tape to tape it to the scalloped circle.
11. Use narrow double-sided craft tape to attach the ribbon to all the scalloped circles, leaving 1 ¼” space between each scalloped circle. This ribbon will get covered with the red circles in the next step.
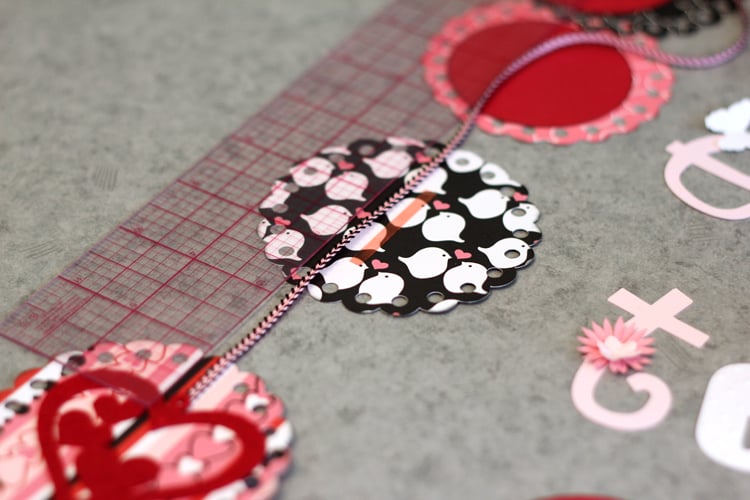
12. Adhere the red circles to all but the bottom scalloped circles, sandwiching the ribbon in between.
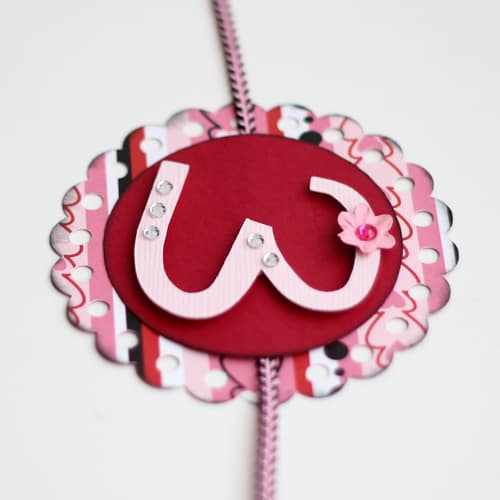
13. Add your embellishments (flowers, butterflies, rhinestones) to the s w e e t letters.
15. Flip the project over so you can decorate the other side. Adhere be m i n e to the undecorated side of the scalloped circles using more foam square adhesive. Be goes in the top scalloped circle (use regular glue, not foam squares on just this one), then one letter each for mine goes in the circles below. The bottom circle will only have an embellishment of your choosing.

Original idea inspired by Making Memories. Flower shaping technique inspired by Such a Pretty Mess.

another cute project, Kelly…thanks for the downloads, too!
Fabulous and thank you for the beautiful files and tutorial.
Hugs, Lori m
nice opinion. thanks for sharing.