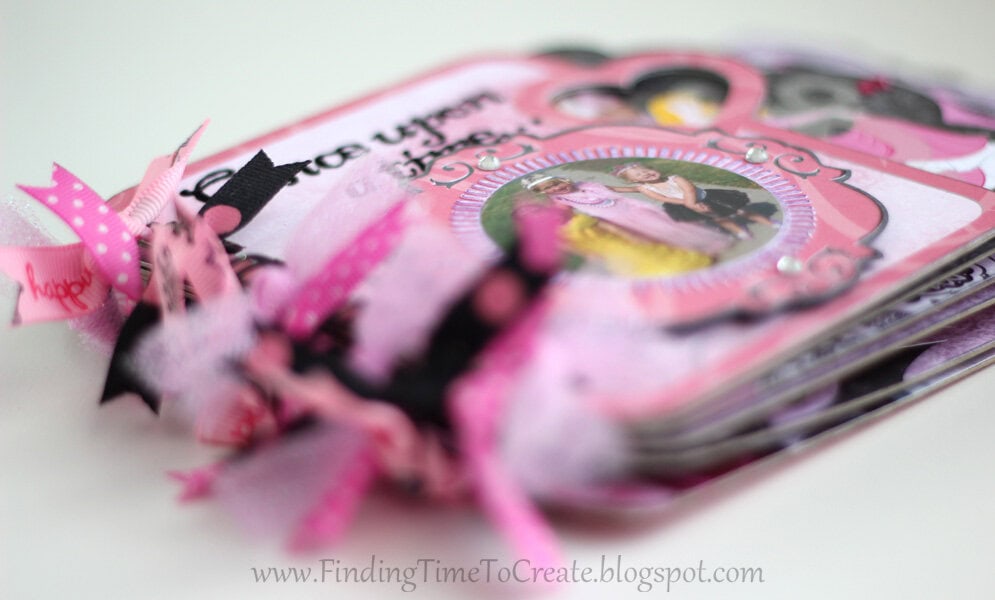
Princess Mini Album
Here it is! My latest and greatest. A princess mini album. I cut everything out with my Silhouette Cameo, including the chipboard album pages. I will be sharing the album cutting file (Studio) at the end of the post, along with a printable file (PDF) in case you don’t have a Cameo machine but are willing to cut out the pages by hand.
I apologize for the long post, but if you can’t see the album in person on display at Heartland Paper, then lots of pictures are the next best thing. 🙂
My great find of this project was that my Cameo cuts lightweight chipboard (cereal-box weight) just fine. I used the new suggested settings in Studio 2.5.8 for coverstock with my blade on 7, speed 1, thickness 33, and a double cut (just check the box for that). This worked with my well-used, 7-month old blade.
This was a fantastic process for a custom-made album. I cut the chipboard pieces, then a matching front and (mirrored) back out of pattern paper. Because of the precision cuts, they matched up exactly! So cool. If you don’t have a Cameo (the older Silhouettes aren’t strong enough to cut chipboard), you could easily cut out several layers of regular cardstock to stack and glue together to make it as thick. Again, the precision cuts make it look great.
If you have Disney princess stickers available, by all means use those, but my princess embellishments were a little scarce so I used another great feature of the Cameo: print and cut! I simply went to DisneyFamily.com (where I got all the 3D princess paper dolls) and found 2D princess printables. There’s a full list with links at the bottom of this post to all the 2D princess paper dolls and activity sets I found.
All of them were easily traceable just by saving the PDF as a PNG file through Bullzip PDF Printer (see my blog post here for instructions). I removed the clothing tabs through point editing, moved the clothes on top of the dolls, made sure to choose “Cut Edge” in the Cut Style Window, then grouped and resized as necessary. I used my favorite Epson Premium Presentation Paper (matte, one-sided, 44 lb) to get beautiful colors and intricate cuts. I like to cut this with my blade on 2, speed 3, thickness 30.
I was able to fit all of my favorite pictures of my daughters and nieces over the past several years in their dress-ups by making the photos very small. I cropped 21 of them down to 2″x2″ in Photoshop Elements and lined them up on a 4″x6″ print (6 tiny photos per print) for Costco to develop. I had a few other odd sizes, but keeping most of them consistent made it go quickly.
For shapes and backgrounds, I just used a lot of Silhouette shapes I’ve collected over the years. Lots of swirls and flourishes; a full list with links to each shape is at the end of this post.
Ready for lots of pictures? Here we go!
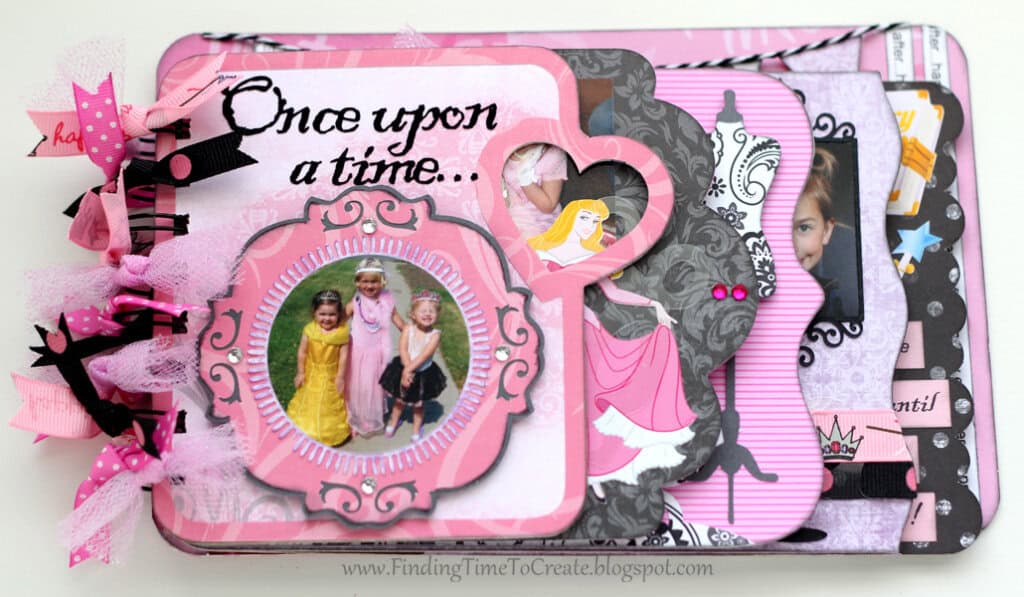
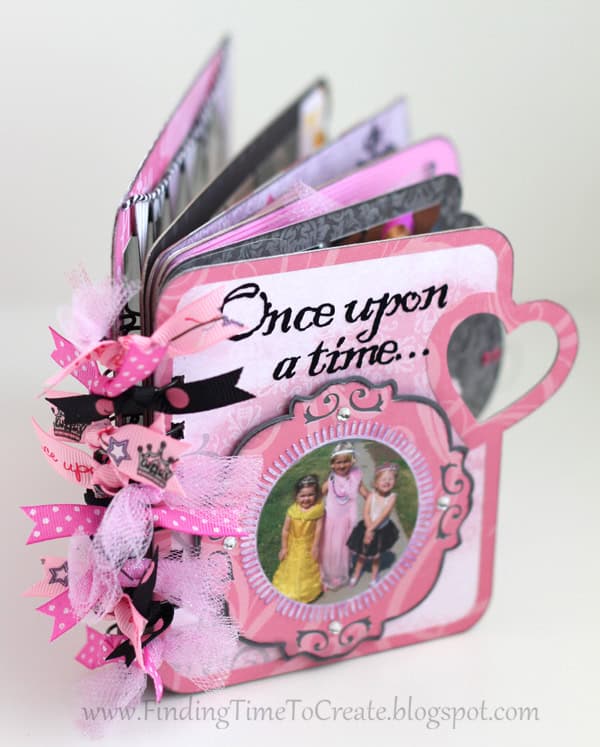
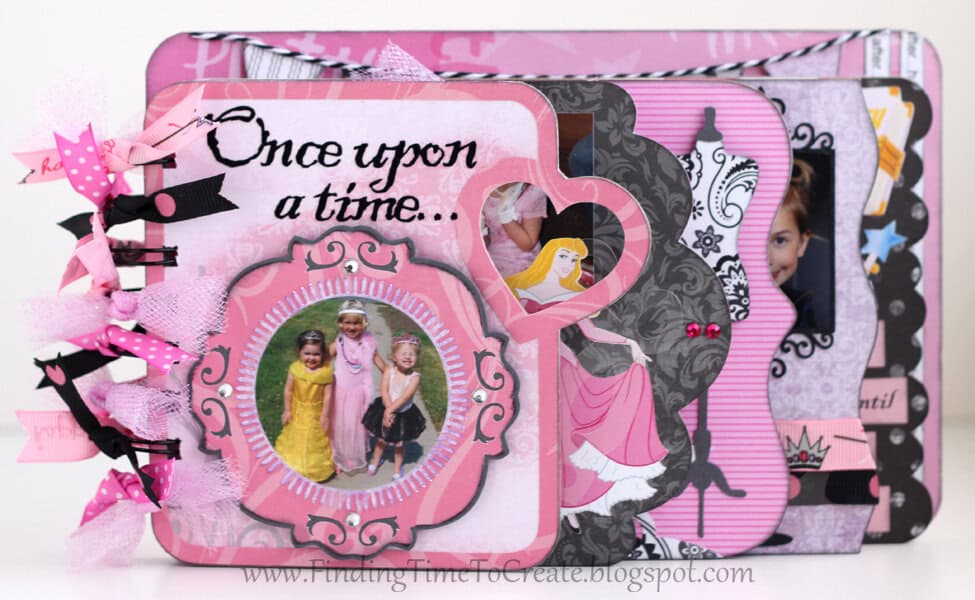
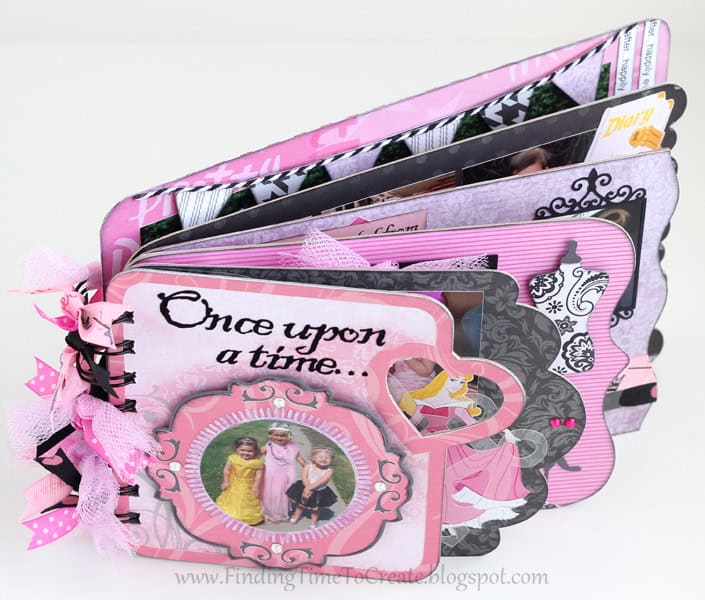
Front cover: “Once upon a time…”
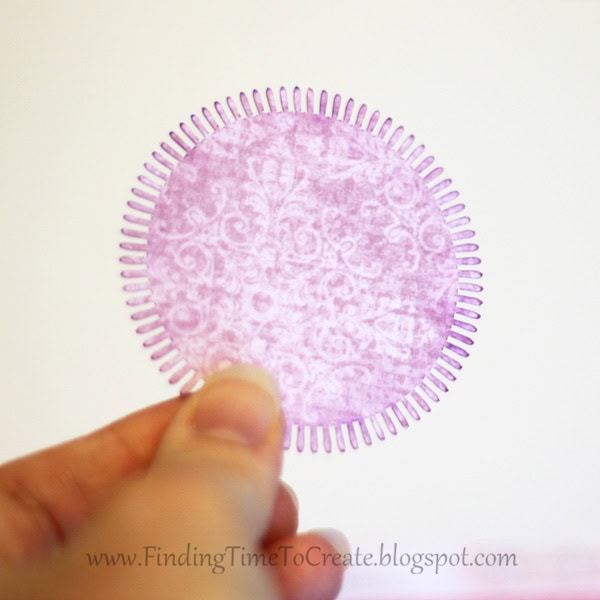
Here’s a detail shot of the circle behind the photo. Yes, my Cameo cut that! (Didn’t work so well on cardstock, but cut nicely out of medium-weight pattern paper.)
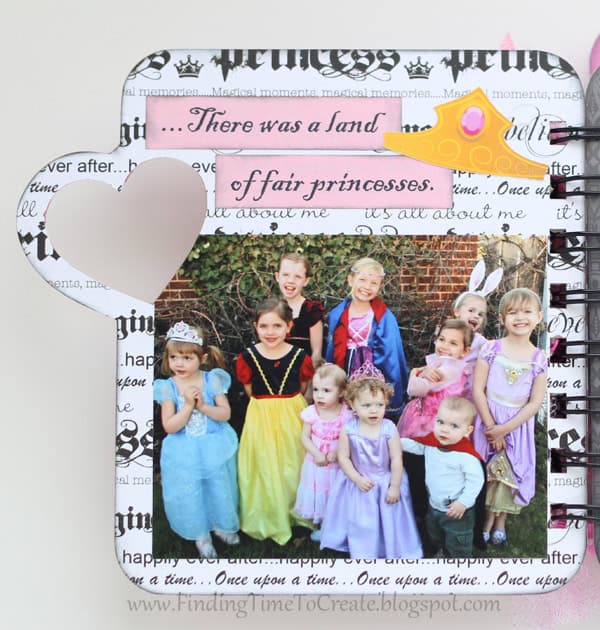
Page 1: “…There was a land of fair princesses.”
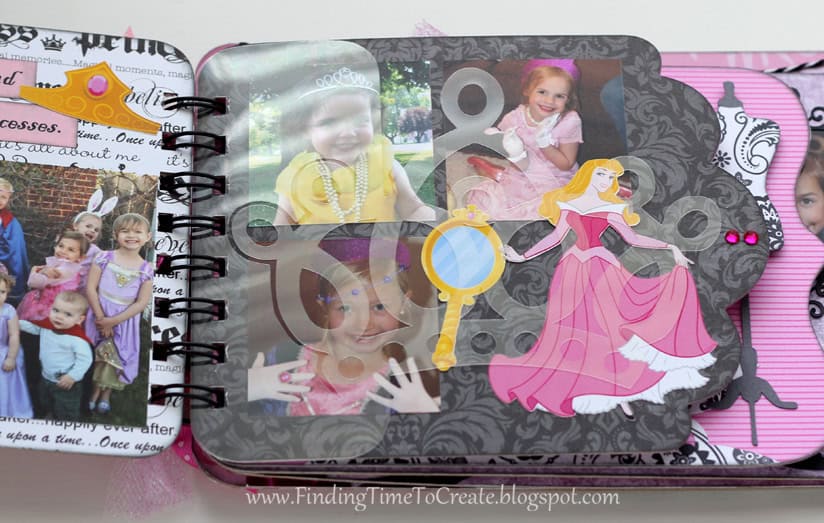
Page 2:
And a clear crown insert I cut from an overhead transparency:

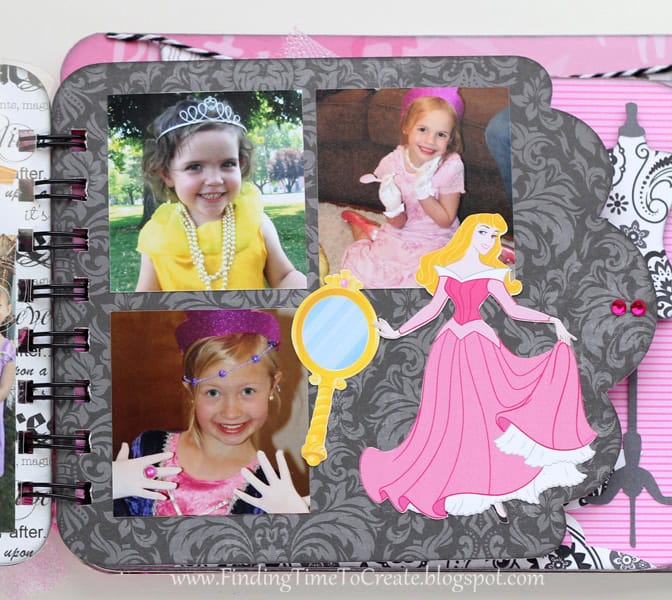
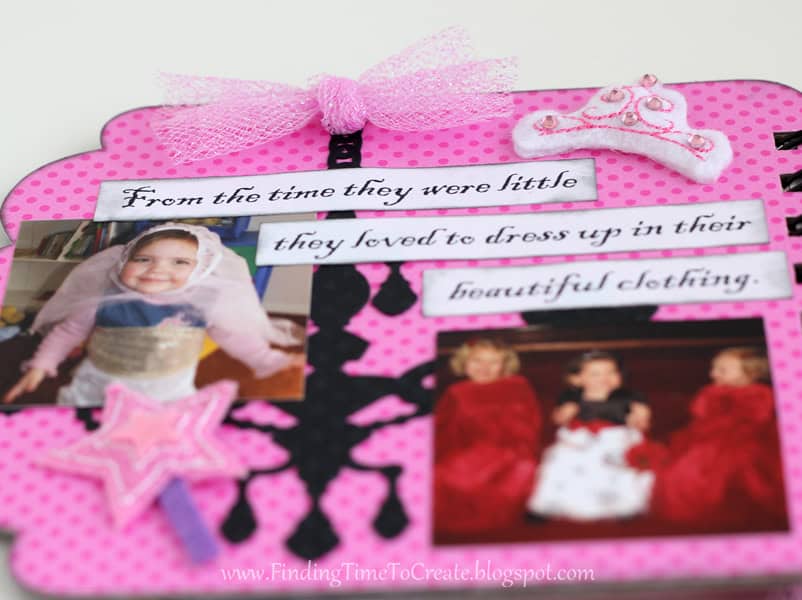
Page 3: “From the time they were little they loved to dress up in their beautiful clothing.”
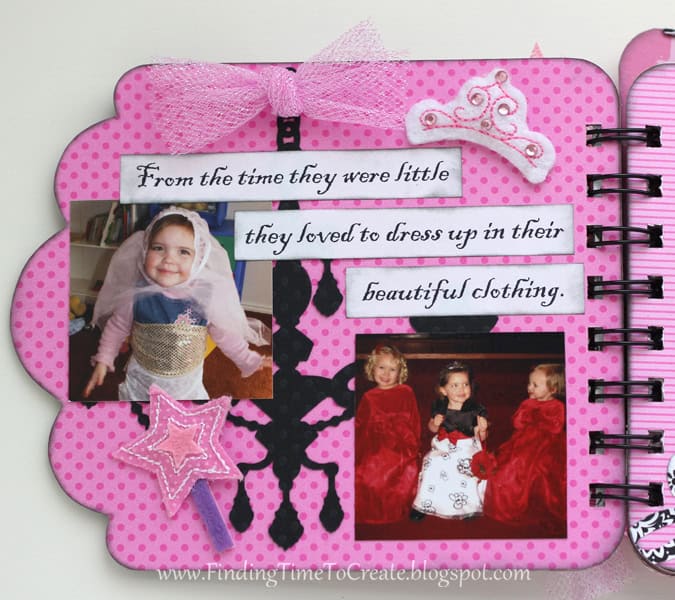
Detail shot of ribbon, chandelier, and puffy stickers:
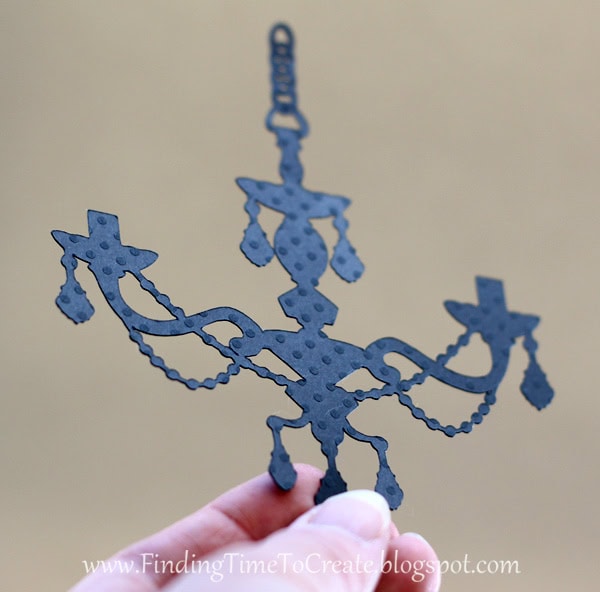
Here’s another shape I was thrilled my Cameo cut out so beautifully. It’s kind of a shame most of it is hidden on the page.
Page 4:
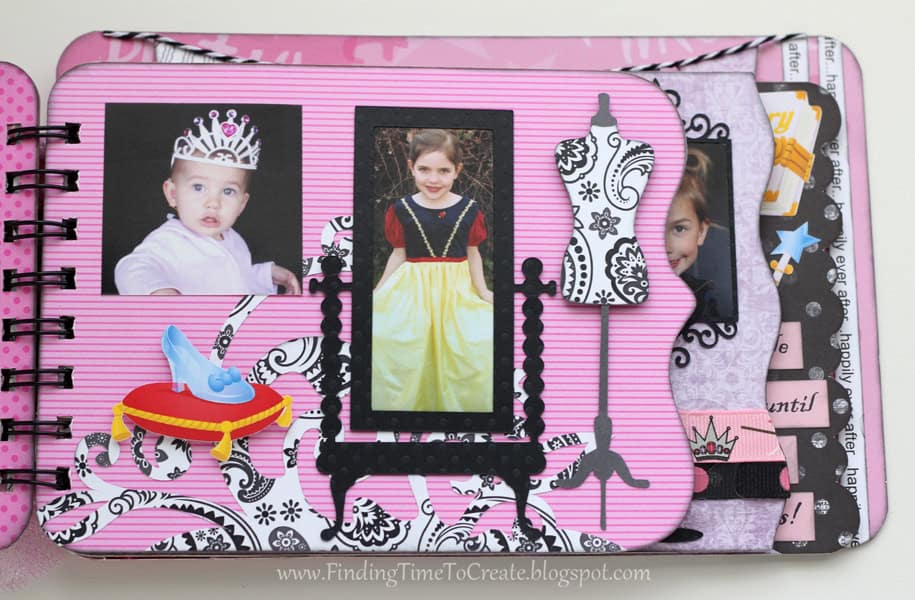
Here’s a detail shot of page 4. The mirror frame and the dress form are Silhouette shapes, and the slipper on the cushion is a print & cut.

Pages 5-6: “Their admirers traveled from far and wide to bask in their beauty.”
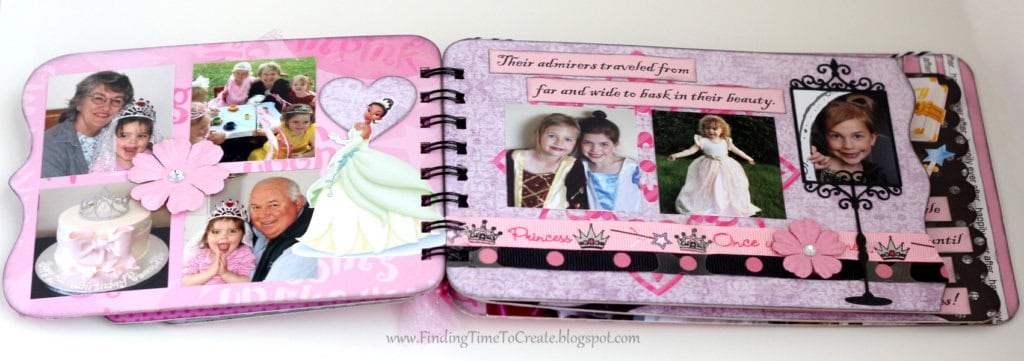
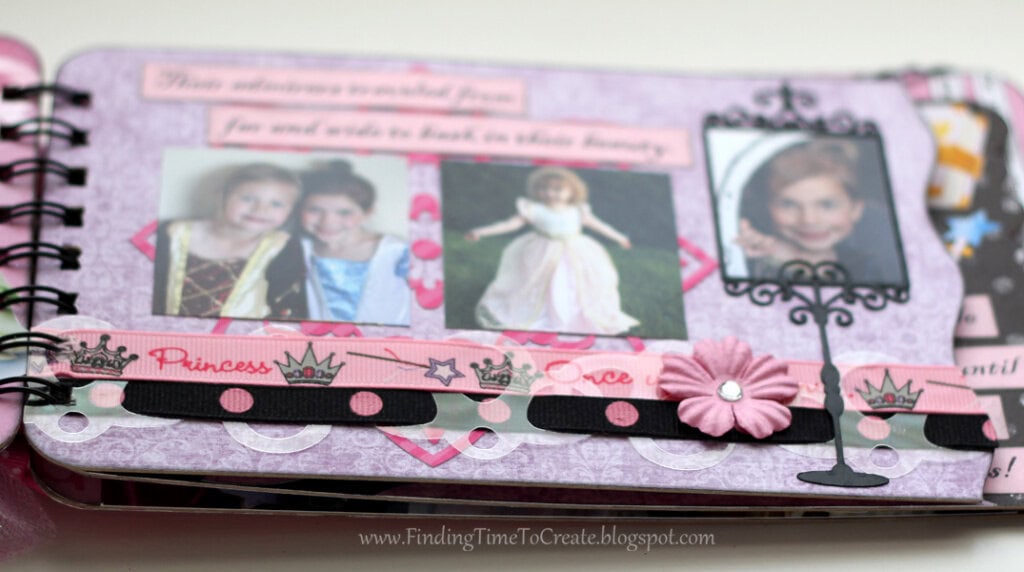
Details of page 6. I cut a border shape from an overhead transparency and threaded ribbon through it.
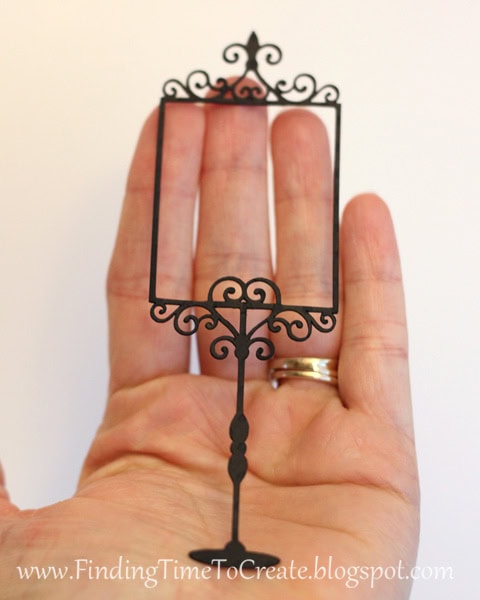
Another intricate shape I just have to show off, cut with my Cameo:
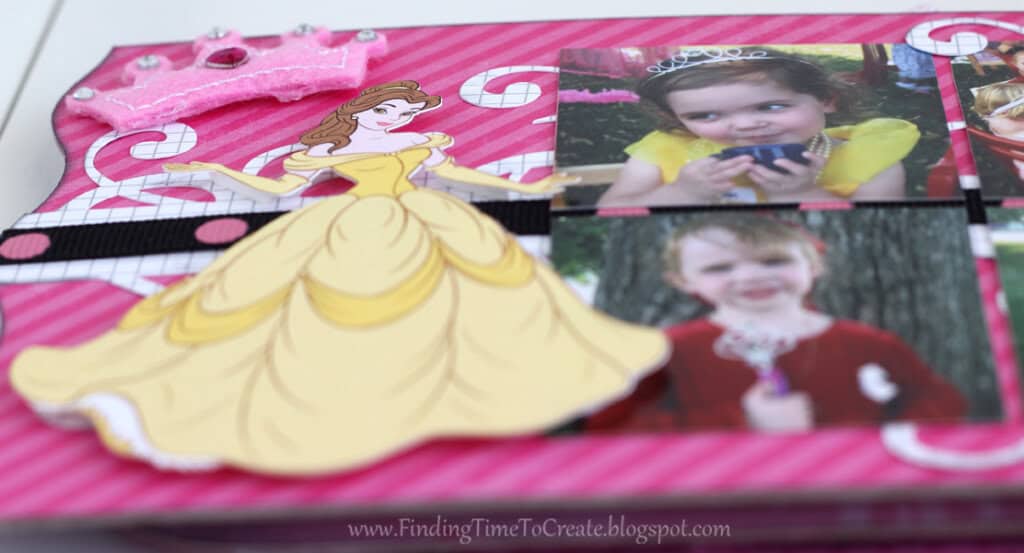
Page 7:
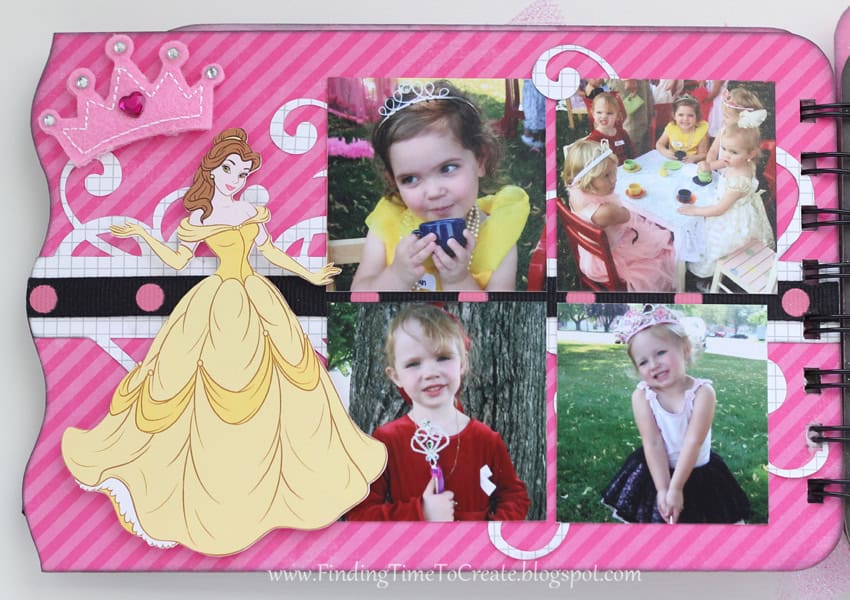
Details for page 7 (Belle is on the list at the end of the post so you can get her from DisneyFamily.com.):
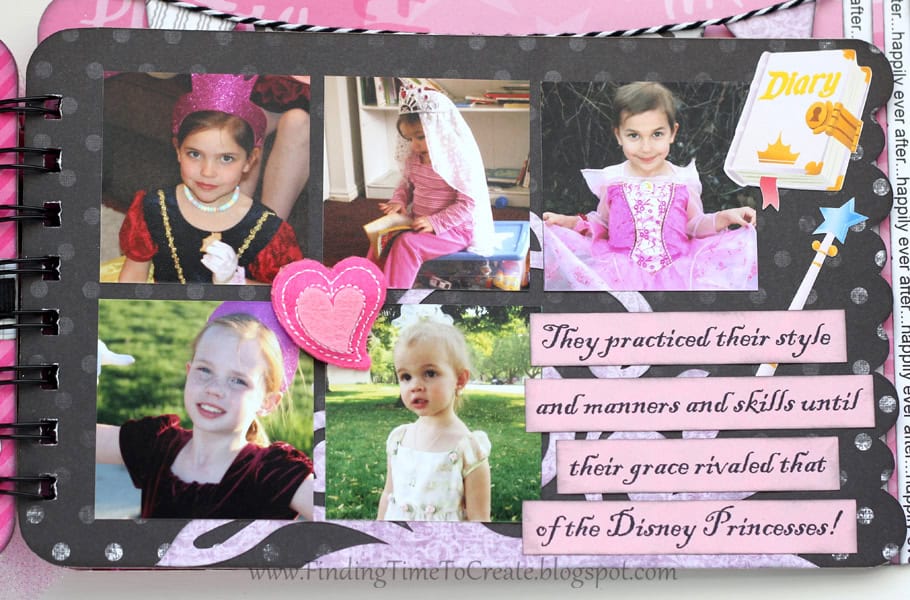
Page 8: “They practiced their style and manners and skills until their grace rivaled that of the Disney Princesses!”
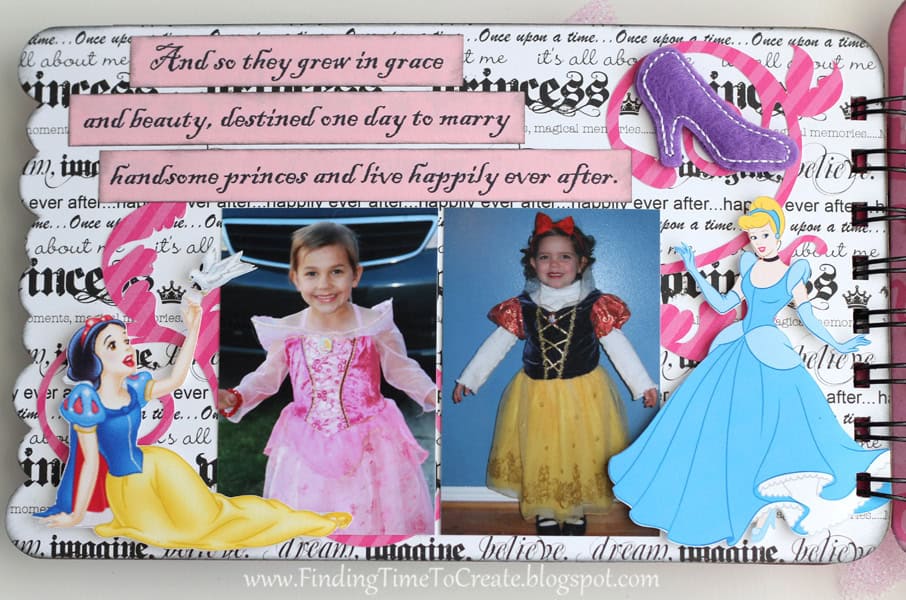
Page 9: “And so they grew in grace and beauty, destined one day to marry handsome princes and live happily ever after.”
Page 10:
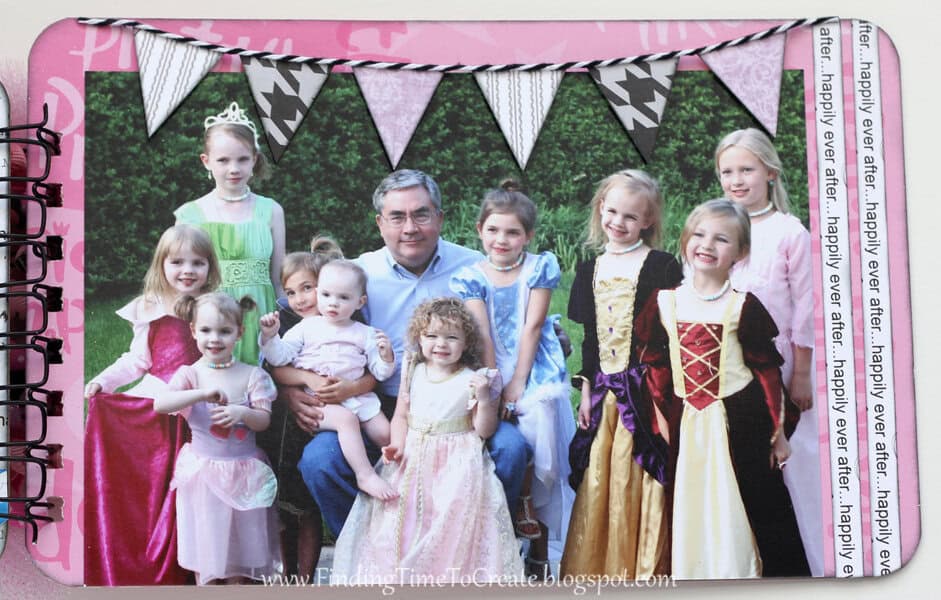
I popped the flags off the page with 3D foam dots, like many of the embellishments throughout the album.
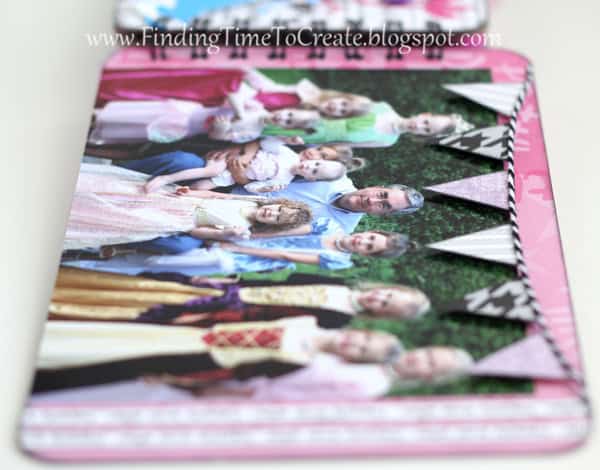
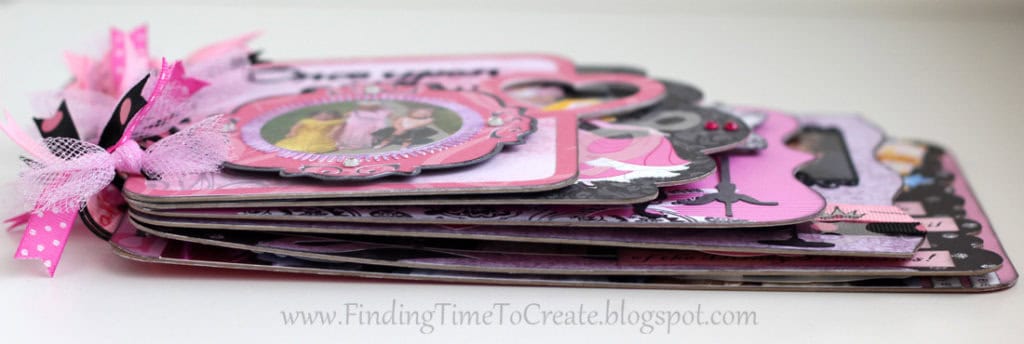
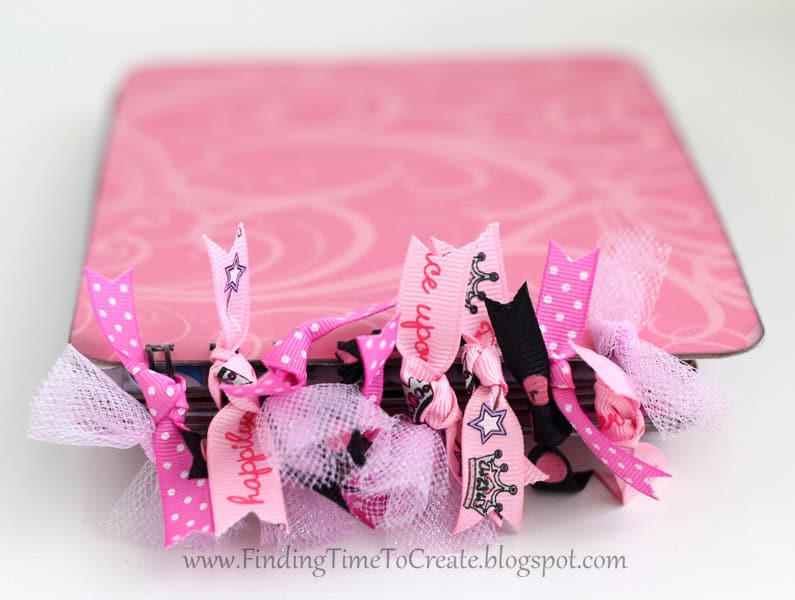
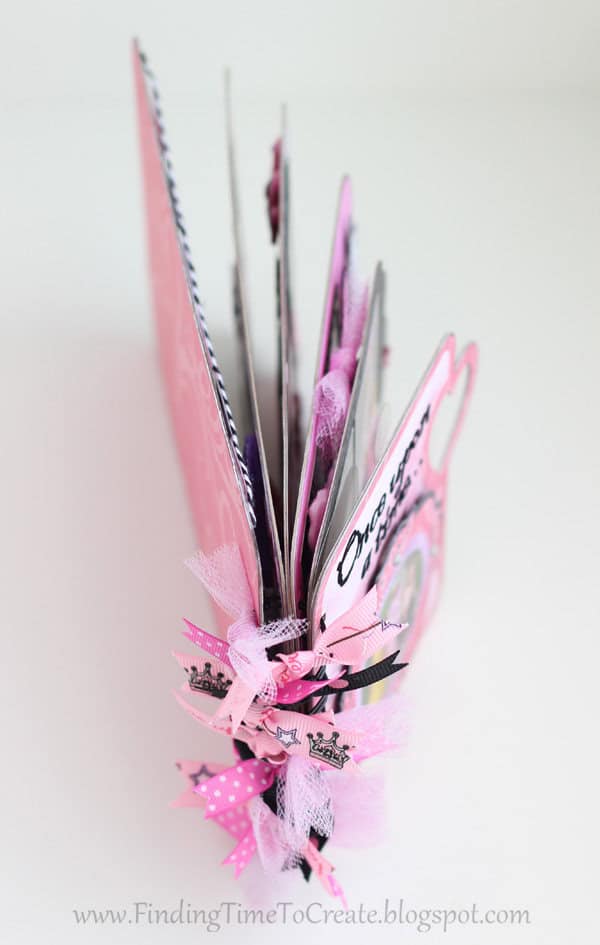
Back cover and ribbon on the spine:
And a few more pictures just because they make me happy…
- Adorn It “Princess Collection”
- Signify Pink “Fight Like a Girl”
- Echo Park “Dots & Stripes” and “Style Essentials”
- Scrapbook Customs “Paisley/Bandana”
- Doodlebug Design “Petite Prints” and “Cut-Outs”
- Creative Imaginations “Princess Phrases”
- Swiss Dots “Pepper”
- Bazzill Smoothies “Flintstone”
- “Puffies” stickers by KI Memories
- Rhinestones by Queen & Co.
- Baker’s Twine (black, about 8-9”)
- Ribbon—pink & black, several types (2-4 yds total)
Adhesive— Scotch Quick Dry glue; Zig 2-Way Glue Pen; Tombow Craft runner, 3D foam dotsOverhead transparency (1)
Vinyl for cover page: Silhouette black fuzzy vinyl
- Album page templates on my blog
- Mirror, Chandelier, Dress Form w/ Heart, Frame Stand, Fancy Label Set, Crown Card, Bookend Flourish, Swirled Vines, Flourish, Lace Border, Bohemian Flower 2
- Print & Cut princesses and shapes from DisneyFamily.com (links on my blog)
Photos cropped to 2×2” (21), plus some other appropriate sizes
Princess printable links to DisneyFamily.com (2D)–
You can download the free Studio cutting file I made for the album here (click on the image).
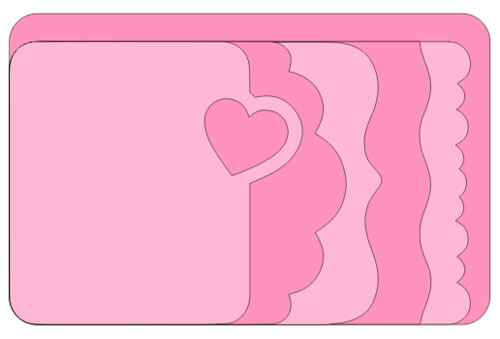
Or download the PDF files so you can print, trace, and cut the album by hand (click on the image). Just FYI, I made the corners to match a 1/2″ corner rounder, so if you have one of those it will save you some time.


oh the time and love that went into this, it is gorgeous and those princesses are the sweetest, hugs
Kelly…absolutely the cutest thing ever. Something to cherish for years to come. This is so well thought out, designed and put together.
What a fantastic mini album! Thanks for the freebie.
Kelly, this is stunning. It will be a forever cherished keepsake. What a wonderful and talented mommy you are. Thank you for sharing.
That's the most adorable, precious little album I've ever seen, and I've seen a lot over the last 15 years! Debbie's right; this will forever be a cherished keepsake. And the little girls are very, very beautiful princesses, every one!
Your talent knows no bounds! This project is just fabulous!!! And to share the cut file —– you are too sweet!
This is a wonderful little album, perfect in every way. Thank you so much for sharing it with us!
Beautiful treasured memories. Fabulous.
Magical mini album , sooooooooo beautiful!
Beautiful album. Thanks for sharing.
Kelly! I think you are totally amazing! This little album will be the envy of every little girl around! Thank you so much for sharing it with us! I can't wait to try it out too! I'll need more pictures of my grand daughters in their dress-ups first tho!
Thank you so much!
LynnEl in Illinois
Totally fabulous album.<3 Thank you for sharing all the photos since it is a little bit of a drive to go see it in person. I'm sure it is even more gorgeous in person. Also thank you for the idea of how to use those scraps of transparency I have. Oh and while I'm busy thanking you thank you for generously sharing the cutting file.
What a wonderful album! Love all the intricate details.
You do amazing work. TFS
Kelly what a beautiful album. love everything about it, so cute and girly, love all the cute photos, just love dress up time for kids, my 3 year old grandson love to dress in his spiderman and batman costumes .
Thanks for sharing the album file just off to download it now
Wendy
OMG Kelly this is gorgeous! Thanks for sharing!
This is absolutely gorgeous – make me wish I had a Cameo rather then the SD 🙁 with a spanking new 1st granddaughter – I can think of many uses for a similar type album. I will have to try the cardstock method
This is absolutely fantatic! I found your blog through The Paper Boutique blog. I am so glad. I can't wait to make one of these for my DGD. I am now a follower hear as well.
TFS,
Sandra
Fantastic!!! Thank you so much for sharing this and the detailed directions for everything. That is so nice of you! I was wondering how to cut the cereal boxes or if it was okay to do it on my new cameo. I'm just learning it and you are a true inspiration!
Teresa, if you look at the paragraph under the second picture above, you can see the settings I used with my Cameo. I don't cut a lot of chipboard because I'm sure it's rougher wear & tear on the machine and blade, but for projects here and there, it's worth it! I used a 7 on my well-used blade, but when I had a new blade I was able to cut all the way through on a 5, so you can try that first on a sample cut. Good luck!
Please let me know if you have any more questions. 🙂
I am now getting around to scrap lifting this wonderful mini. I am having a hard time cutting out the Blackladder font. What size did you cut yours? Did you use cardstock or patterned paper? Thanks!
I used vinyl. I doubt you could get a good cut with paper on that font. It's 72.0 pt on my album.
Oh thank you for such a quick response. I did think about vinyl, but talked myself out of it!
I love vinyl! You'll really like it compared to the cuts you were getting with paper for the Black Adder font. 🙂
This masterpiece you have created is just amazing…the colors and the special touches added look so nice….Thank you for sharing this with all of us…I like the ideas you used..
Thank you so much, Cindy! 🙂
This is gorgeous! Thank you for providing the Silhouette cut files for your projects. Much appreciated.
Barbara